Sub-zero temperatures are in forecast, the ferry is going to stop running tomorrow, and we have a fresh blanket of lake effect snow — it’s time for stew. There’s nothing that I love more than walking into the warm kitchen and smelling a fire in the wood stove and a fragrant stew in the oven….when the wind chill is 30 degrees below zero.
The first dinner I made at our house in Bayfield was an Indian curry; there's something about the combination of coriander, cinnamon, allspice, ginger and cumin that smells like home to me. It wasn't always this way. We didn't eat anything curried or spicy when I was growing up, we were more of a meat and potato hot dish kind of family. My first experience with curry was in the Rocky Mountains when I was 16 and my Dad, Bridget and I went to Colorado for a little vacation. I had horrible altitude sickness for the first couple days and we were staying in a Holiday Inn owned by an Indian couple who clearly ate all their curried meals in the hotel. Curry + altitude sickness + 16-year-old girl equals a less than stellar father/daughters trip. I eventually gathered myself and we had a great time exploring Pike's Peak, Cripple Creek and the mountain roads around Denver. Needless to say, I didn't eat anything curry related for years.

I don't recall when or how I got over my curry aversion, I think it may have been a dinner at Rich's house (he is brilliant at Thai and Indian cooking) eight or ten years ago. Thanks to Rich, we now have Indian curries and Moroccan tagines for dinner at least a couple of times a month in the fall and winter. Since the weather has taken a definitive turn towards winter, it was time for Moroccan beef stew. The smell of those fragrant, warm spices remind of our first dinner on Rittenhouse. Answering the question, 'what's for dinner?' can set up a lifetime of connections between where we were and what we ate. Food is powerful stuff— it provides a conduit for memories, a backdrop for our family stories and nourishment for body and spirit.

Moroccan Beef Stew(adapted from Mike's Table)
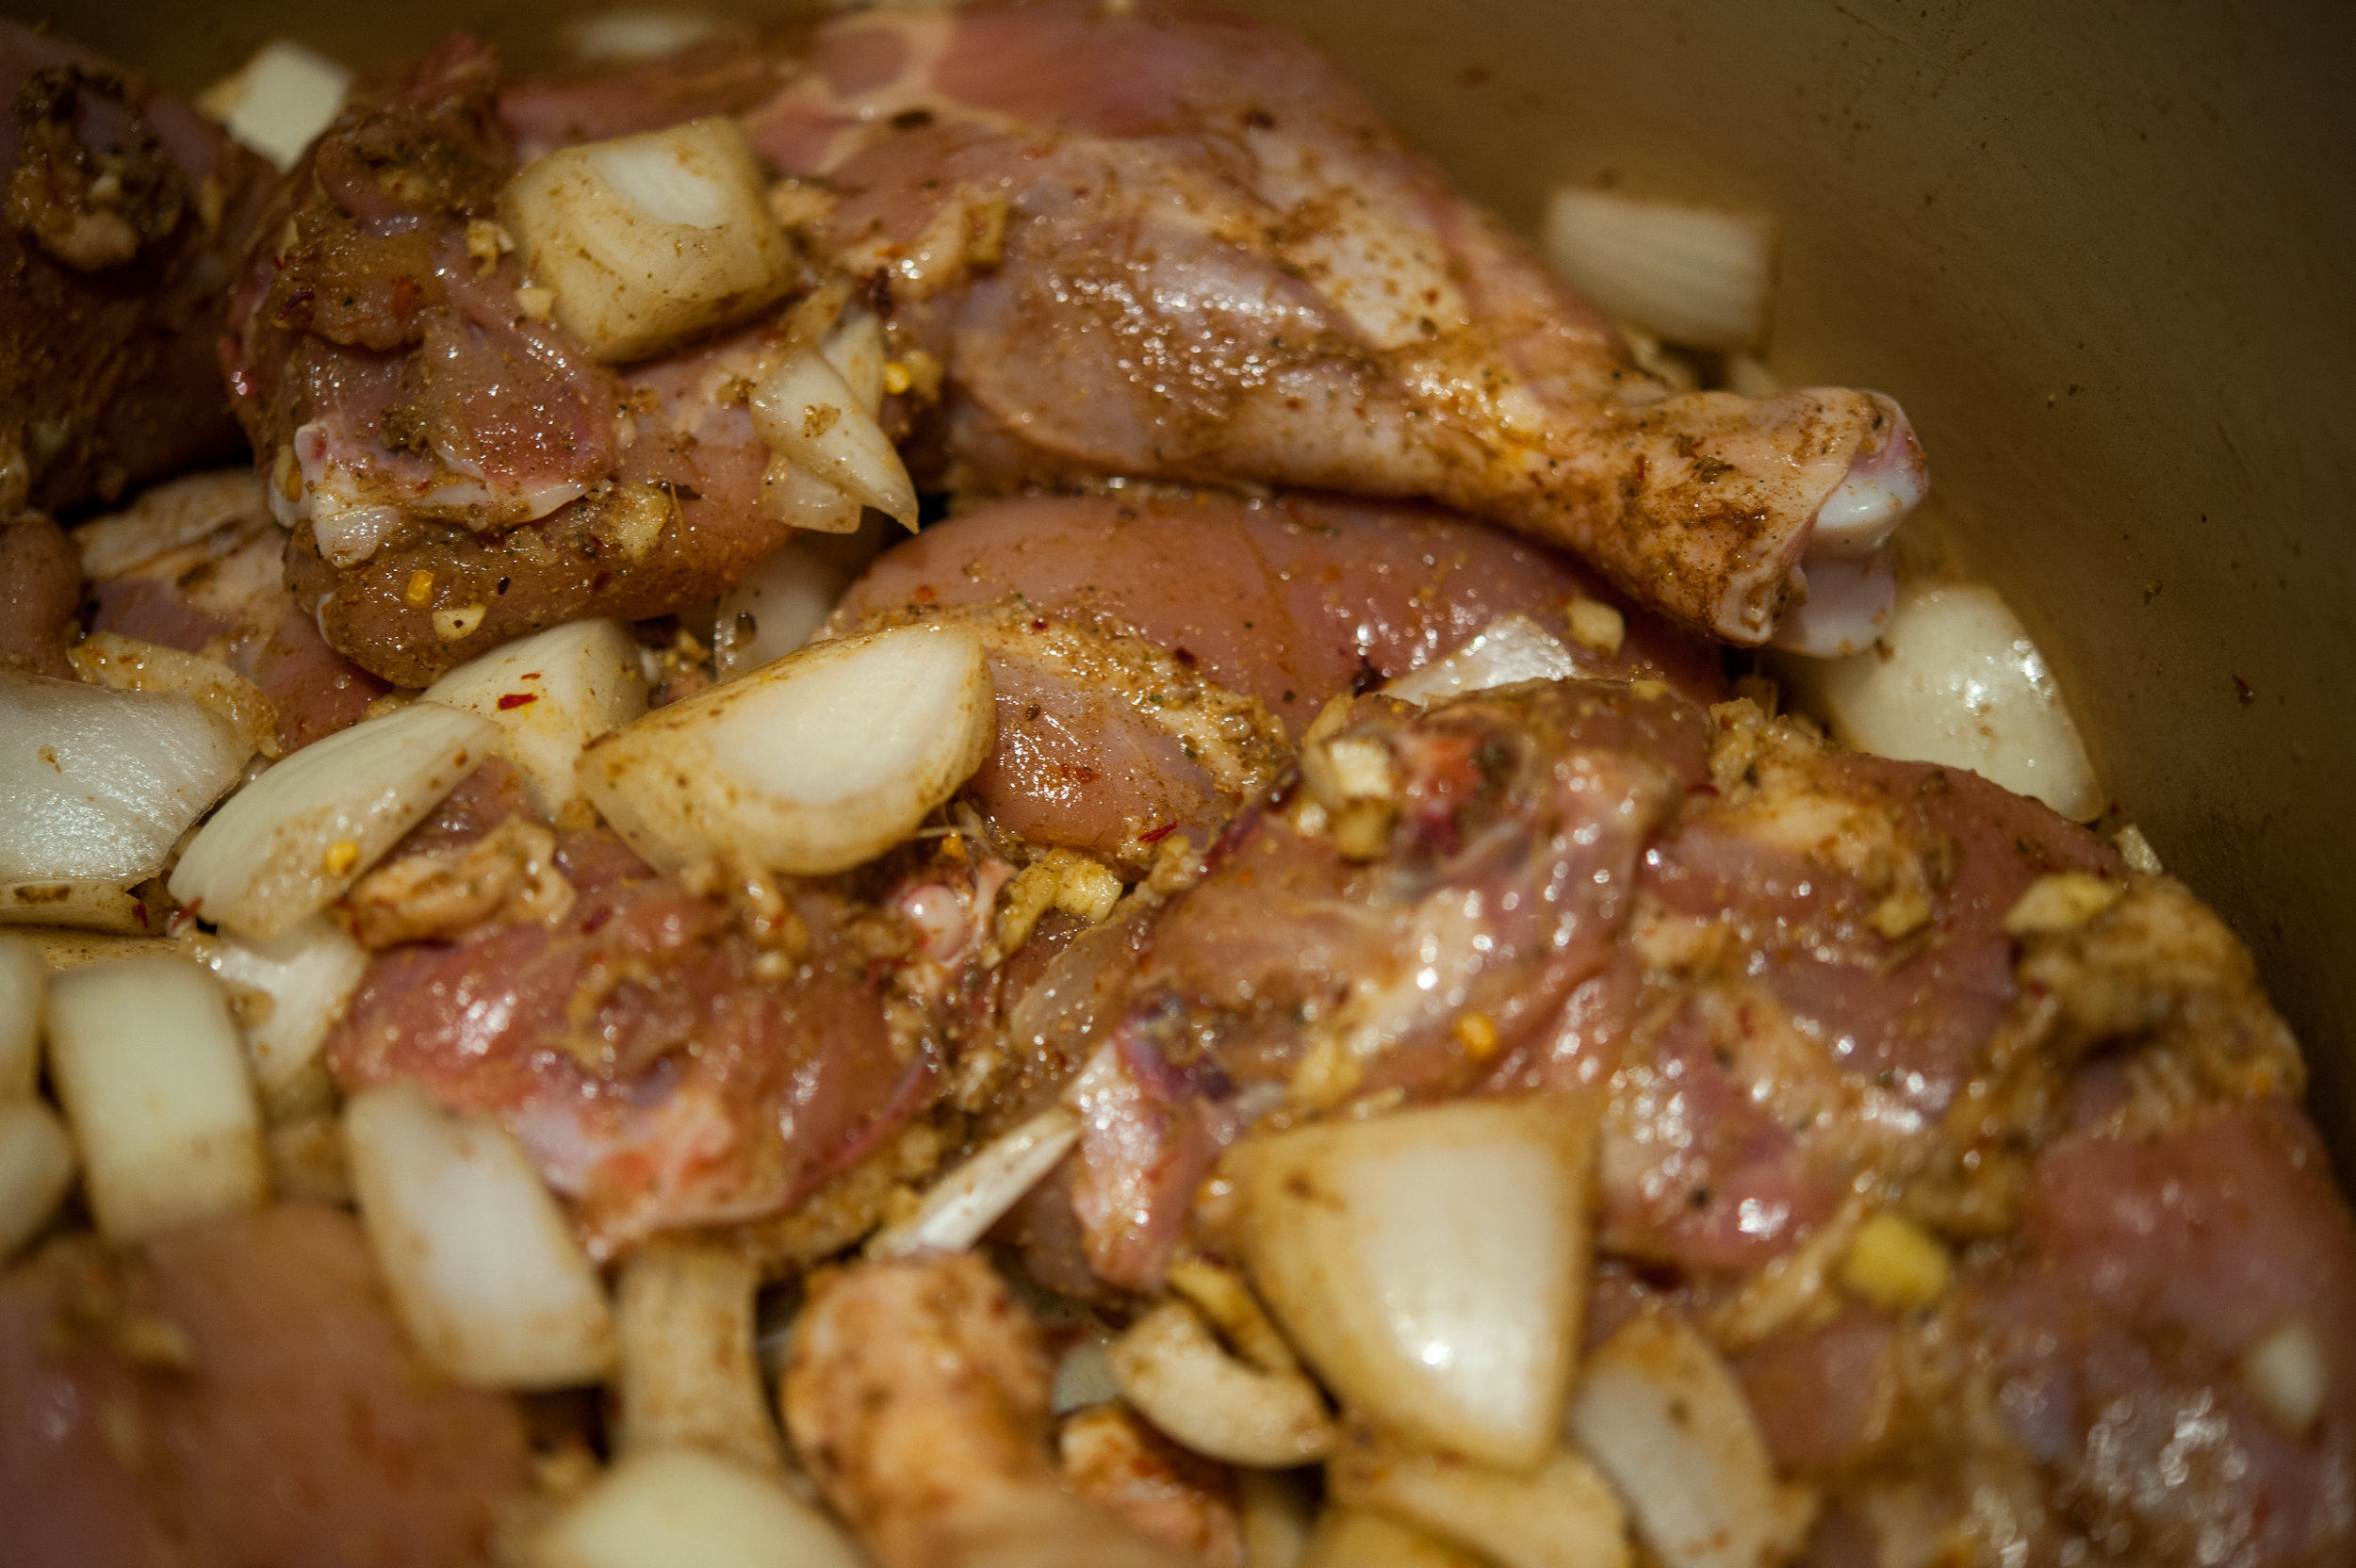
3 pound beef, chuck roast, cut into 1 1/2 inch cubes
3 — 4 tablespoons of oil
3 carrots, sliced
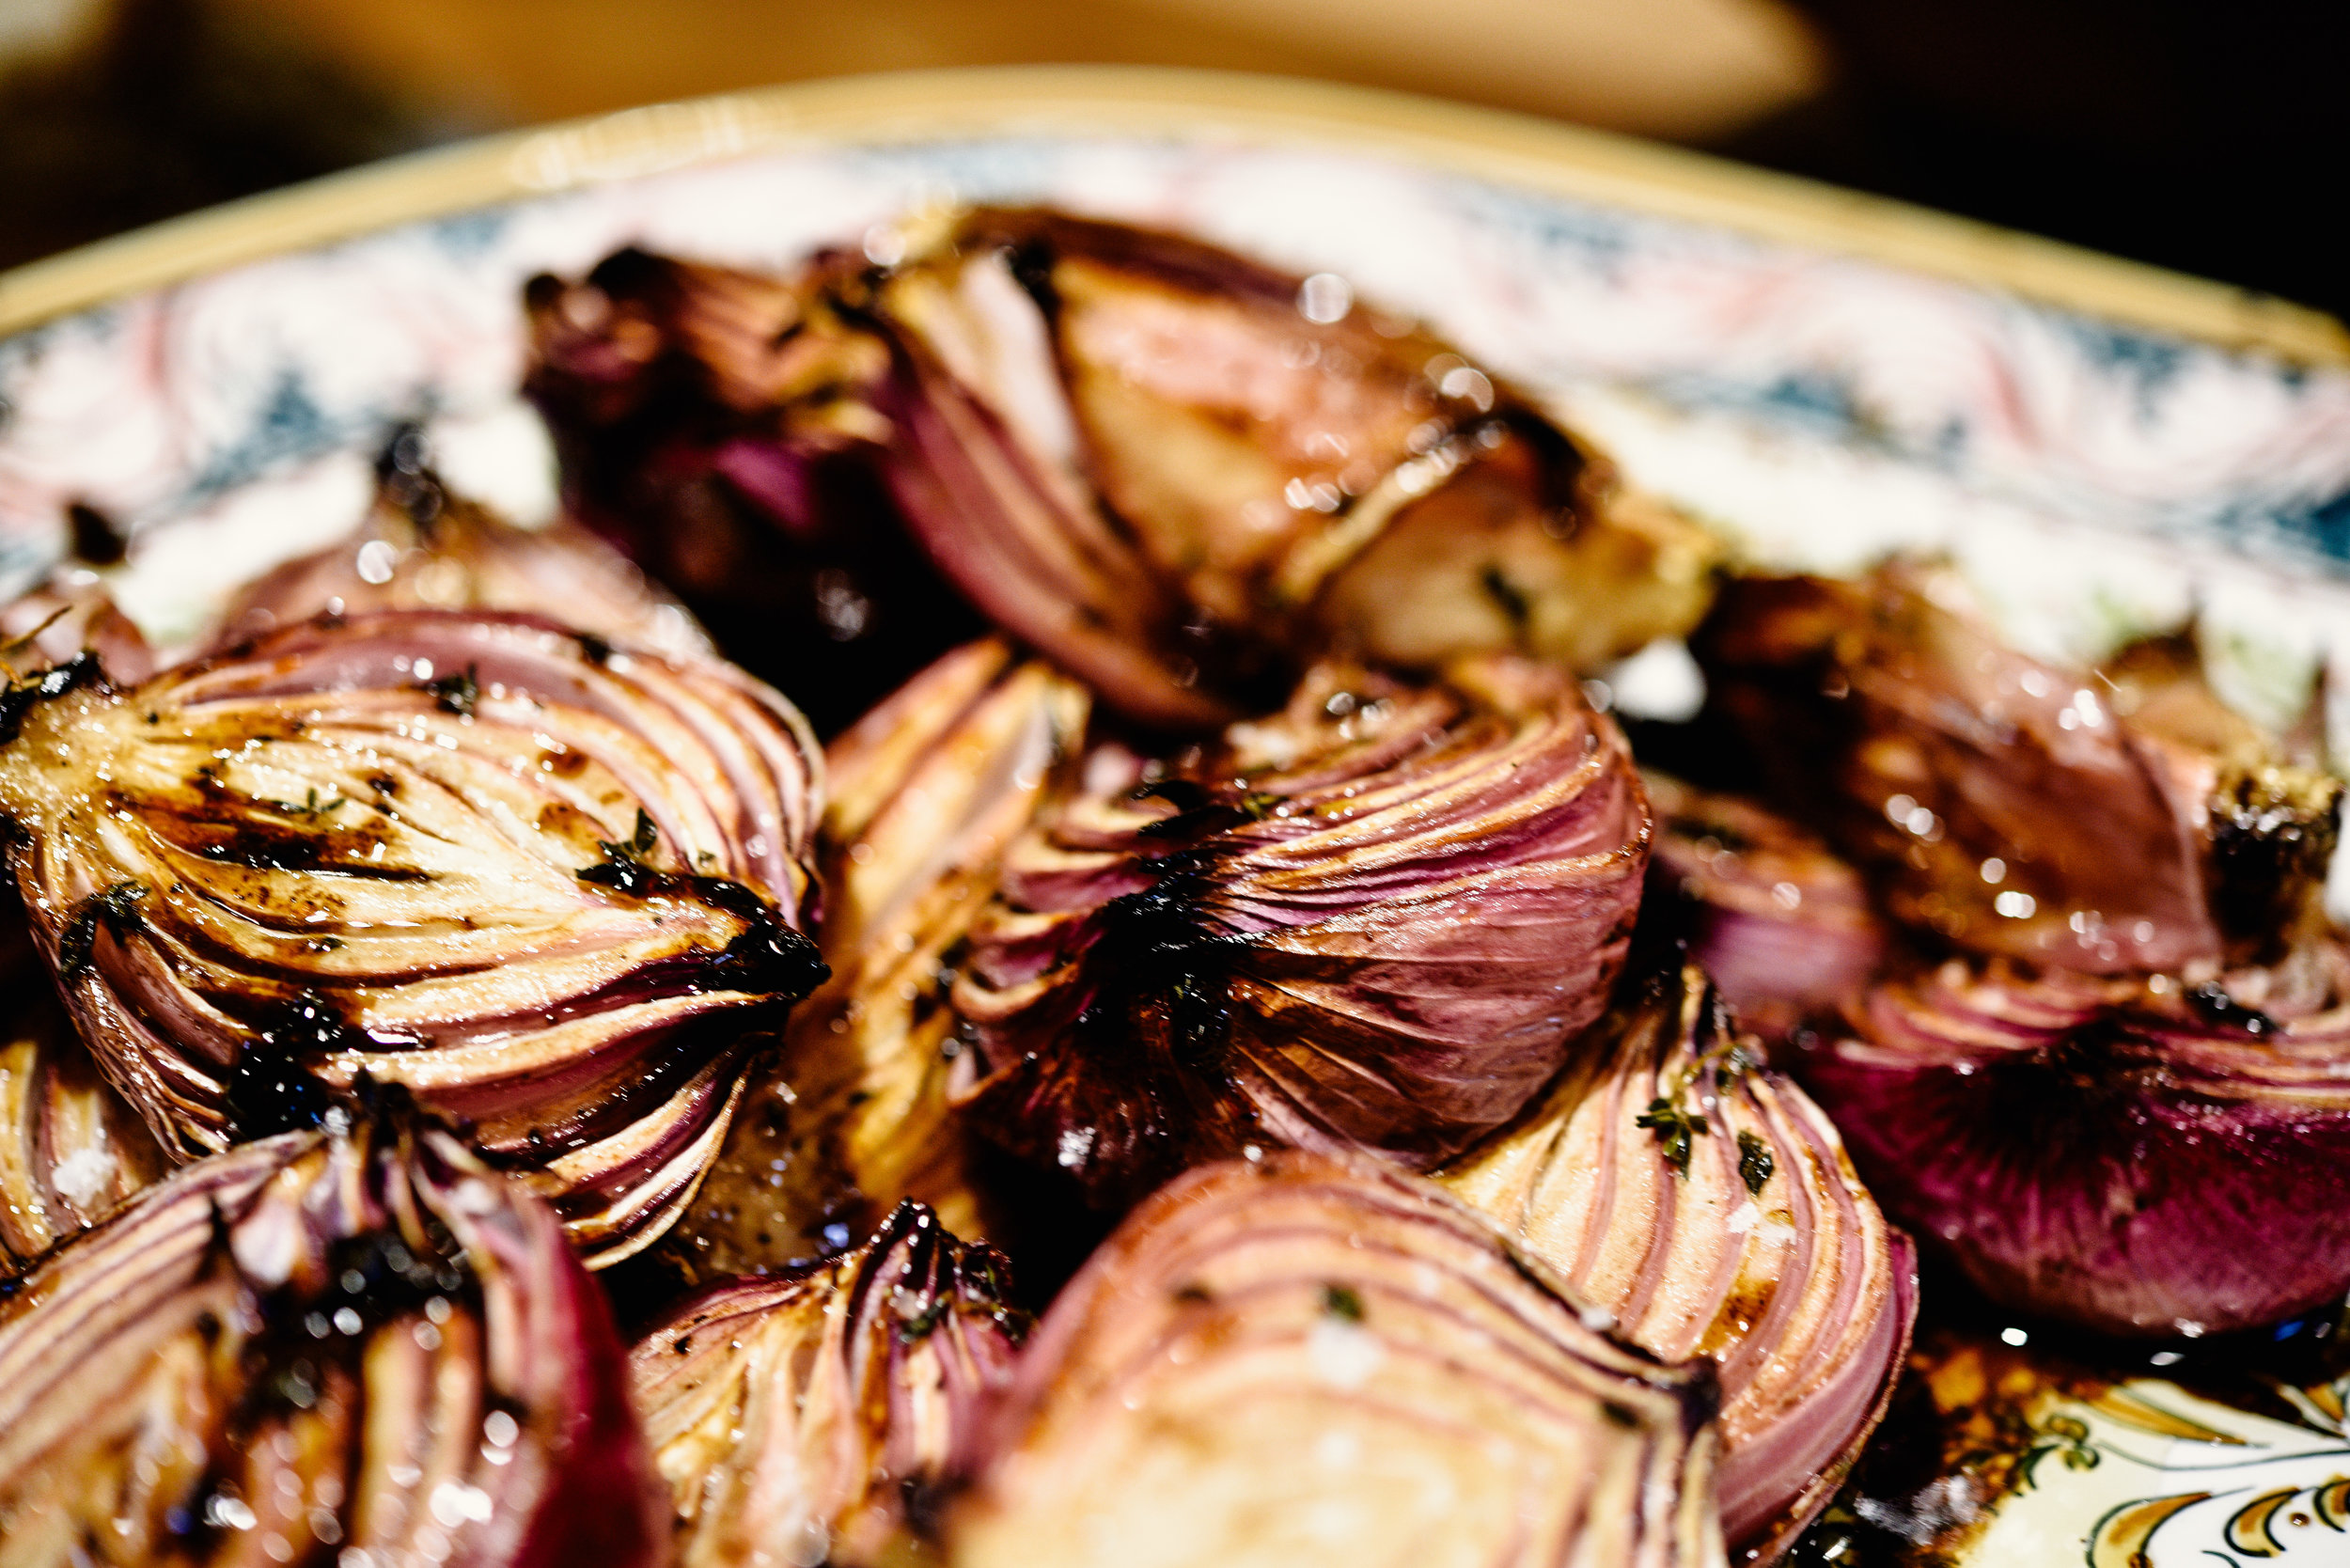
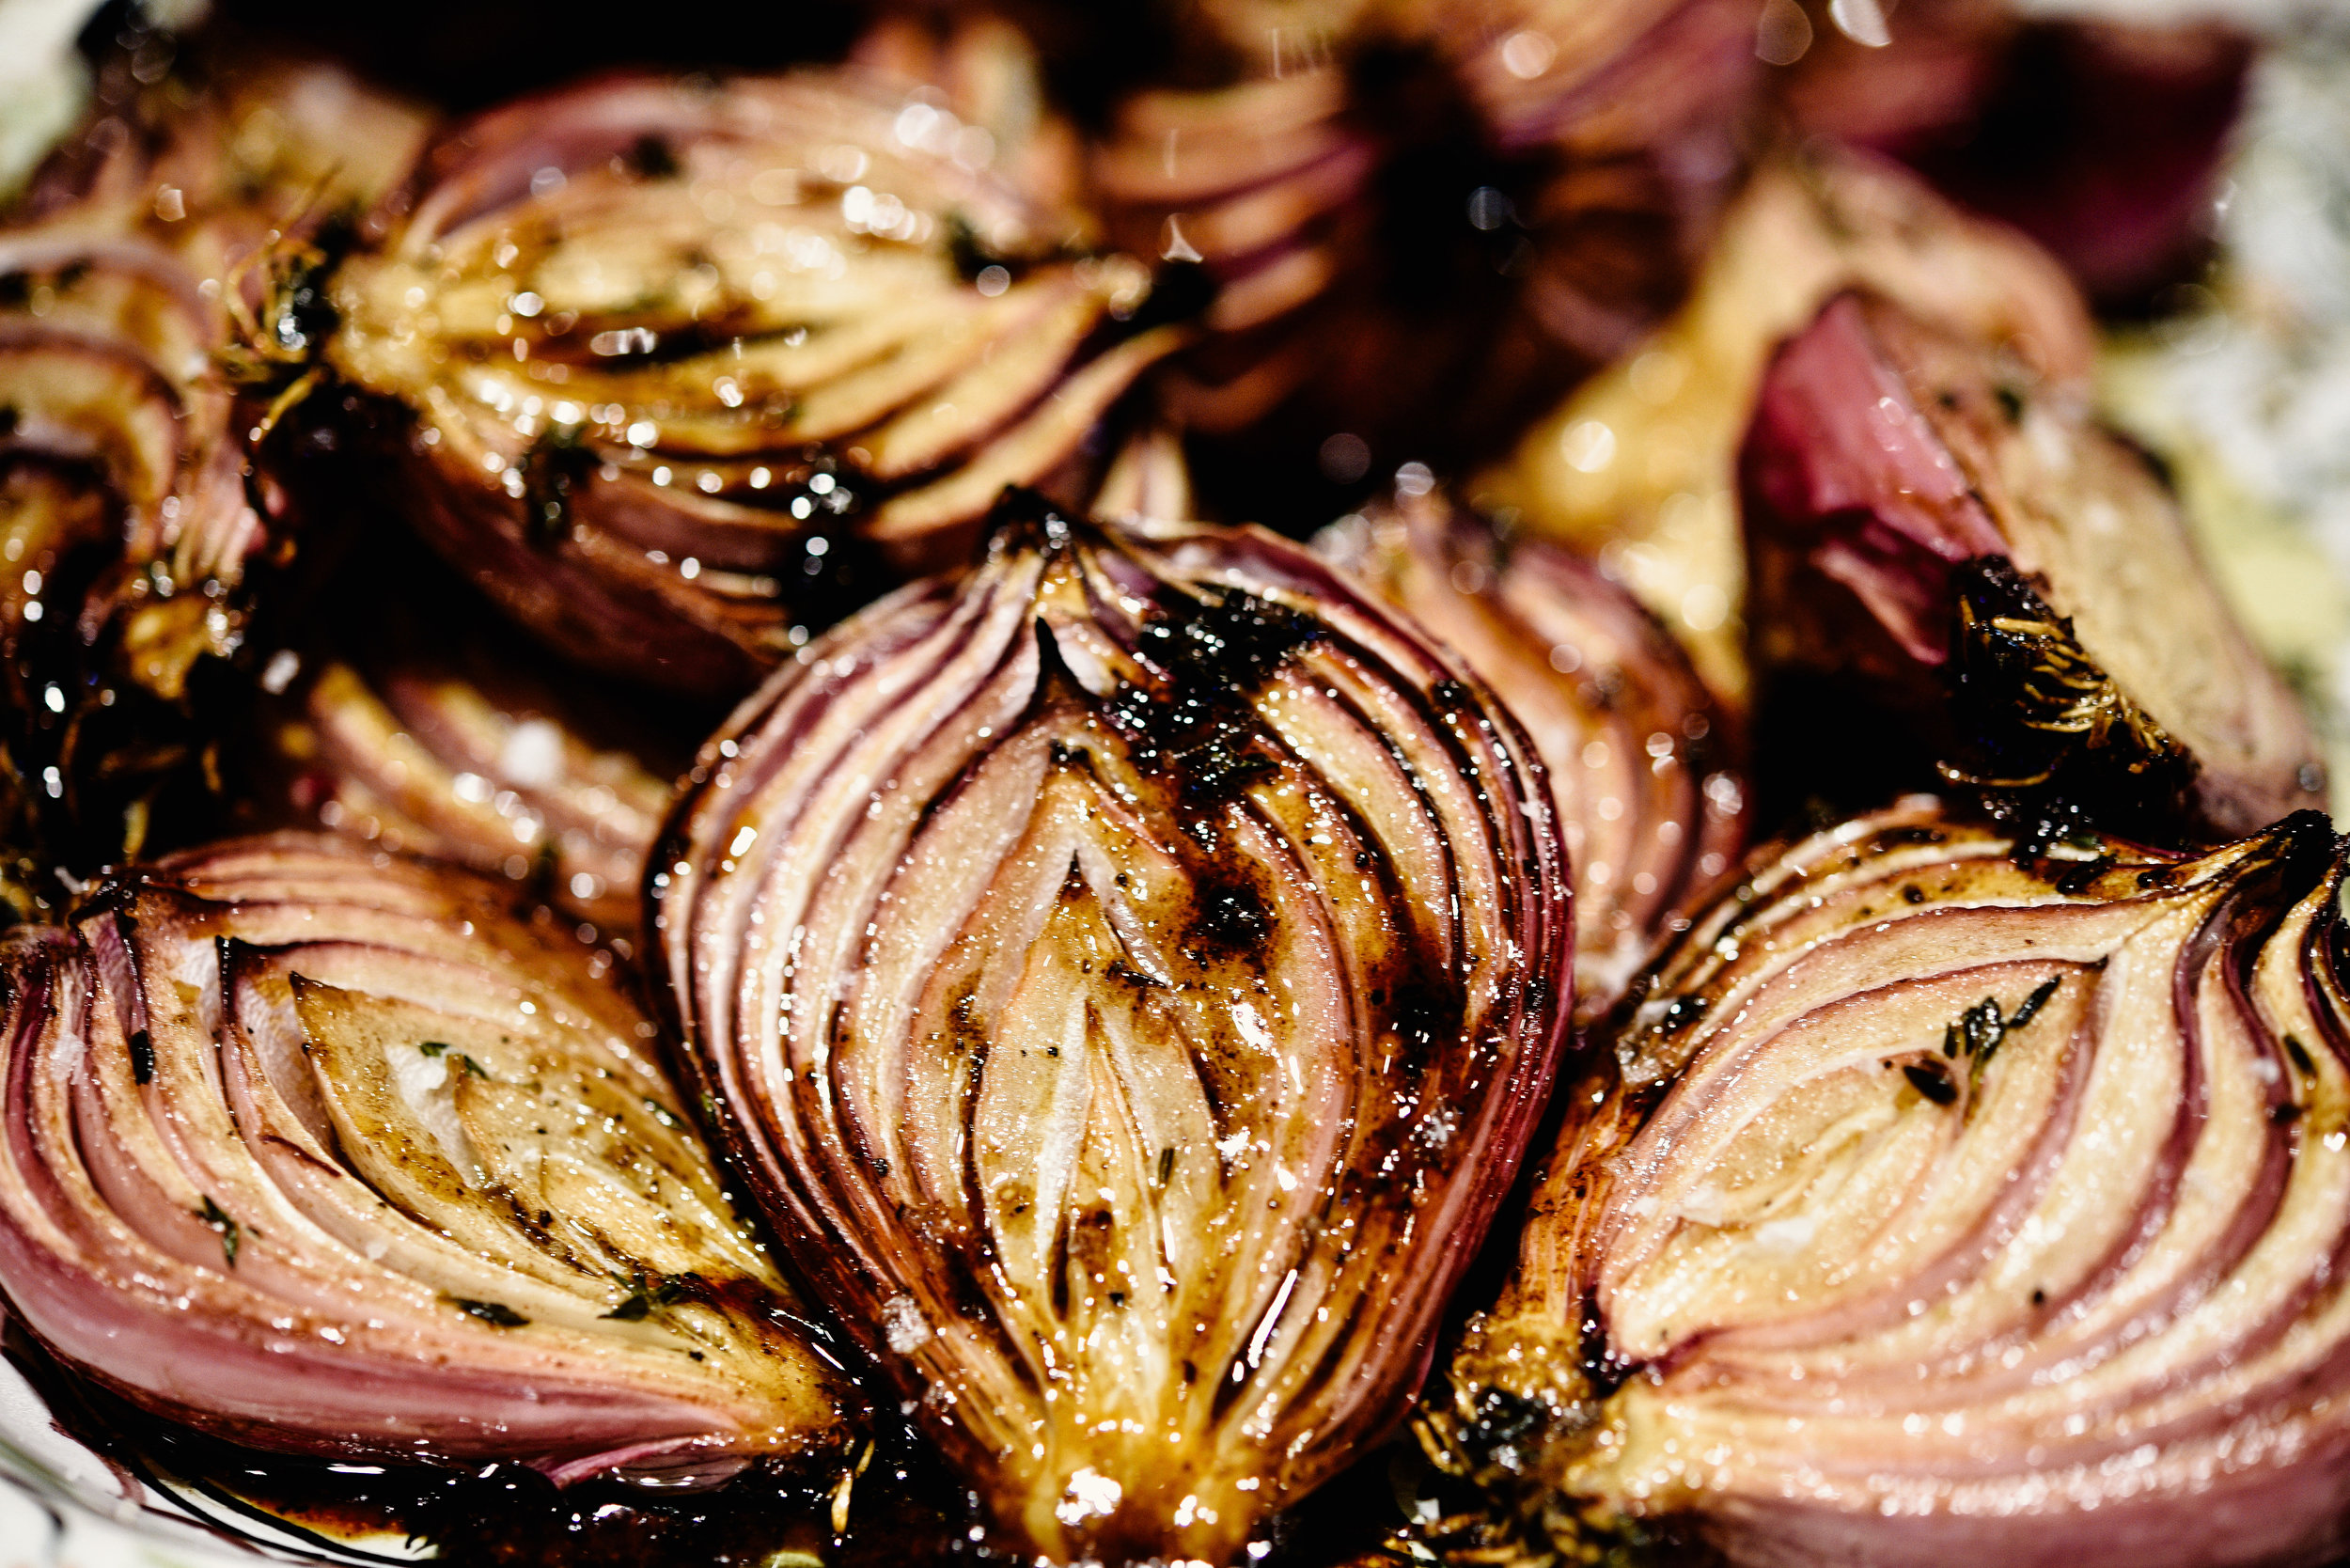
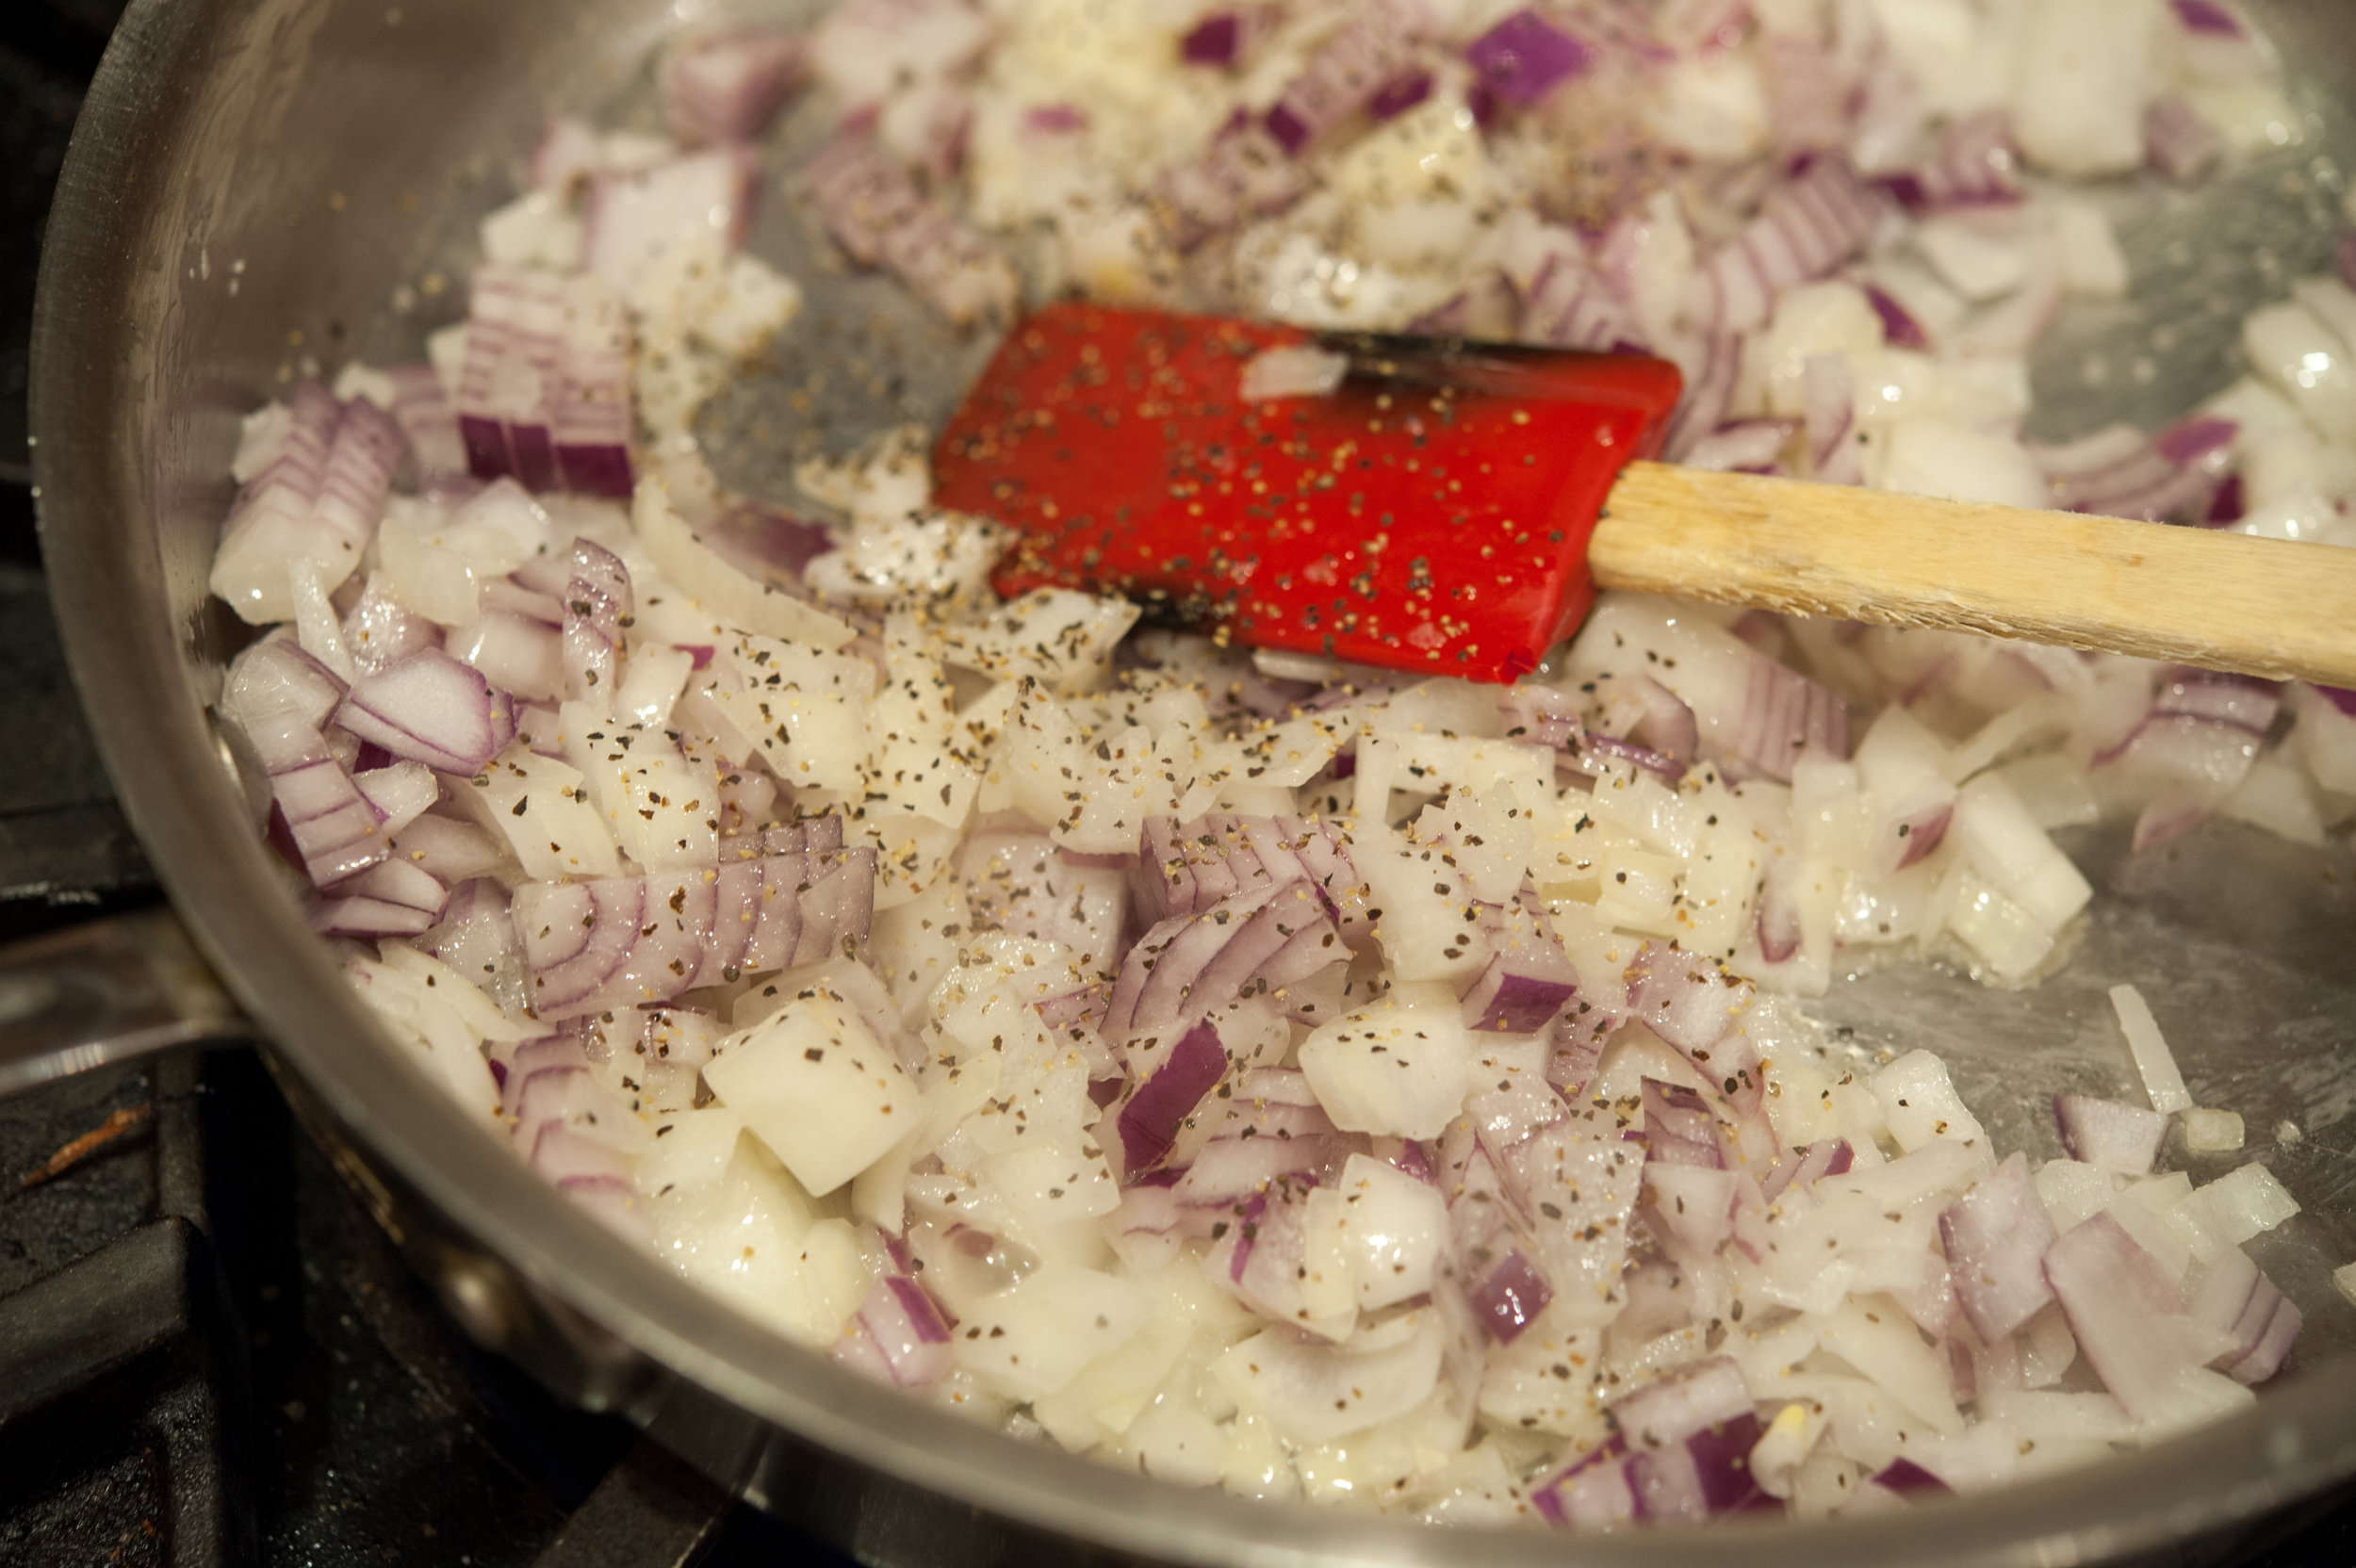
2 onions, chopped
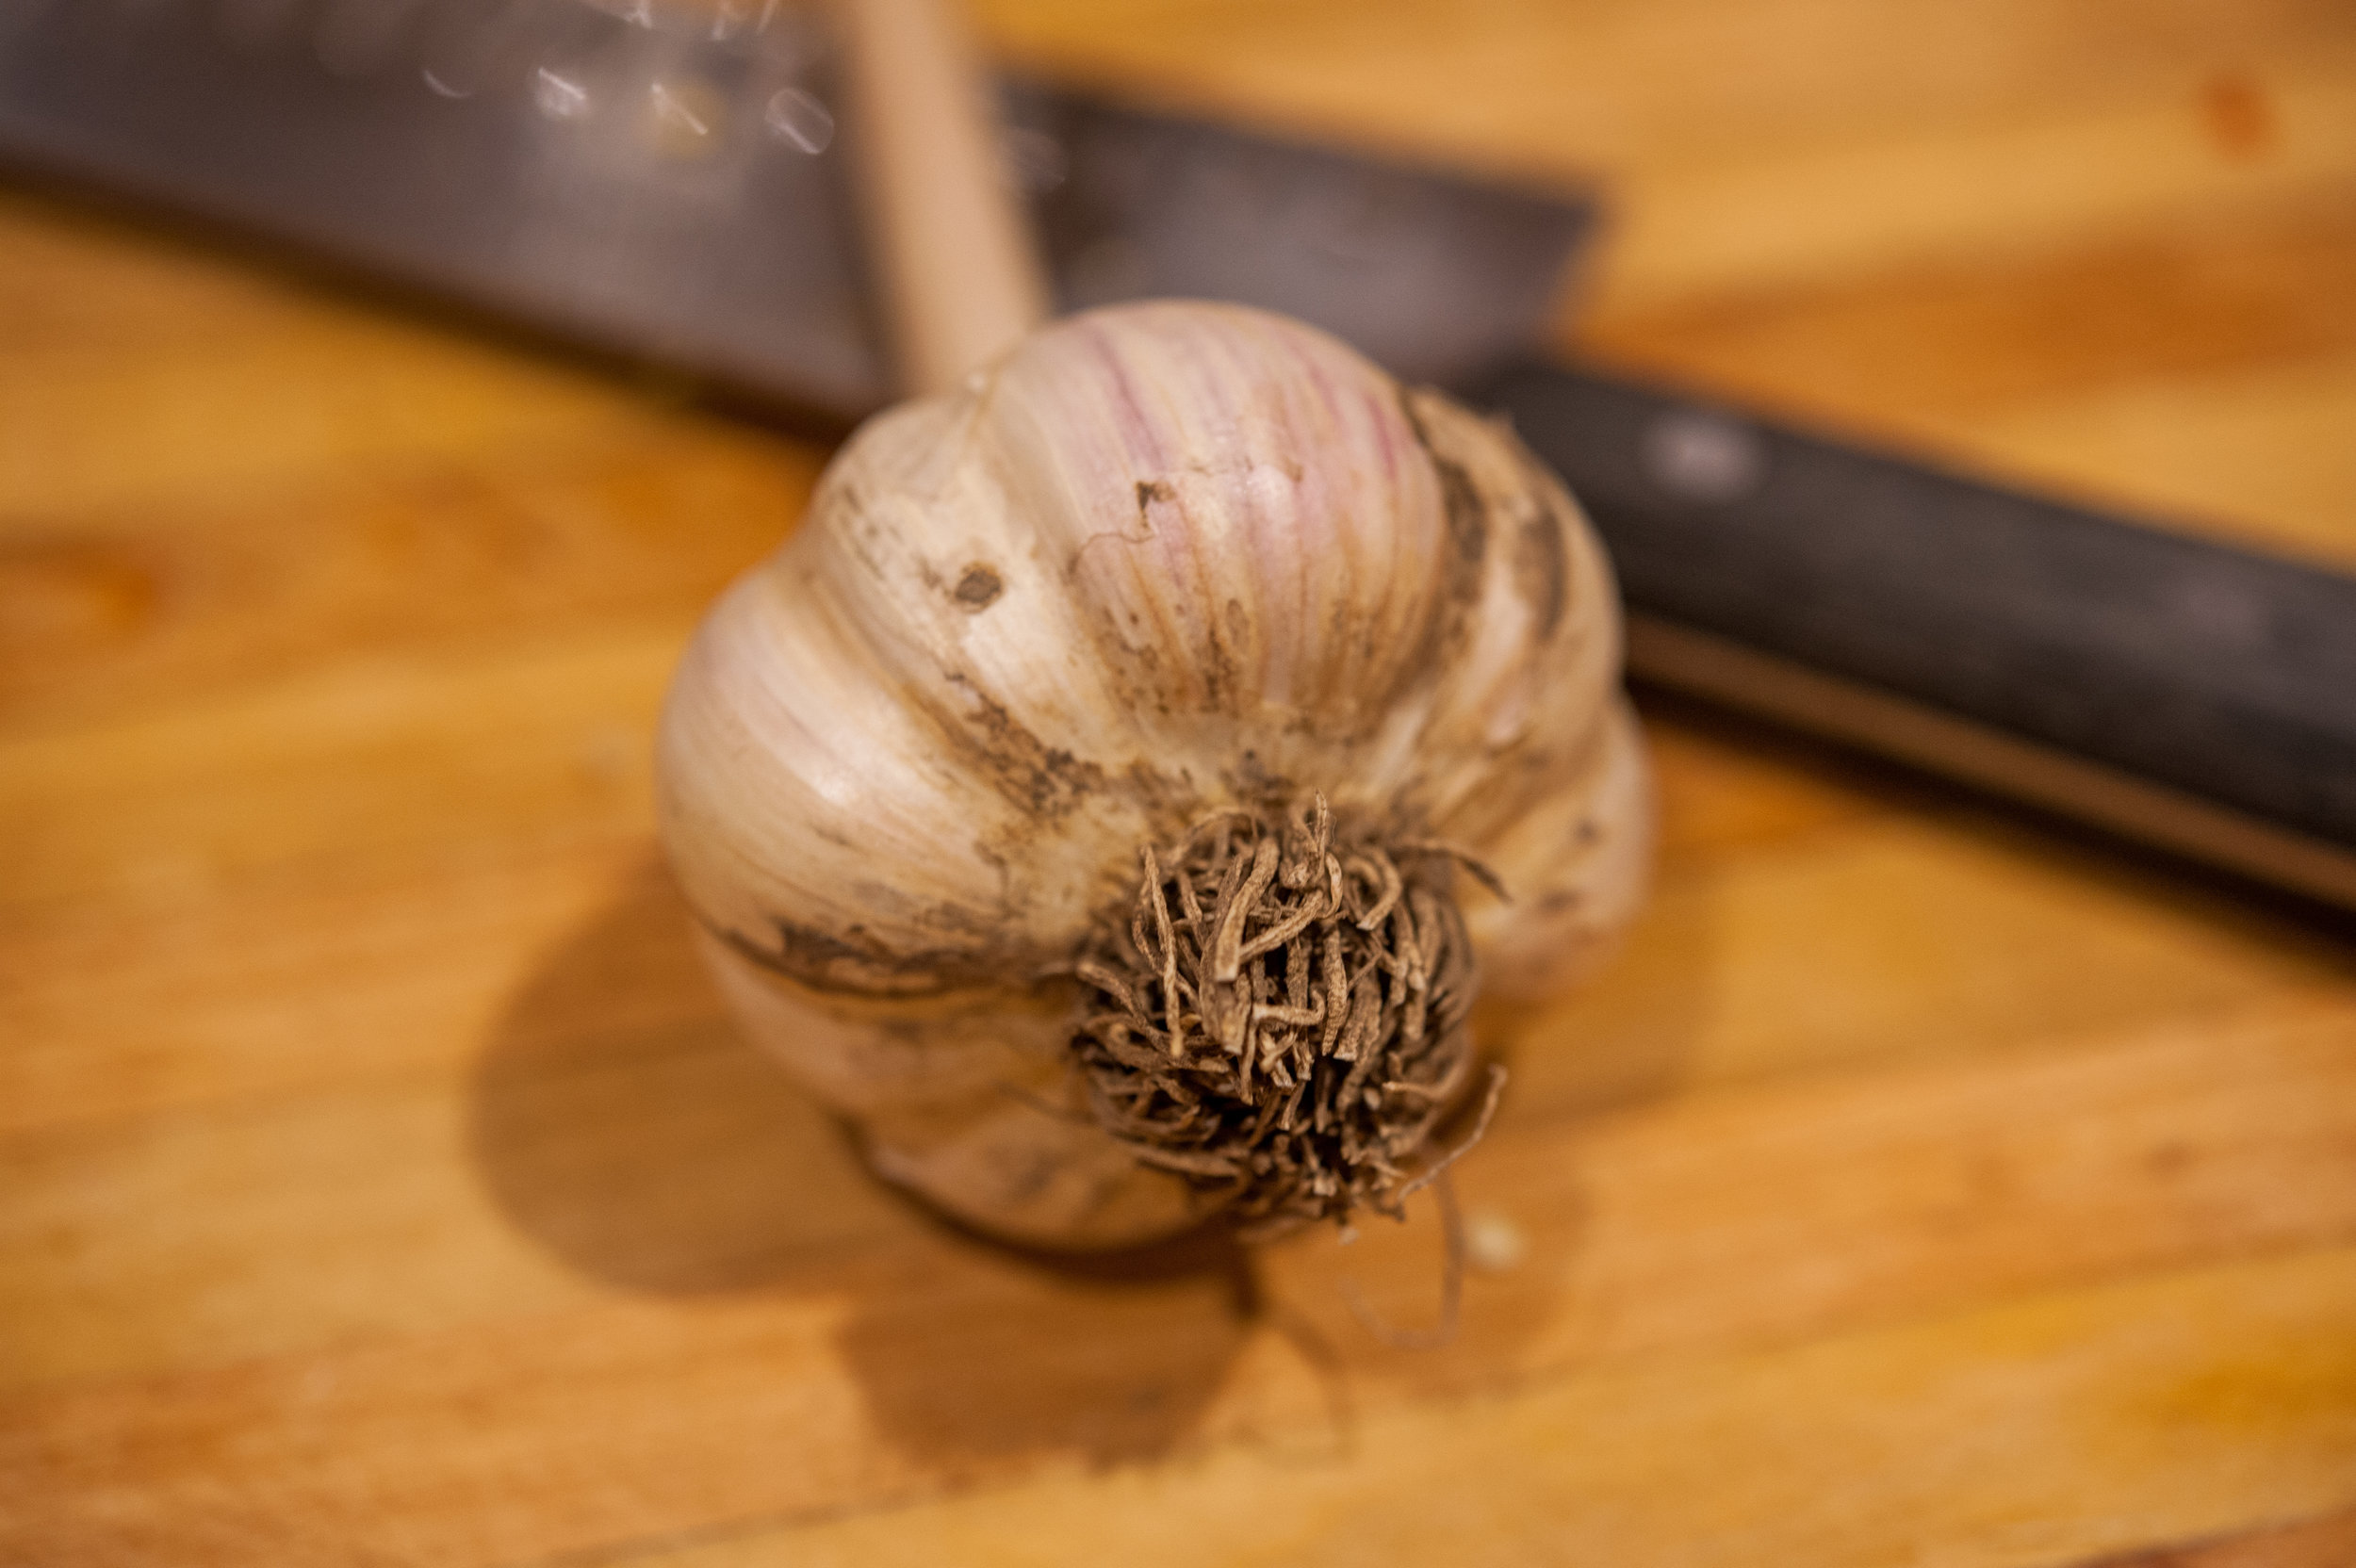
6 cloves garlic, minced
1 1/2 tablespoons ginger, chopped
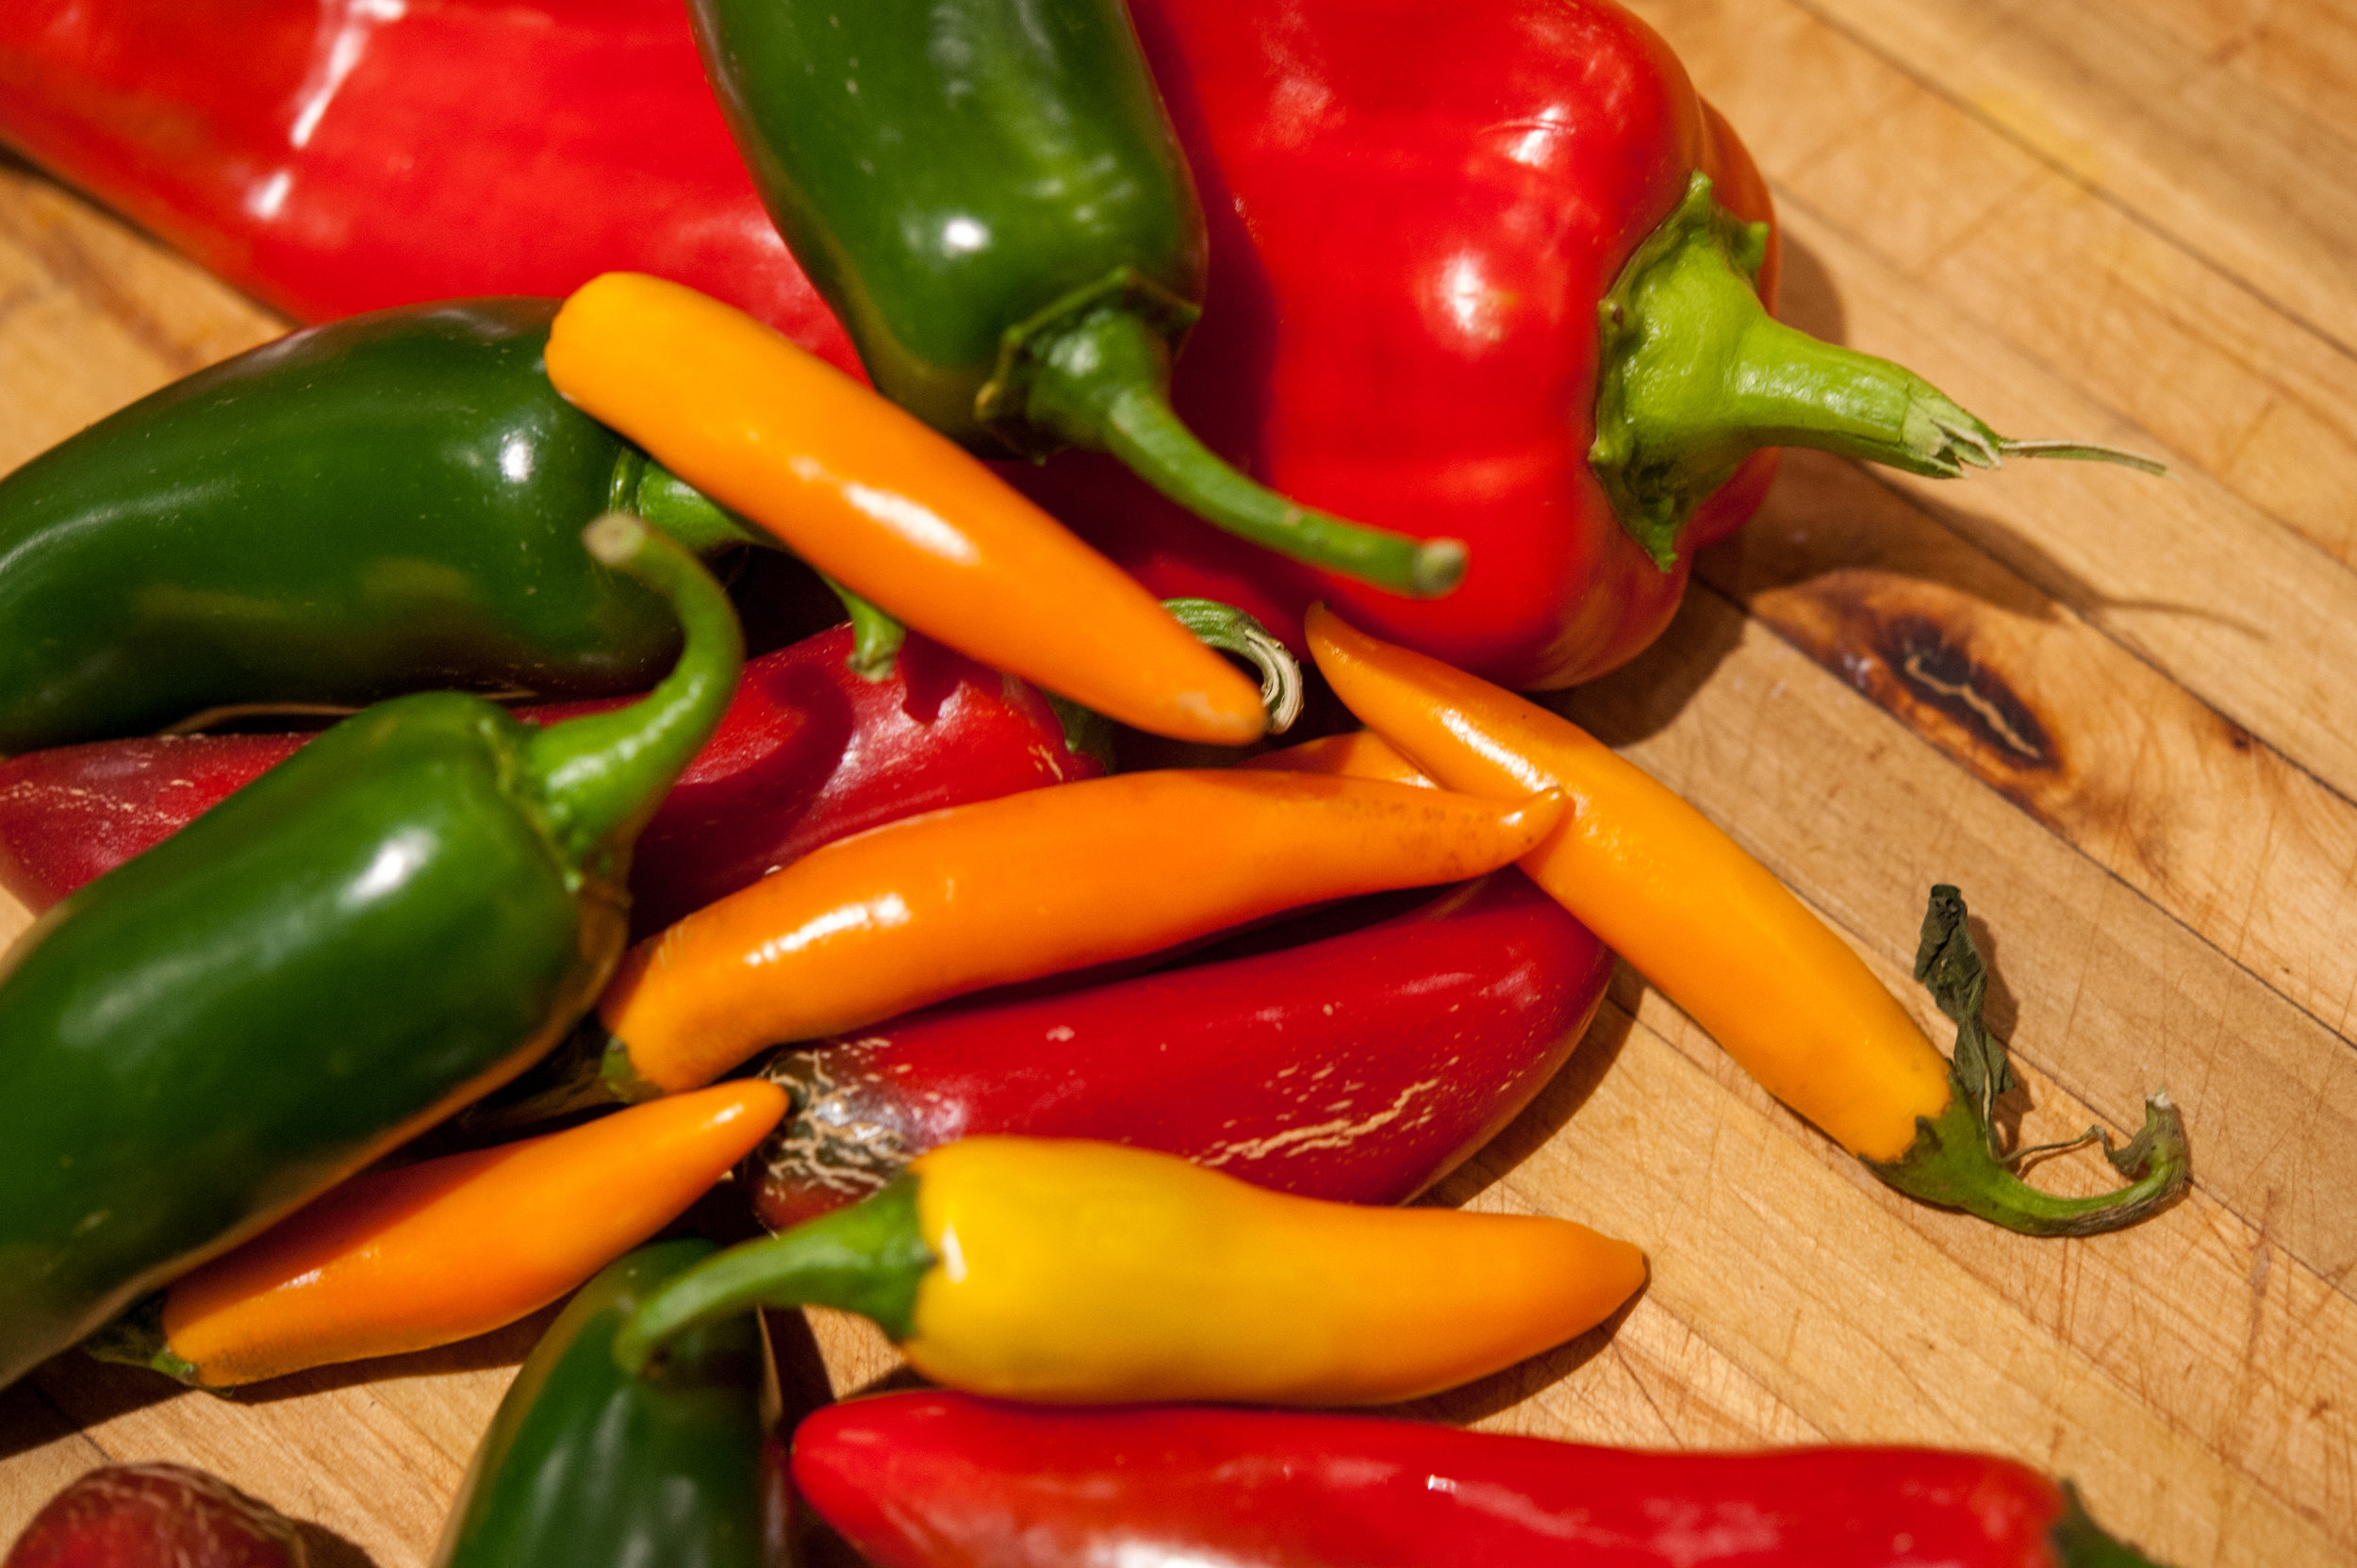
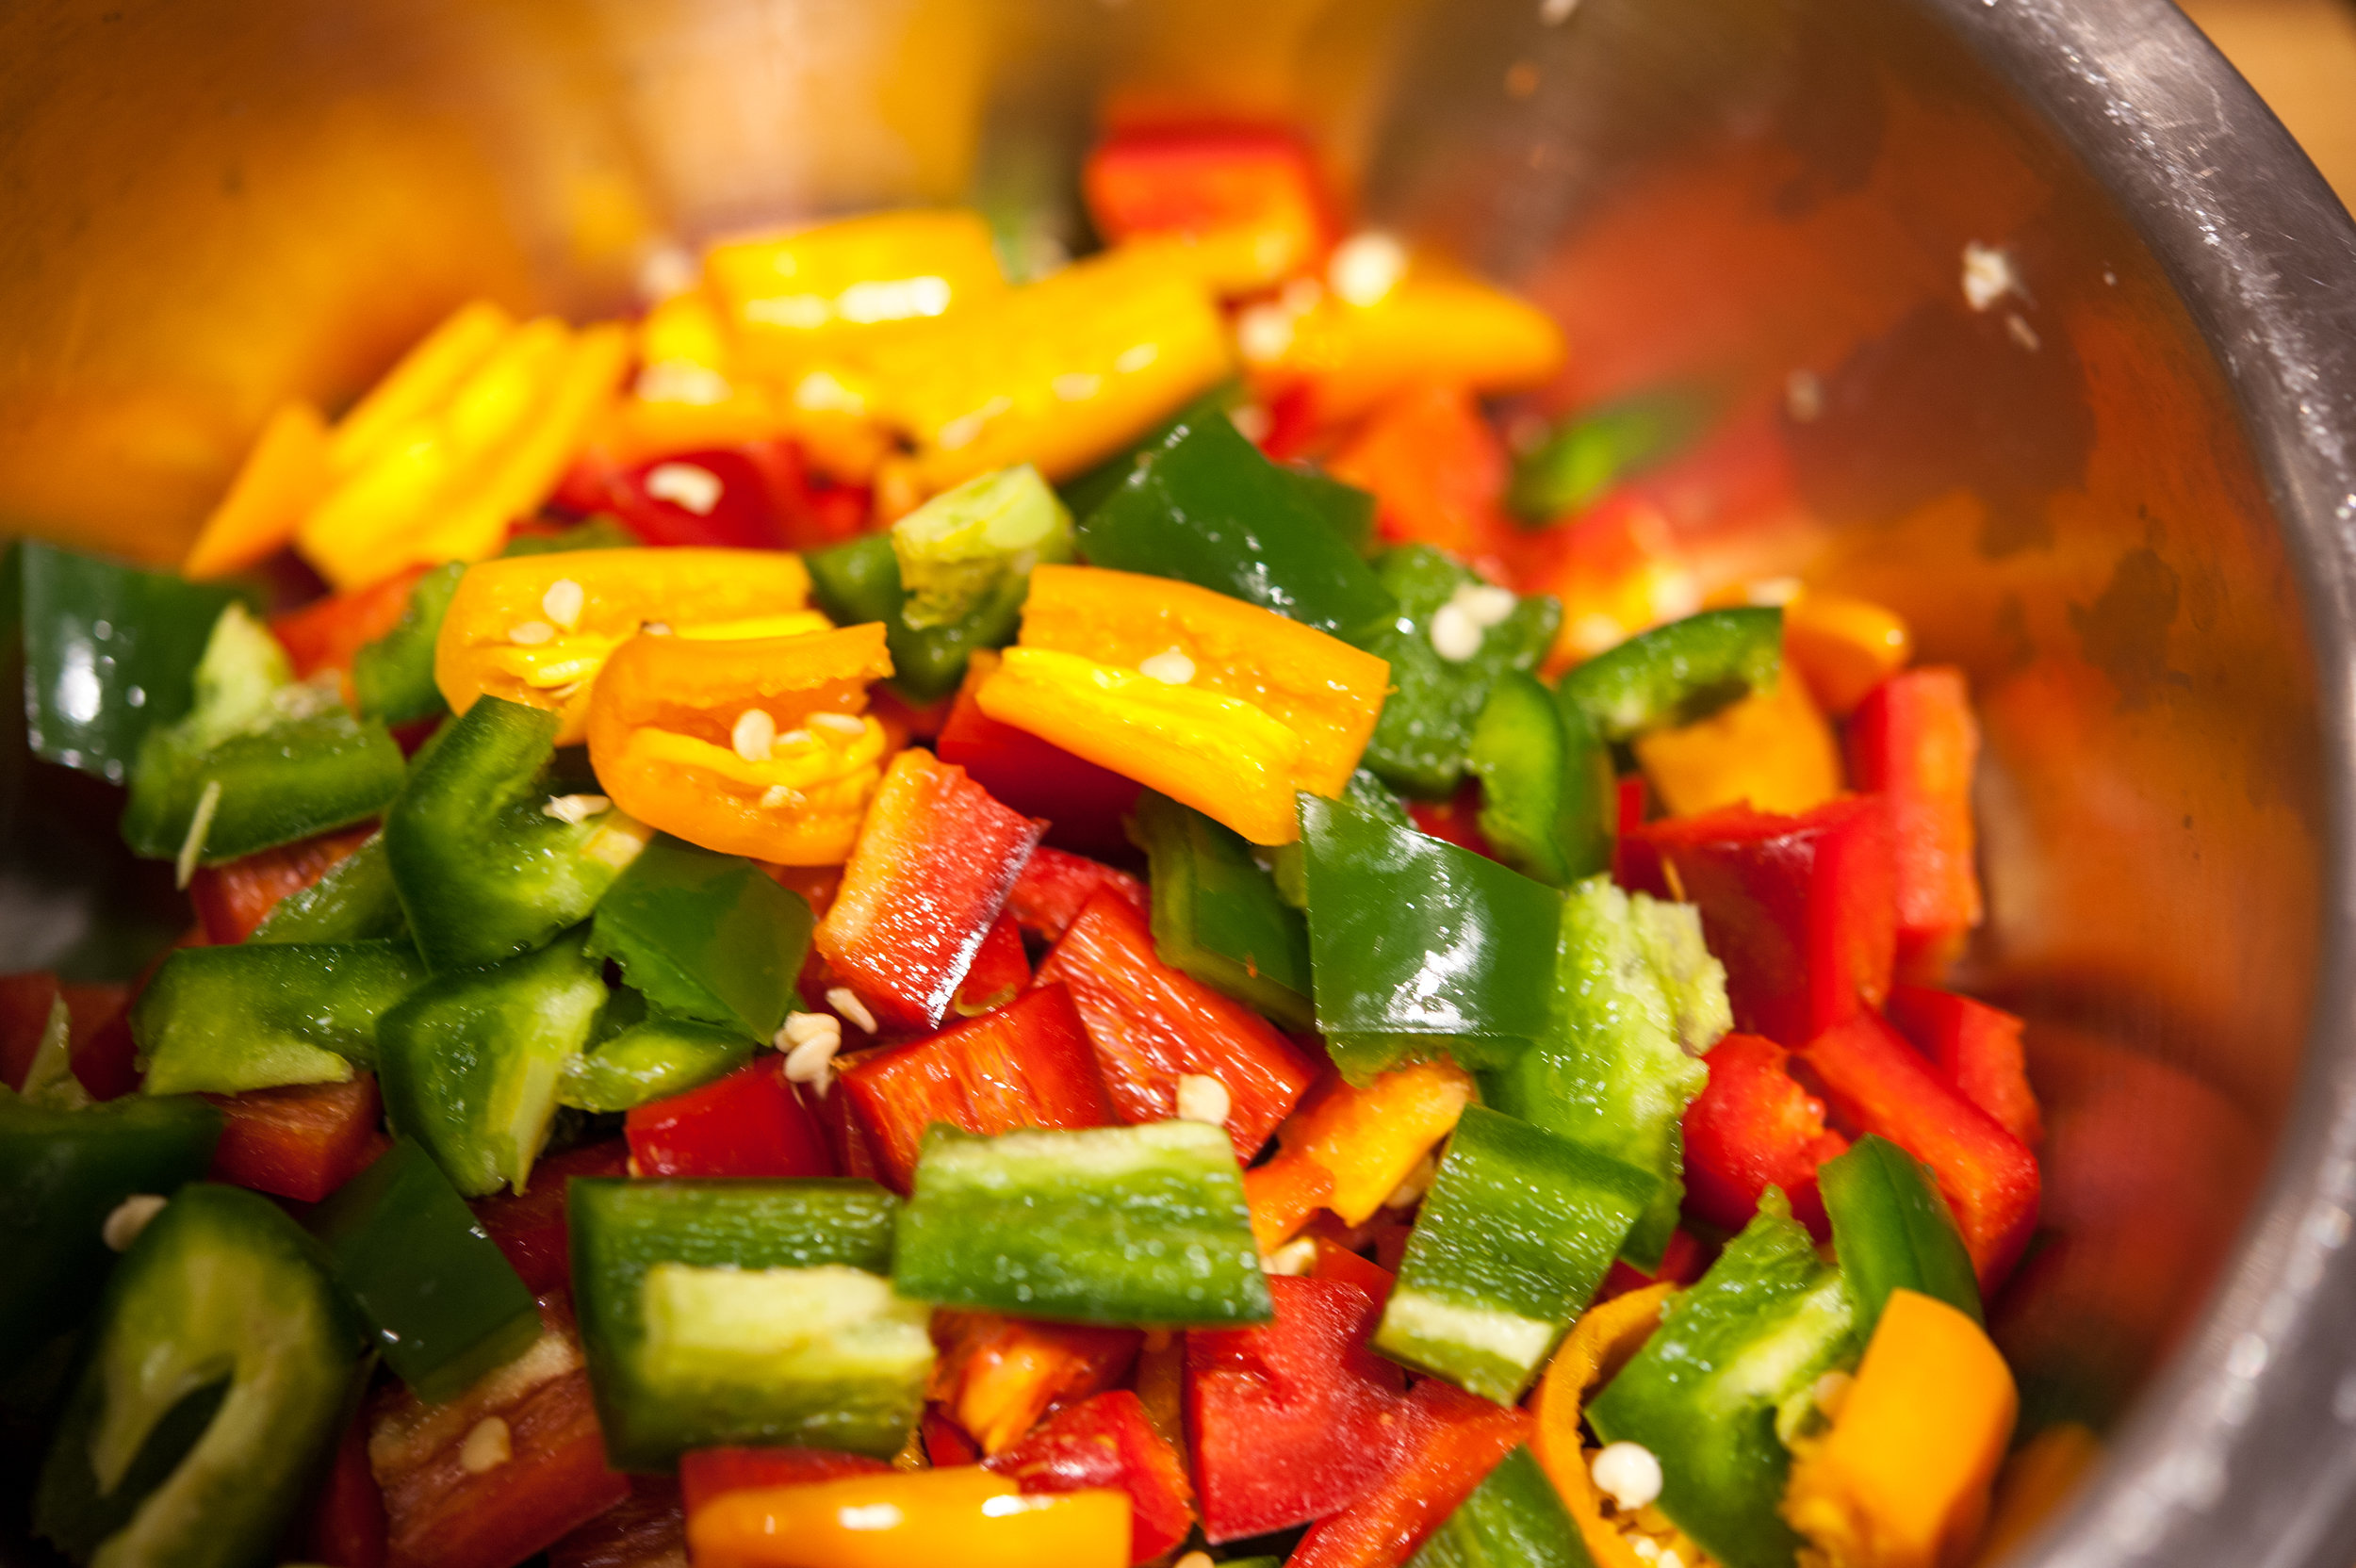
2 jalapeno, minced with seeds and ribs
2 sweet potatoes, cubed into 1 inch chunks
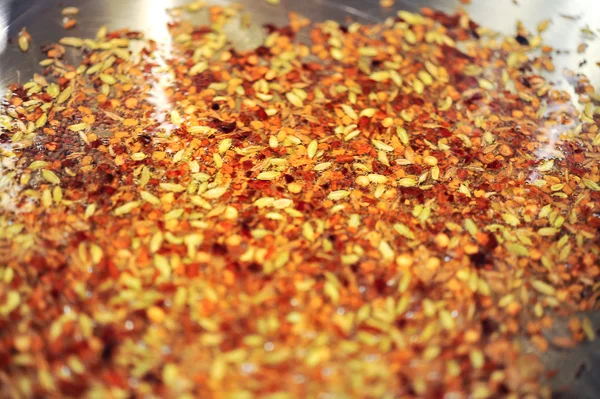
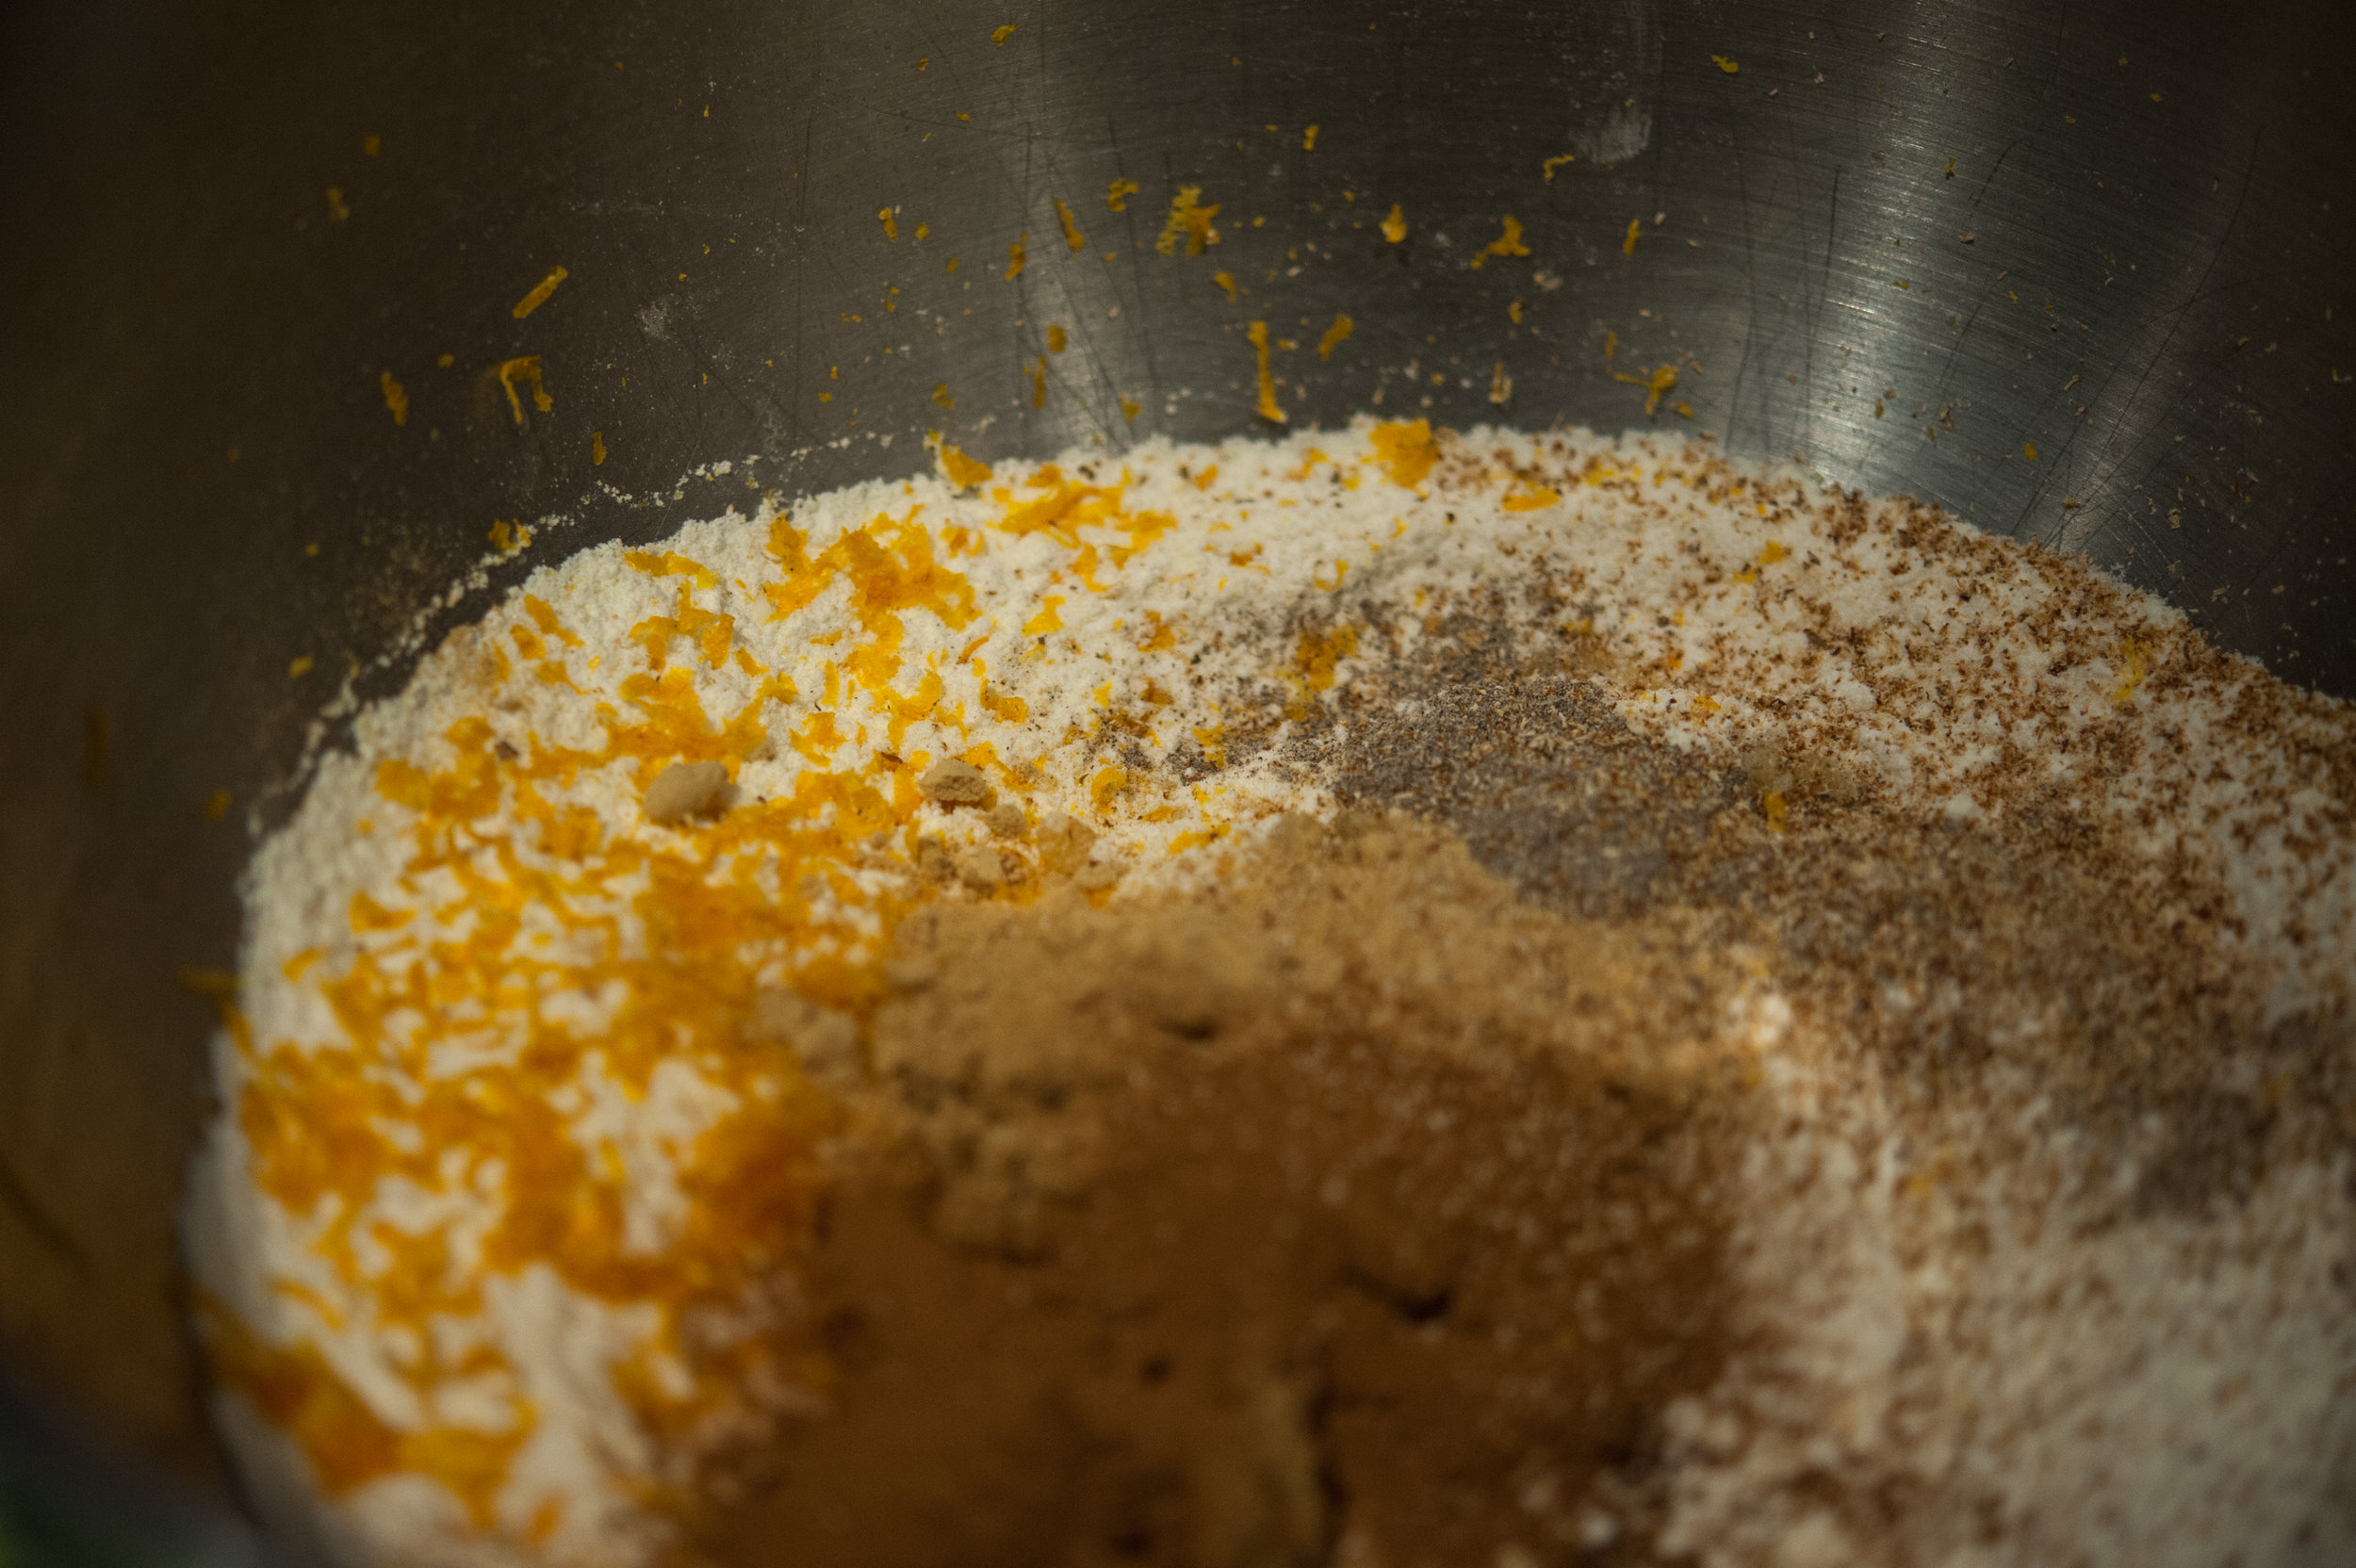
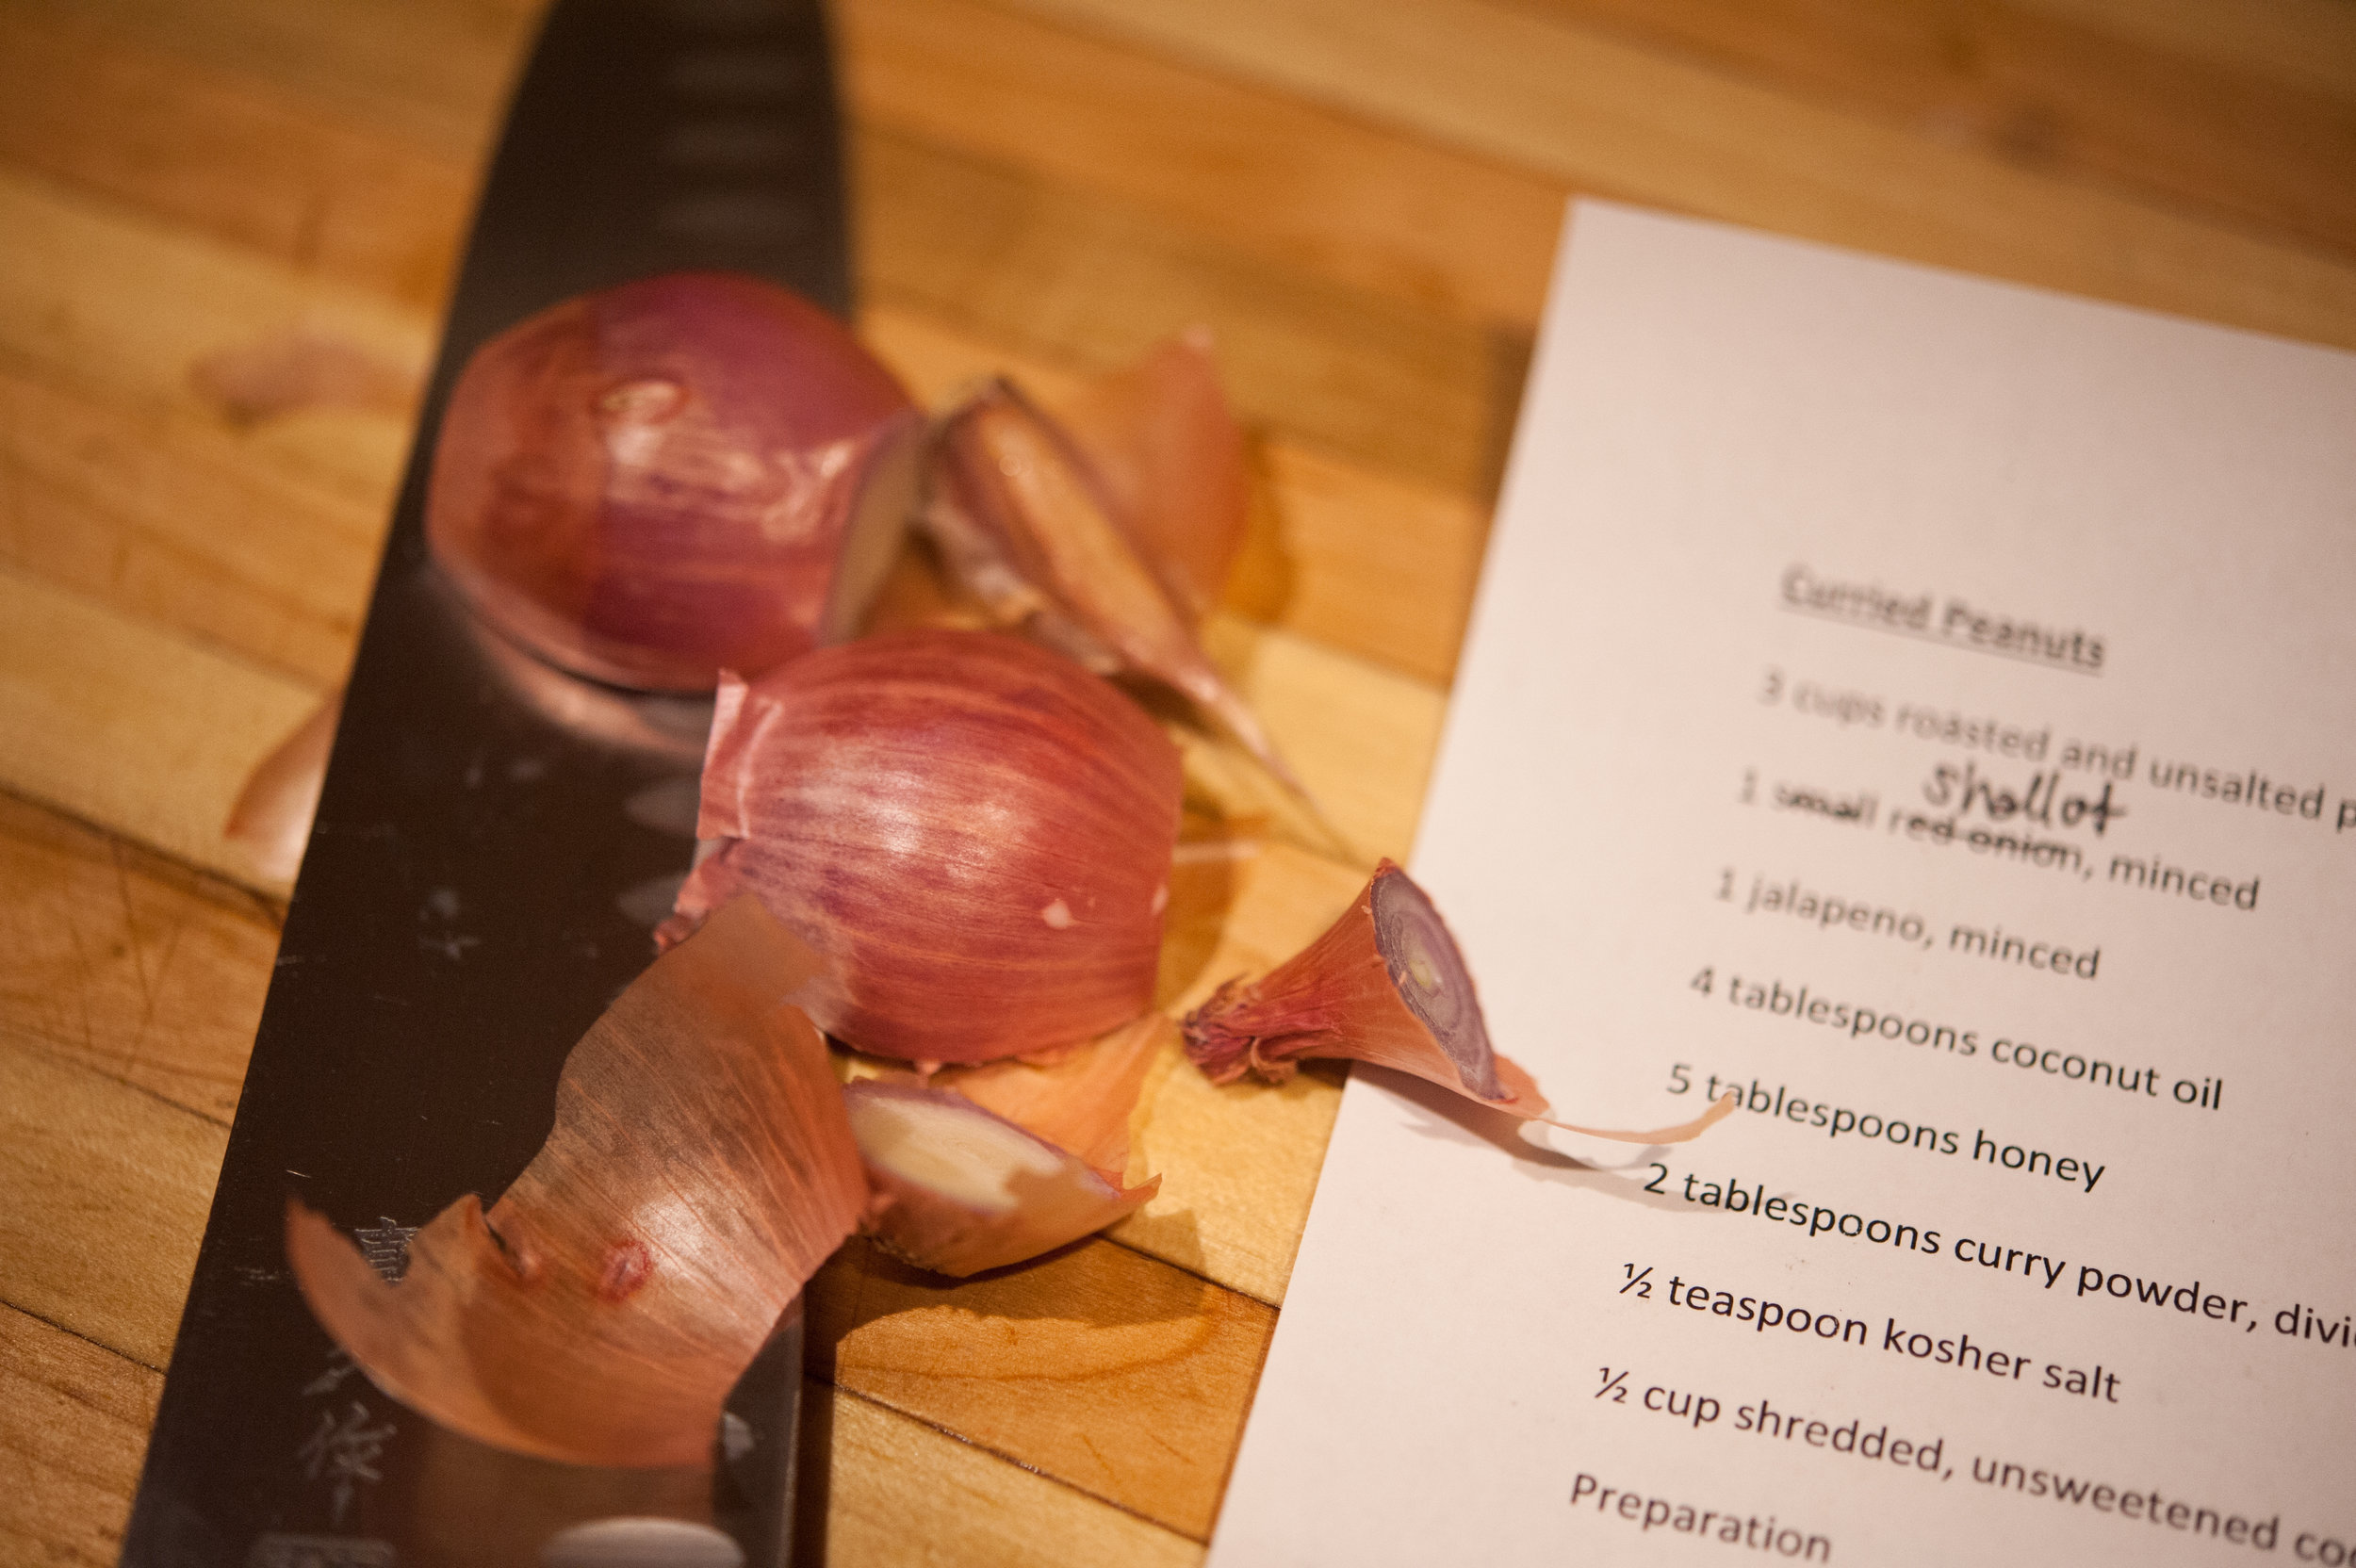
4 tablespoons Ras el Hanout (recipe here)
28 ounce can of chopped tomatoes and juices
2 cups beef broth
1 cup red wine
2 bay leaves
1 teaspoon fennel seeds
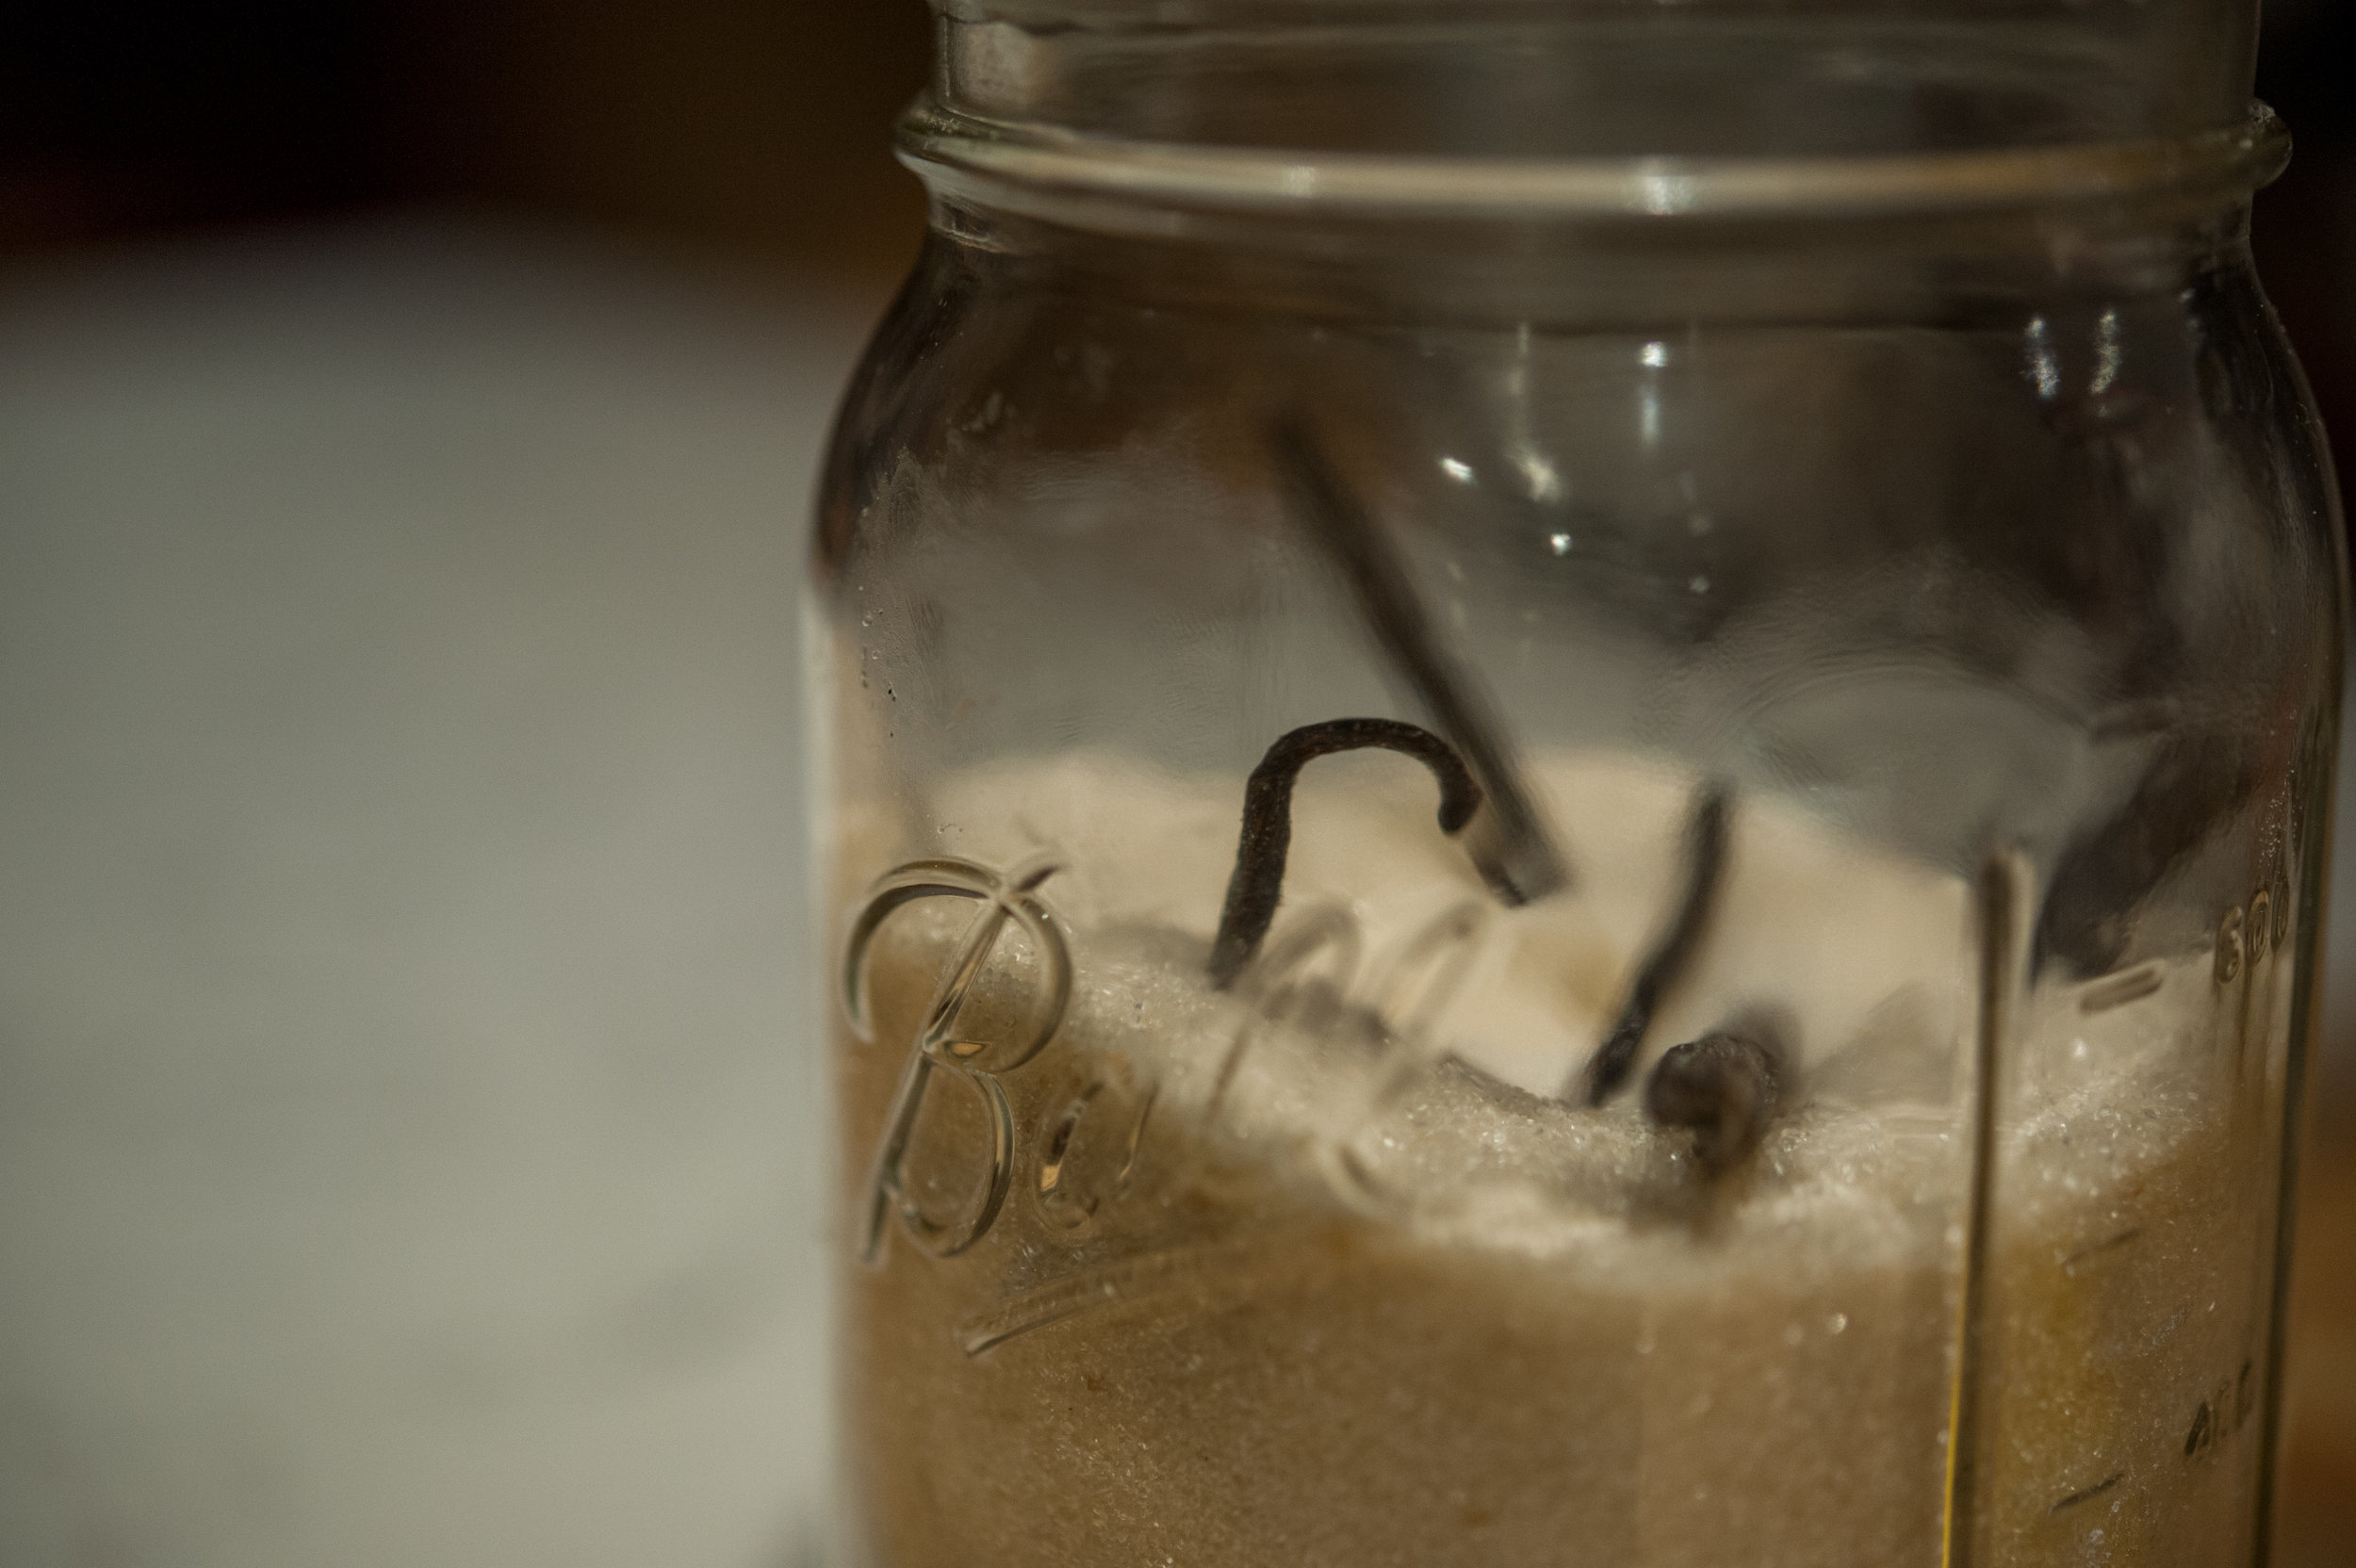
8 cardamom pods
2 star anise
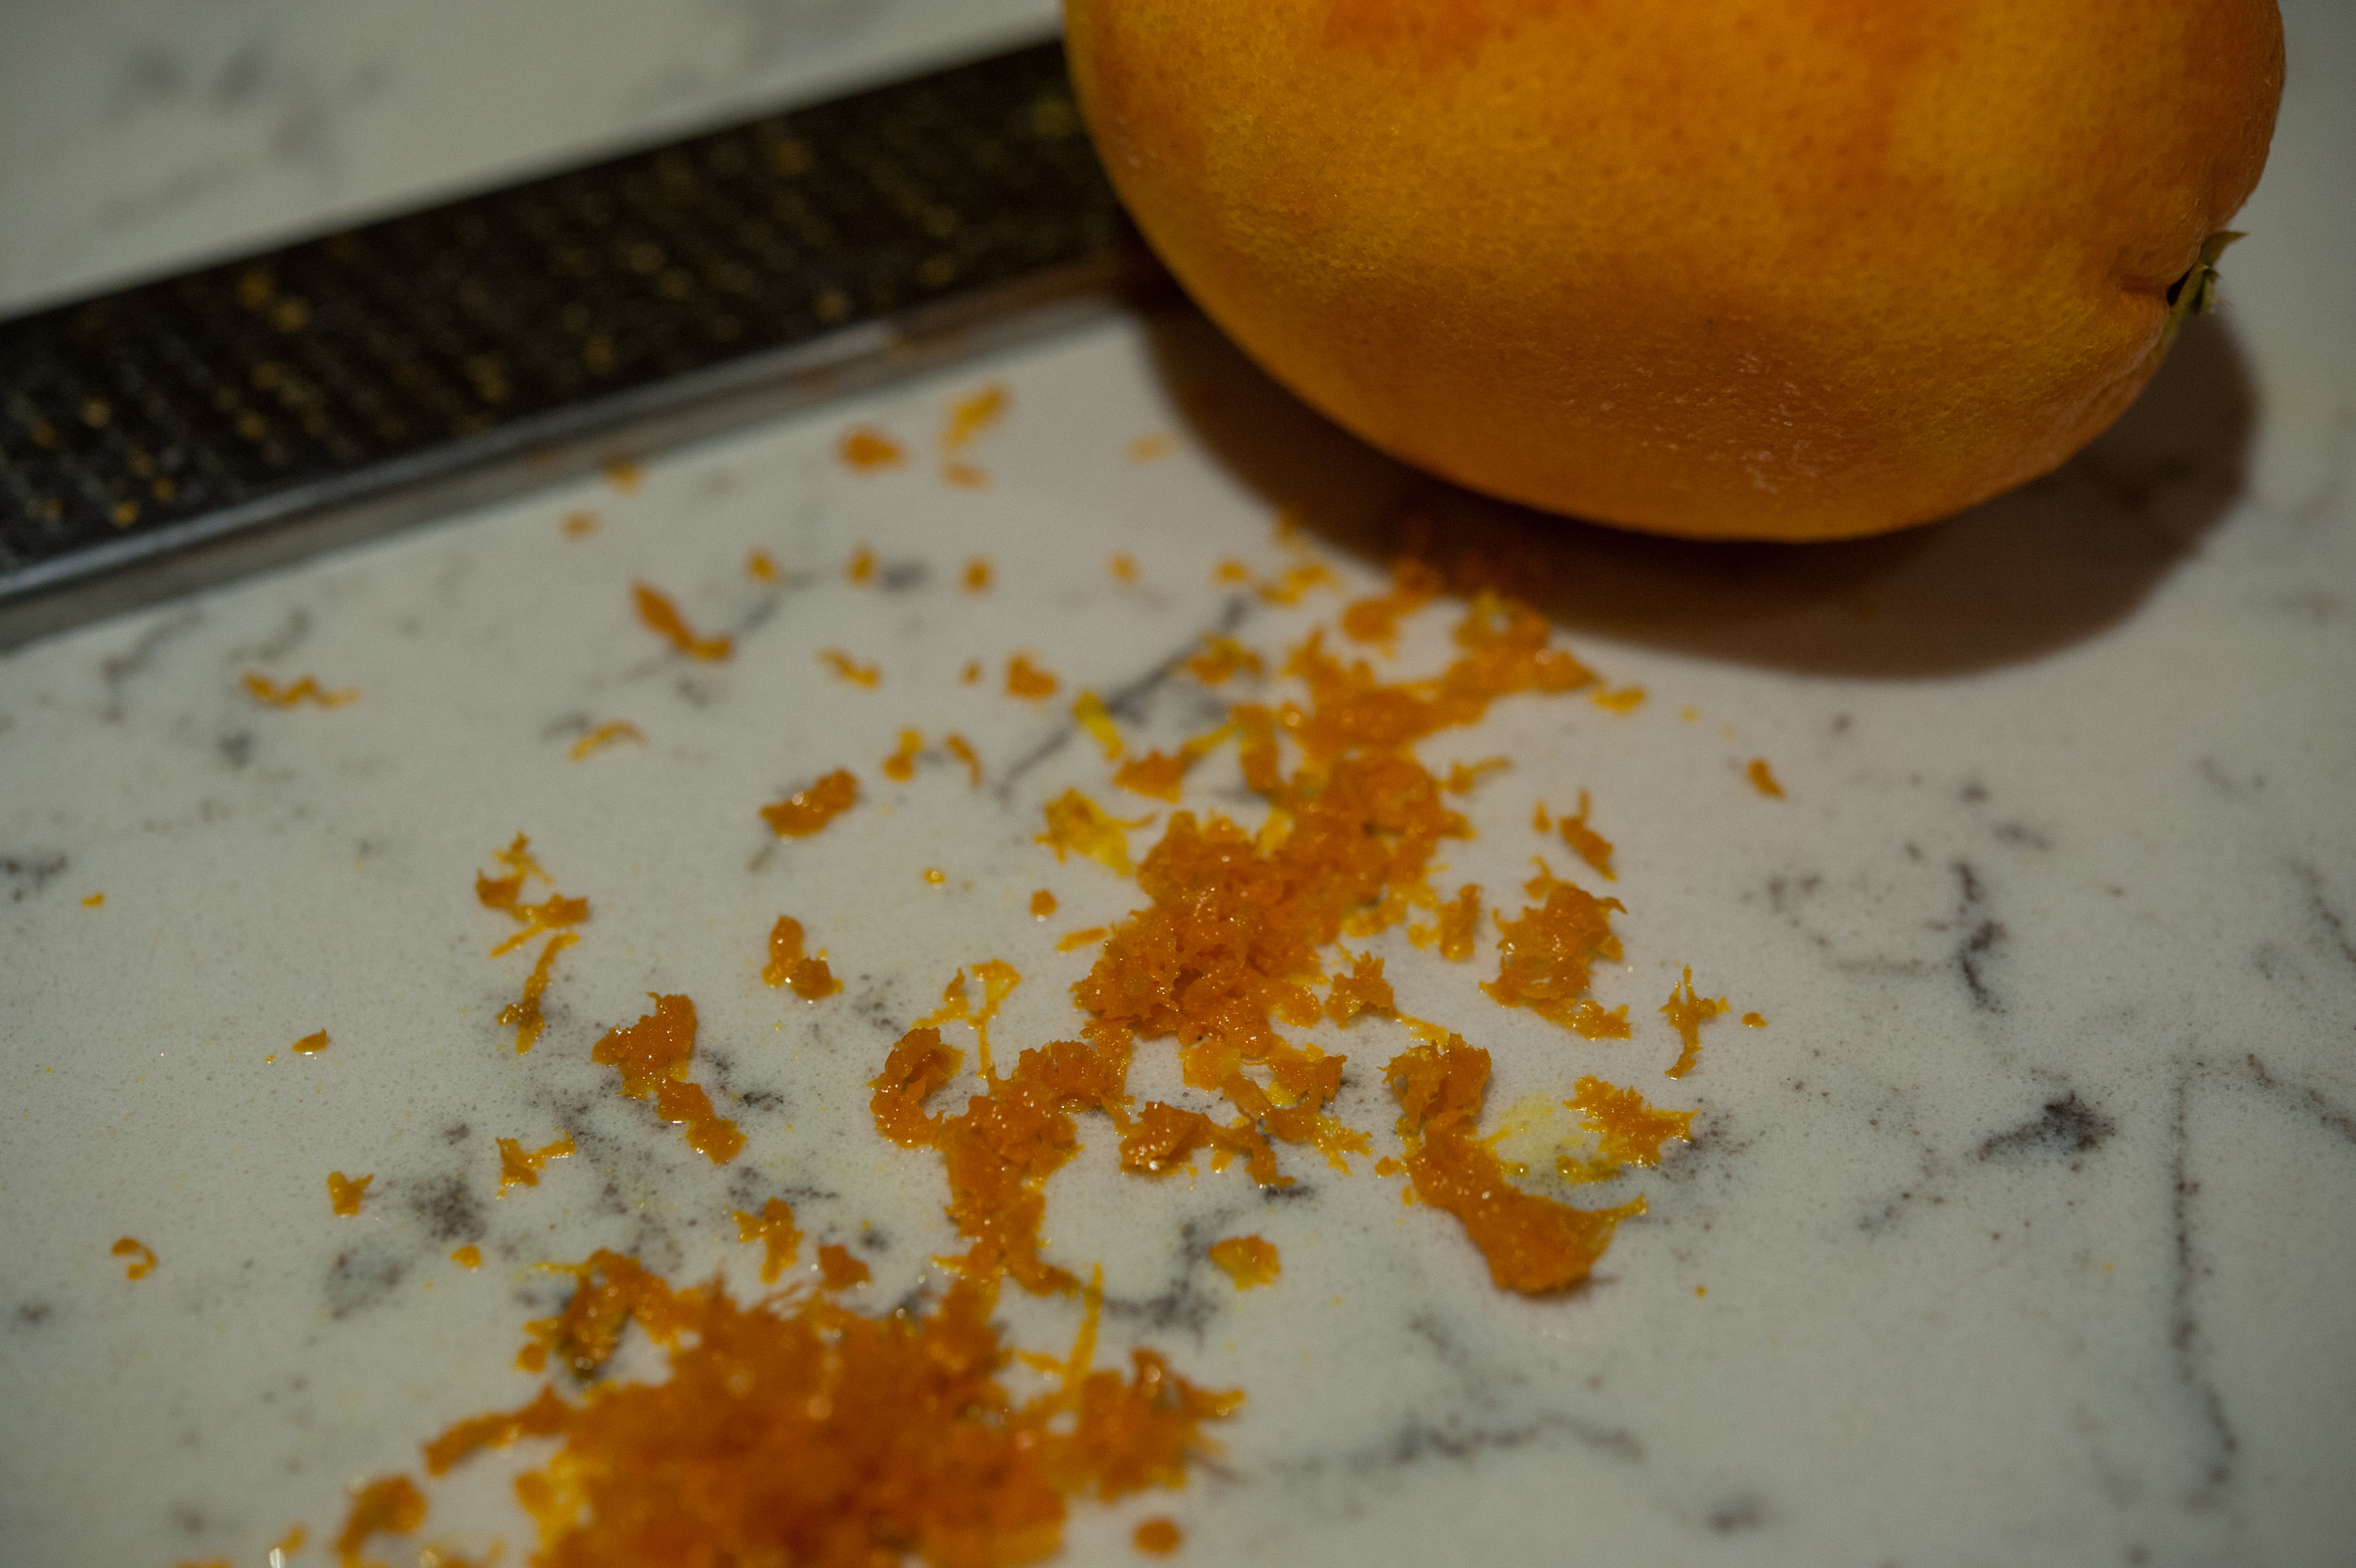
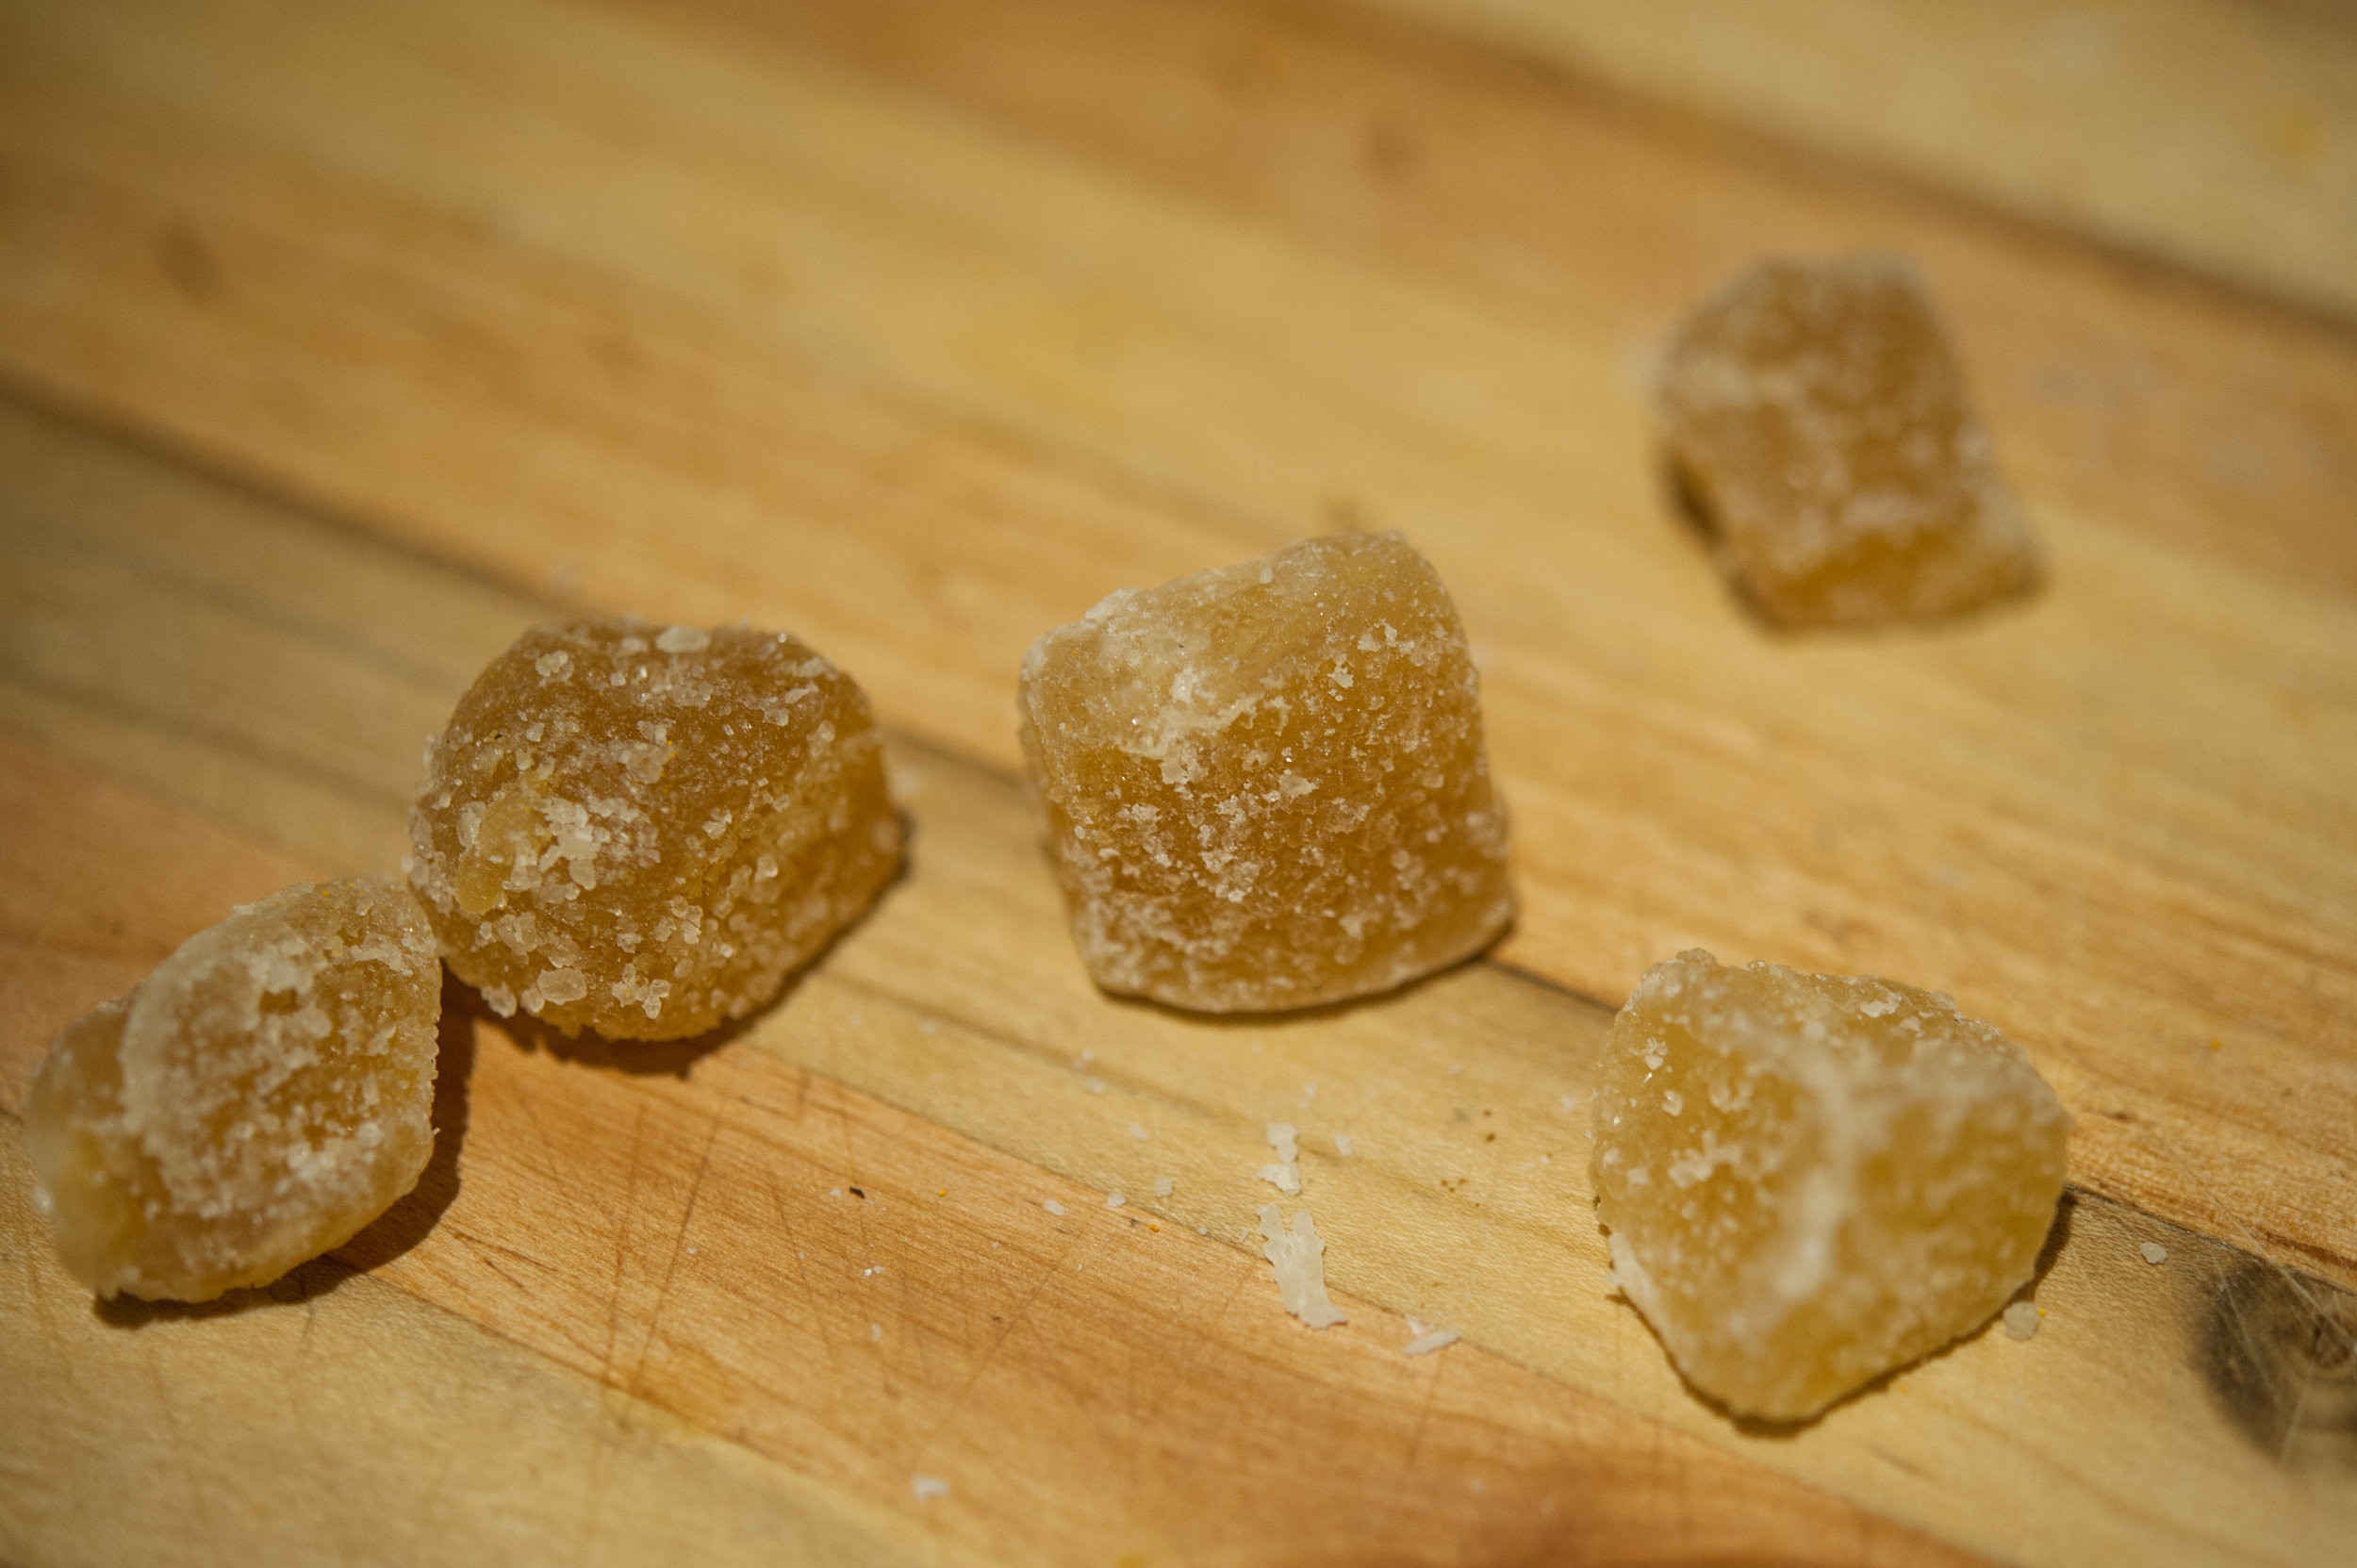
2 preserved lemons, finely chopped
14-ounce can of chickpeas
1/2 cup honey
1/2 cup parsley
1/2 cup cilantro
1/4 cup golden raisins
1/4 cup currants
Pinch of saffron strands
Salt and pepper
Preparation
Preheat oven to 325 degrees.
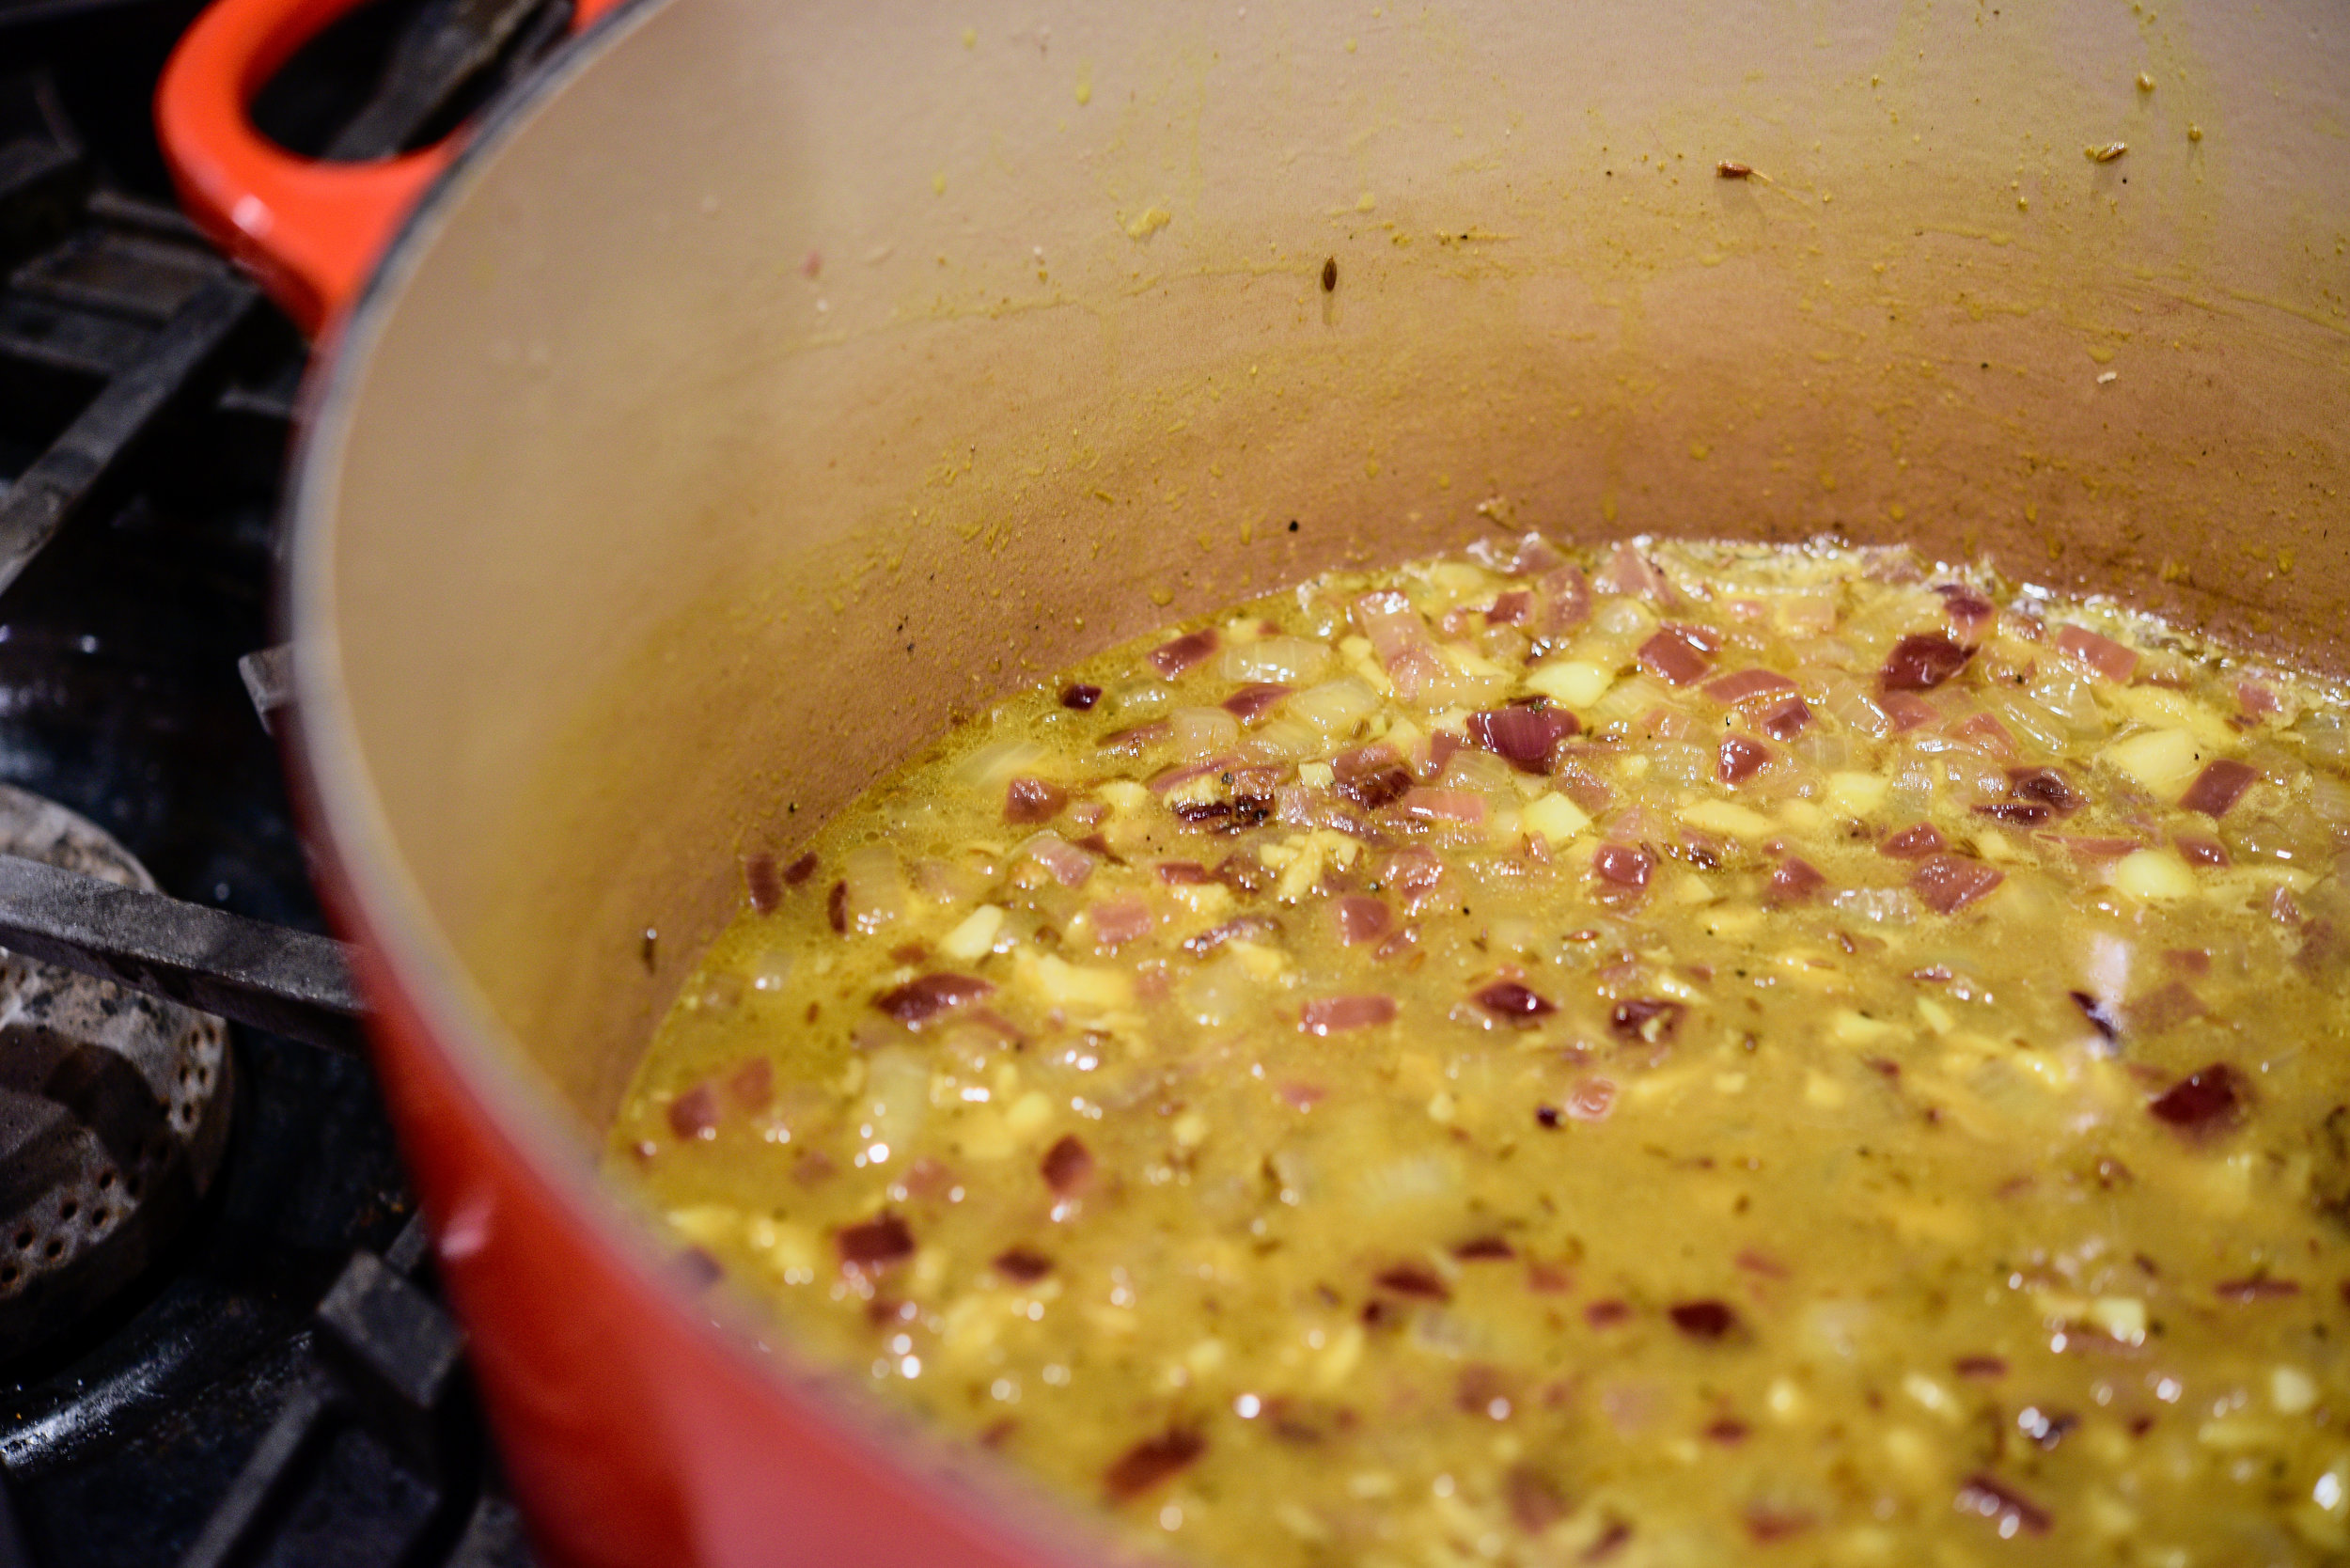
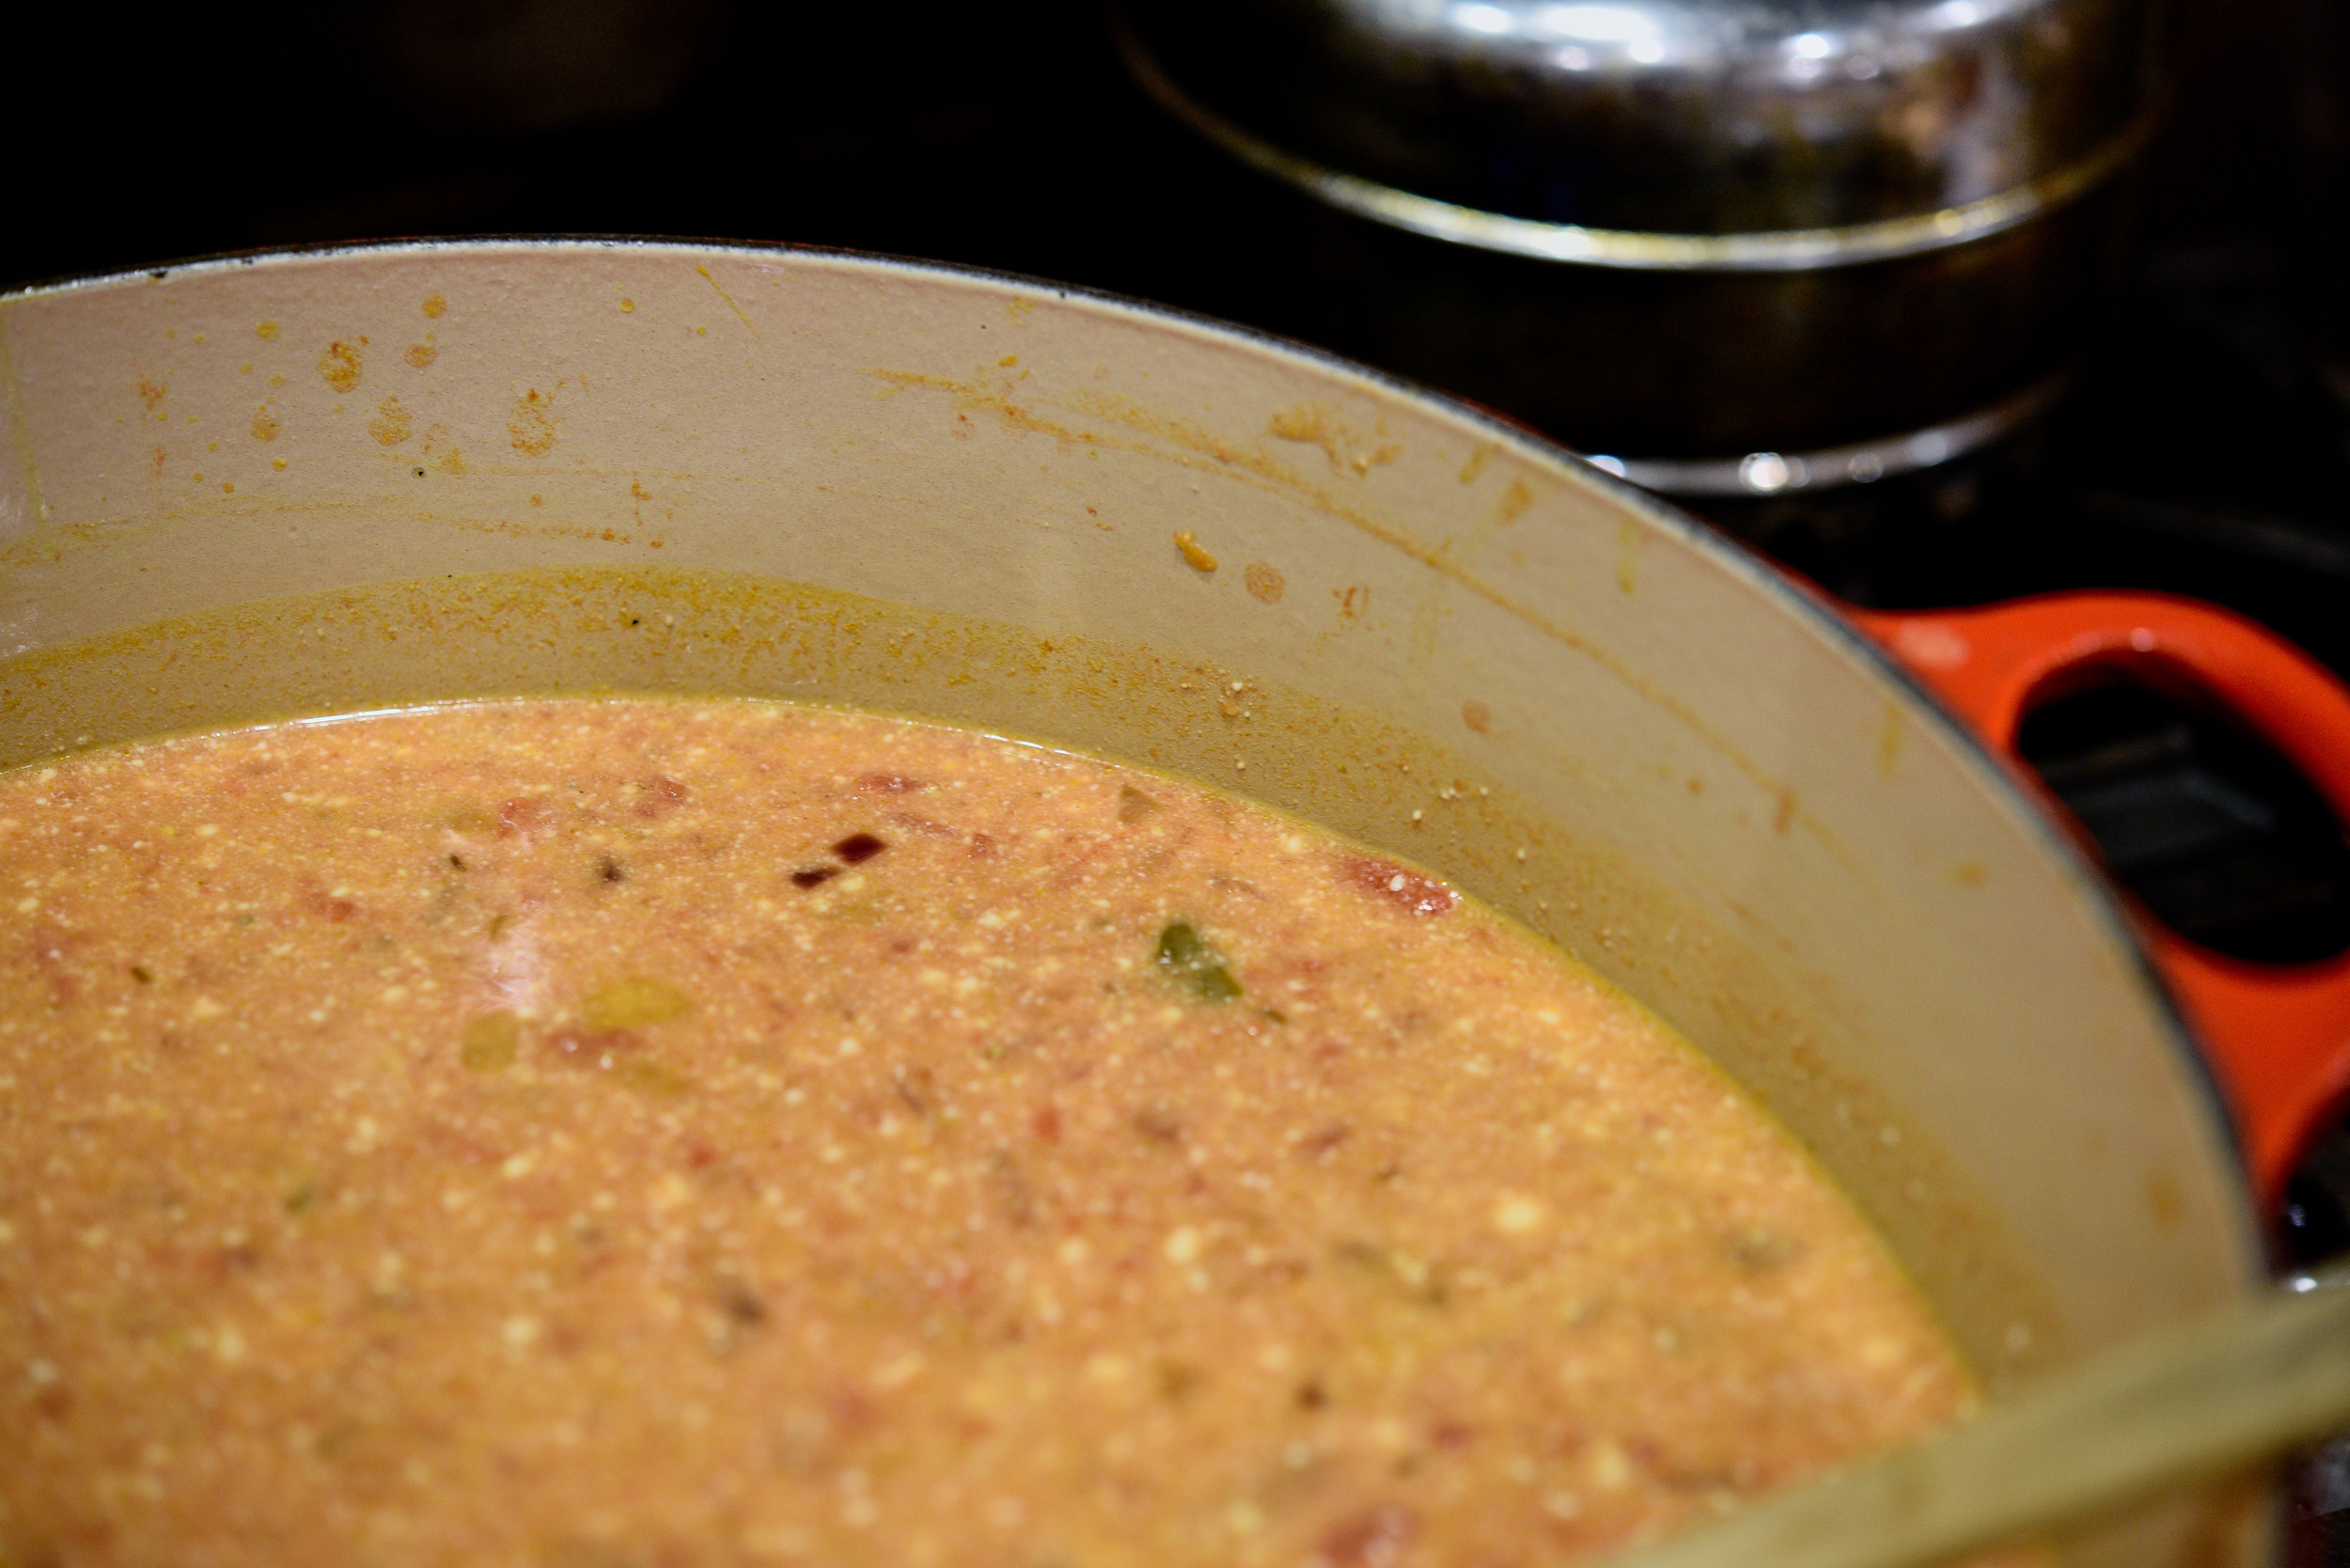
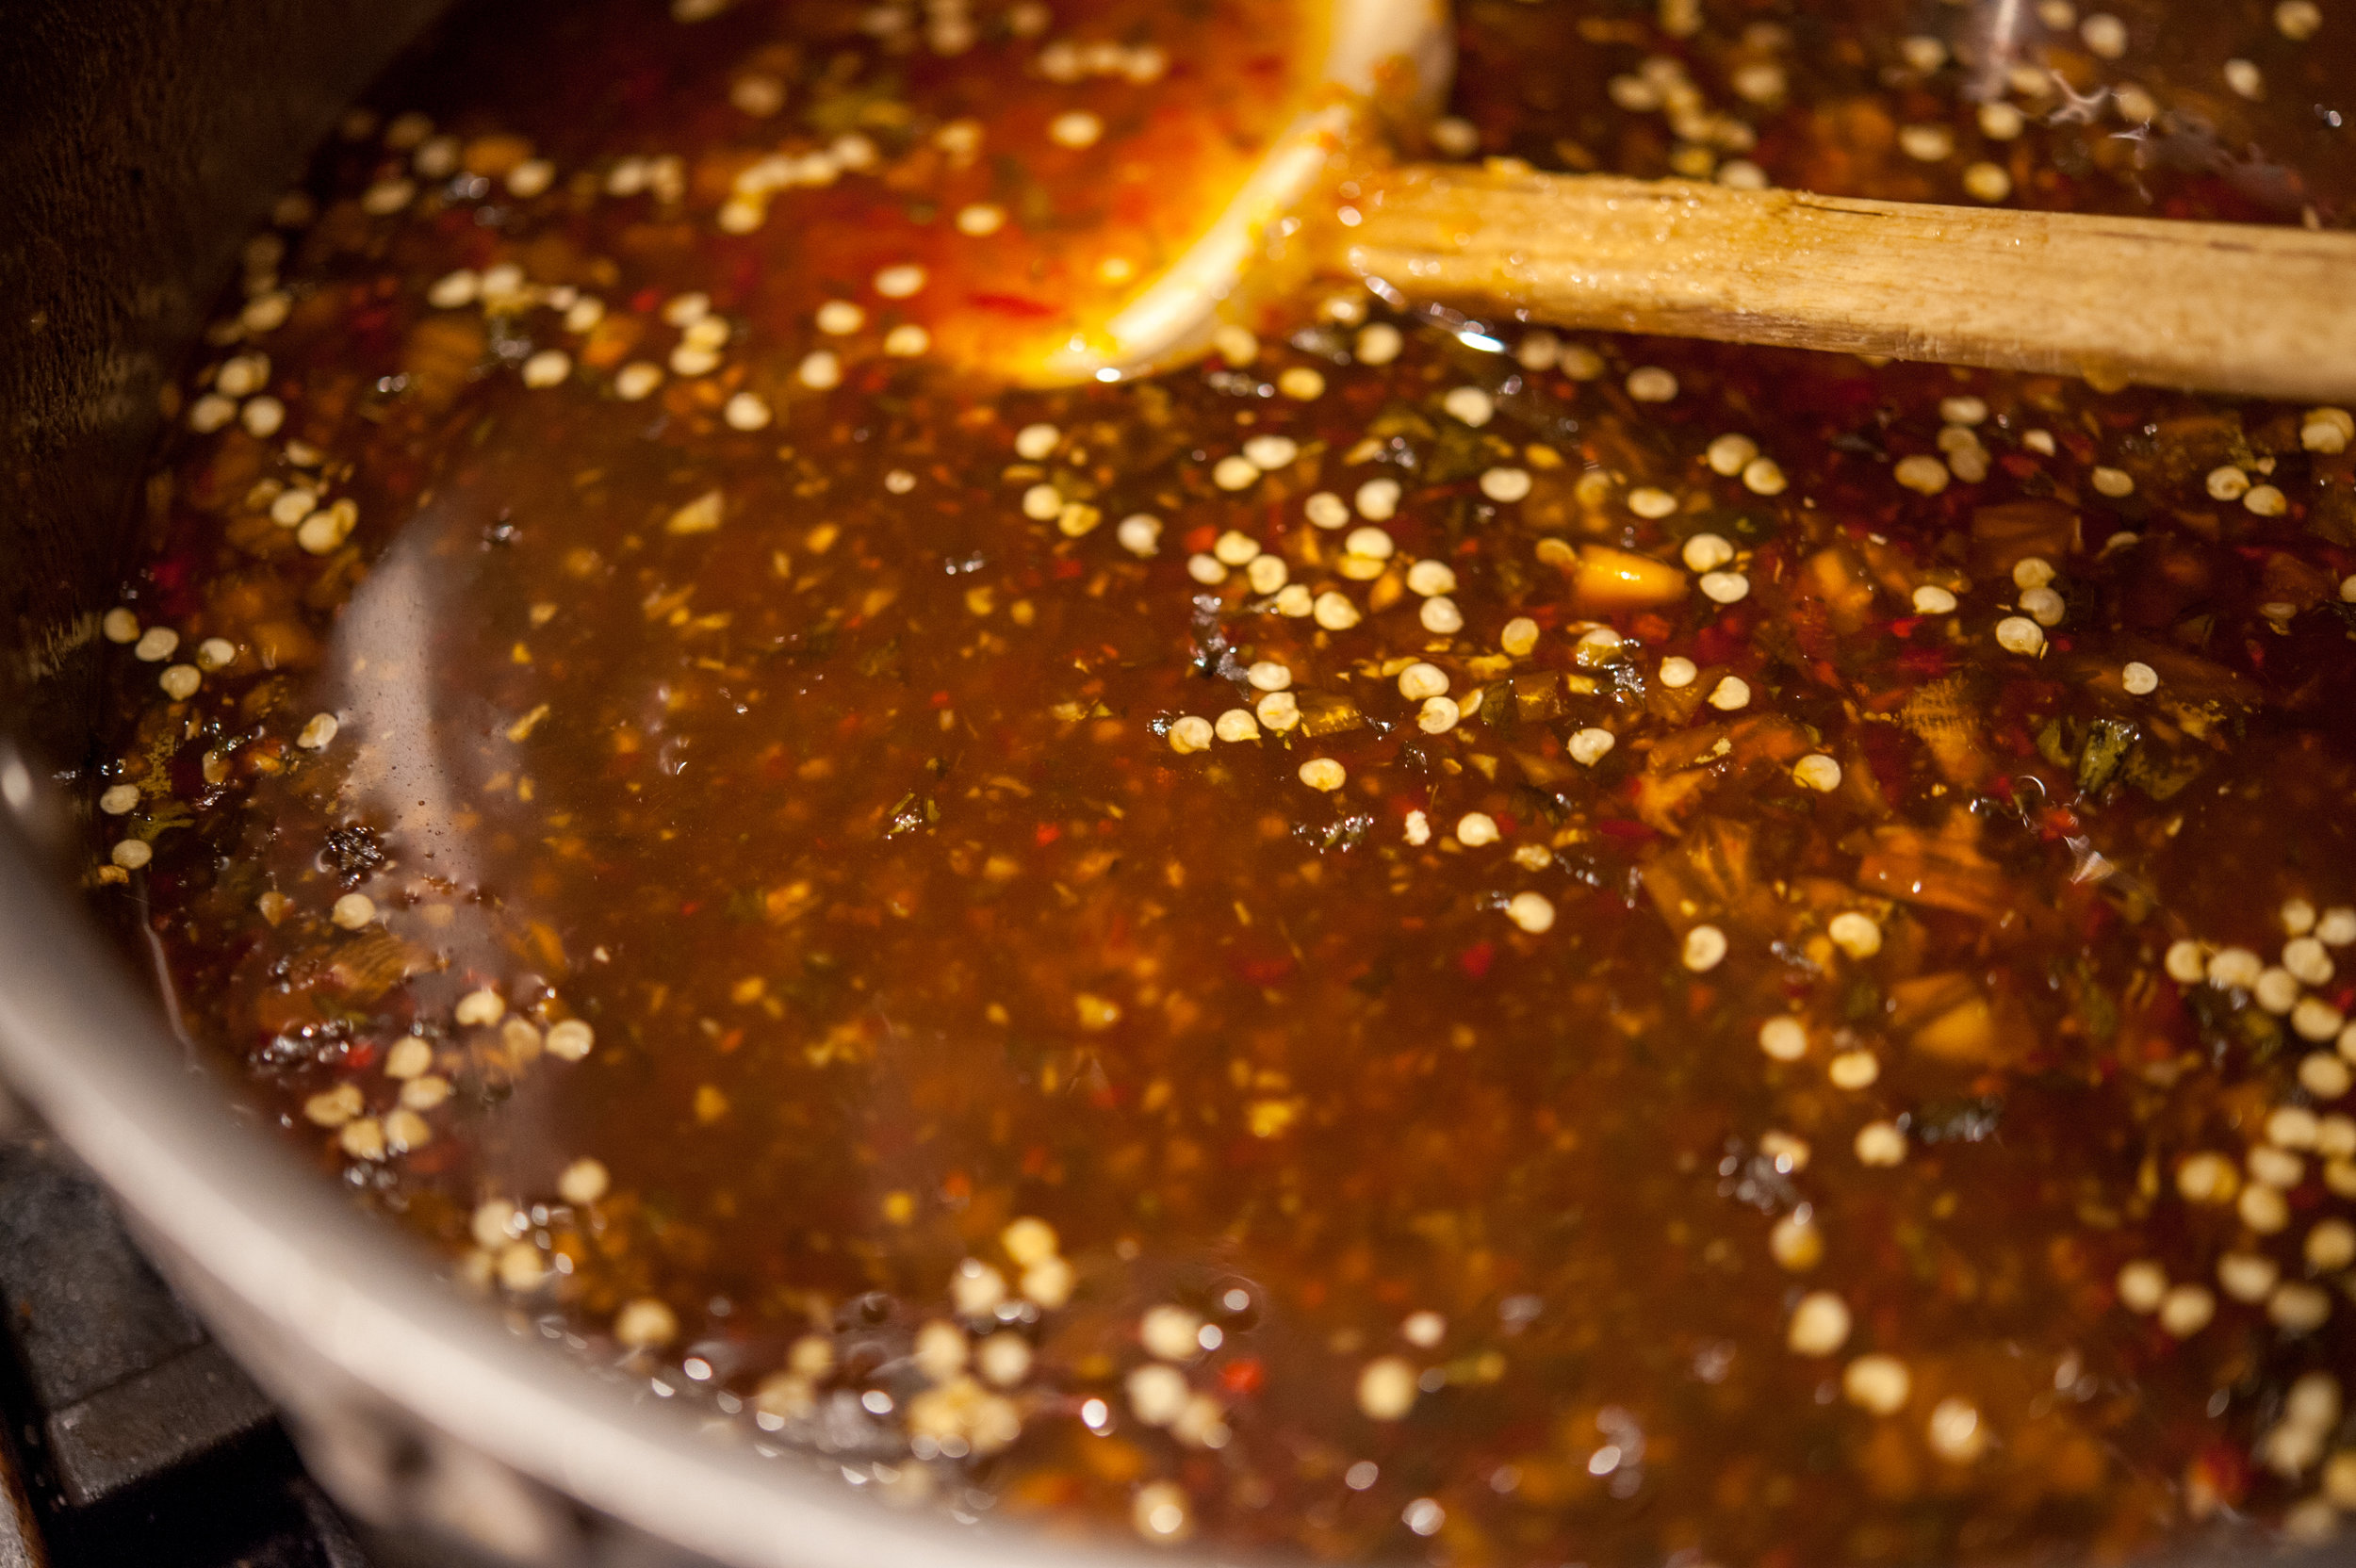
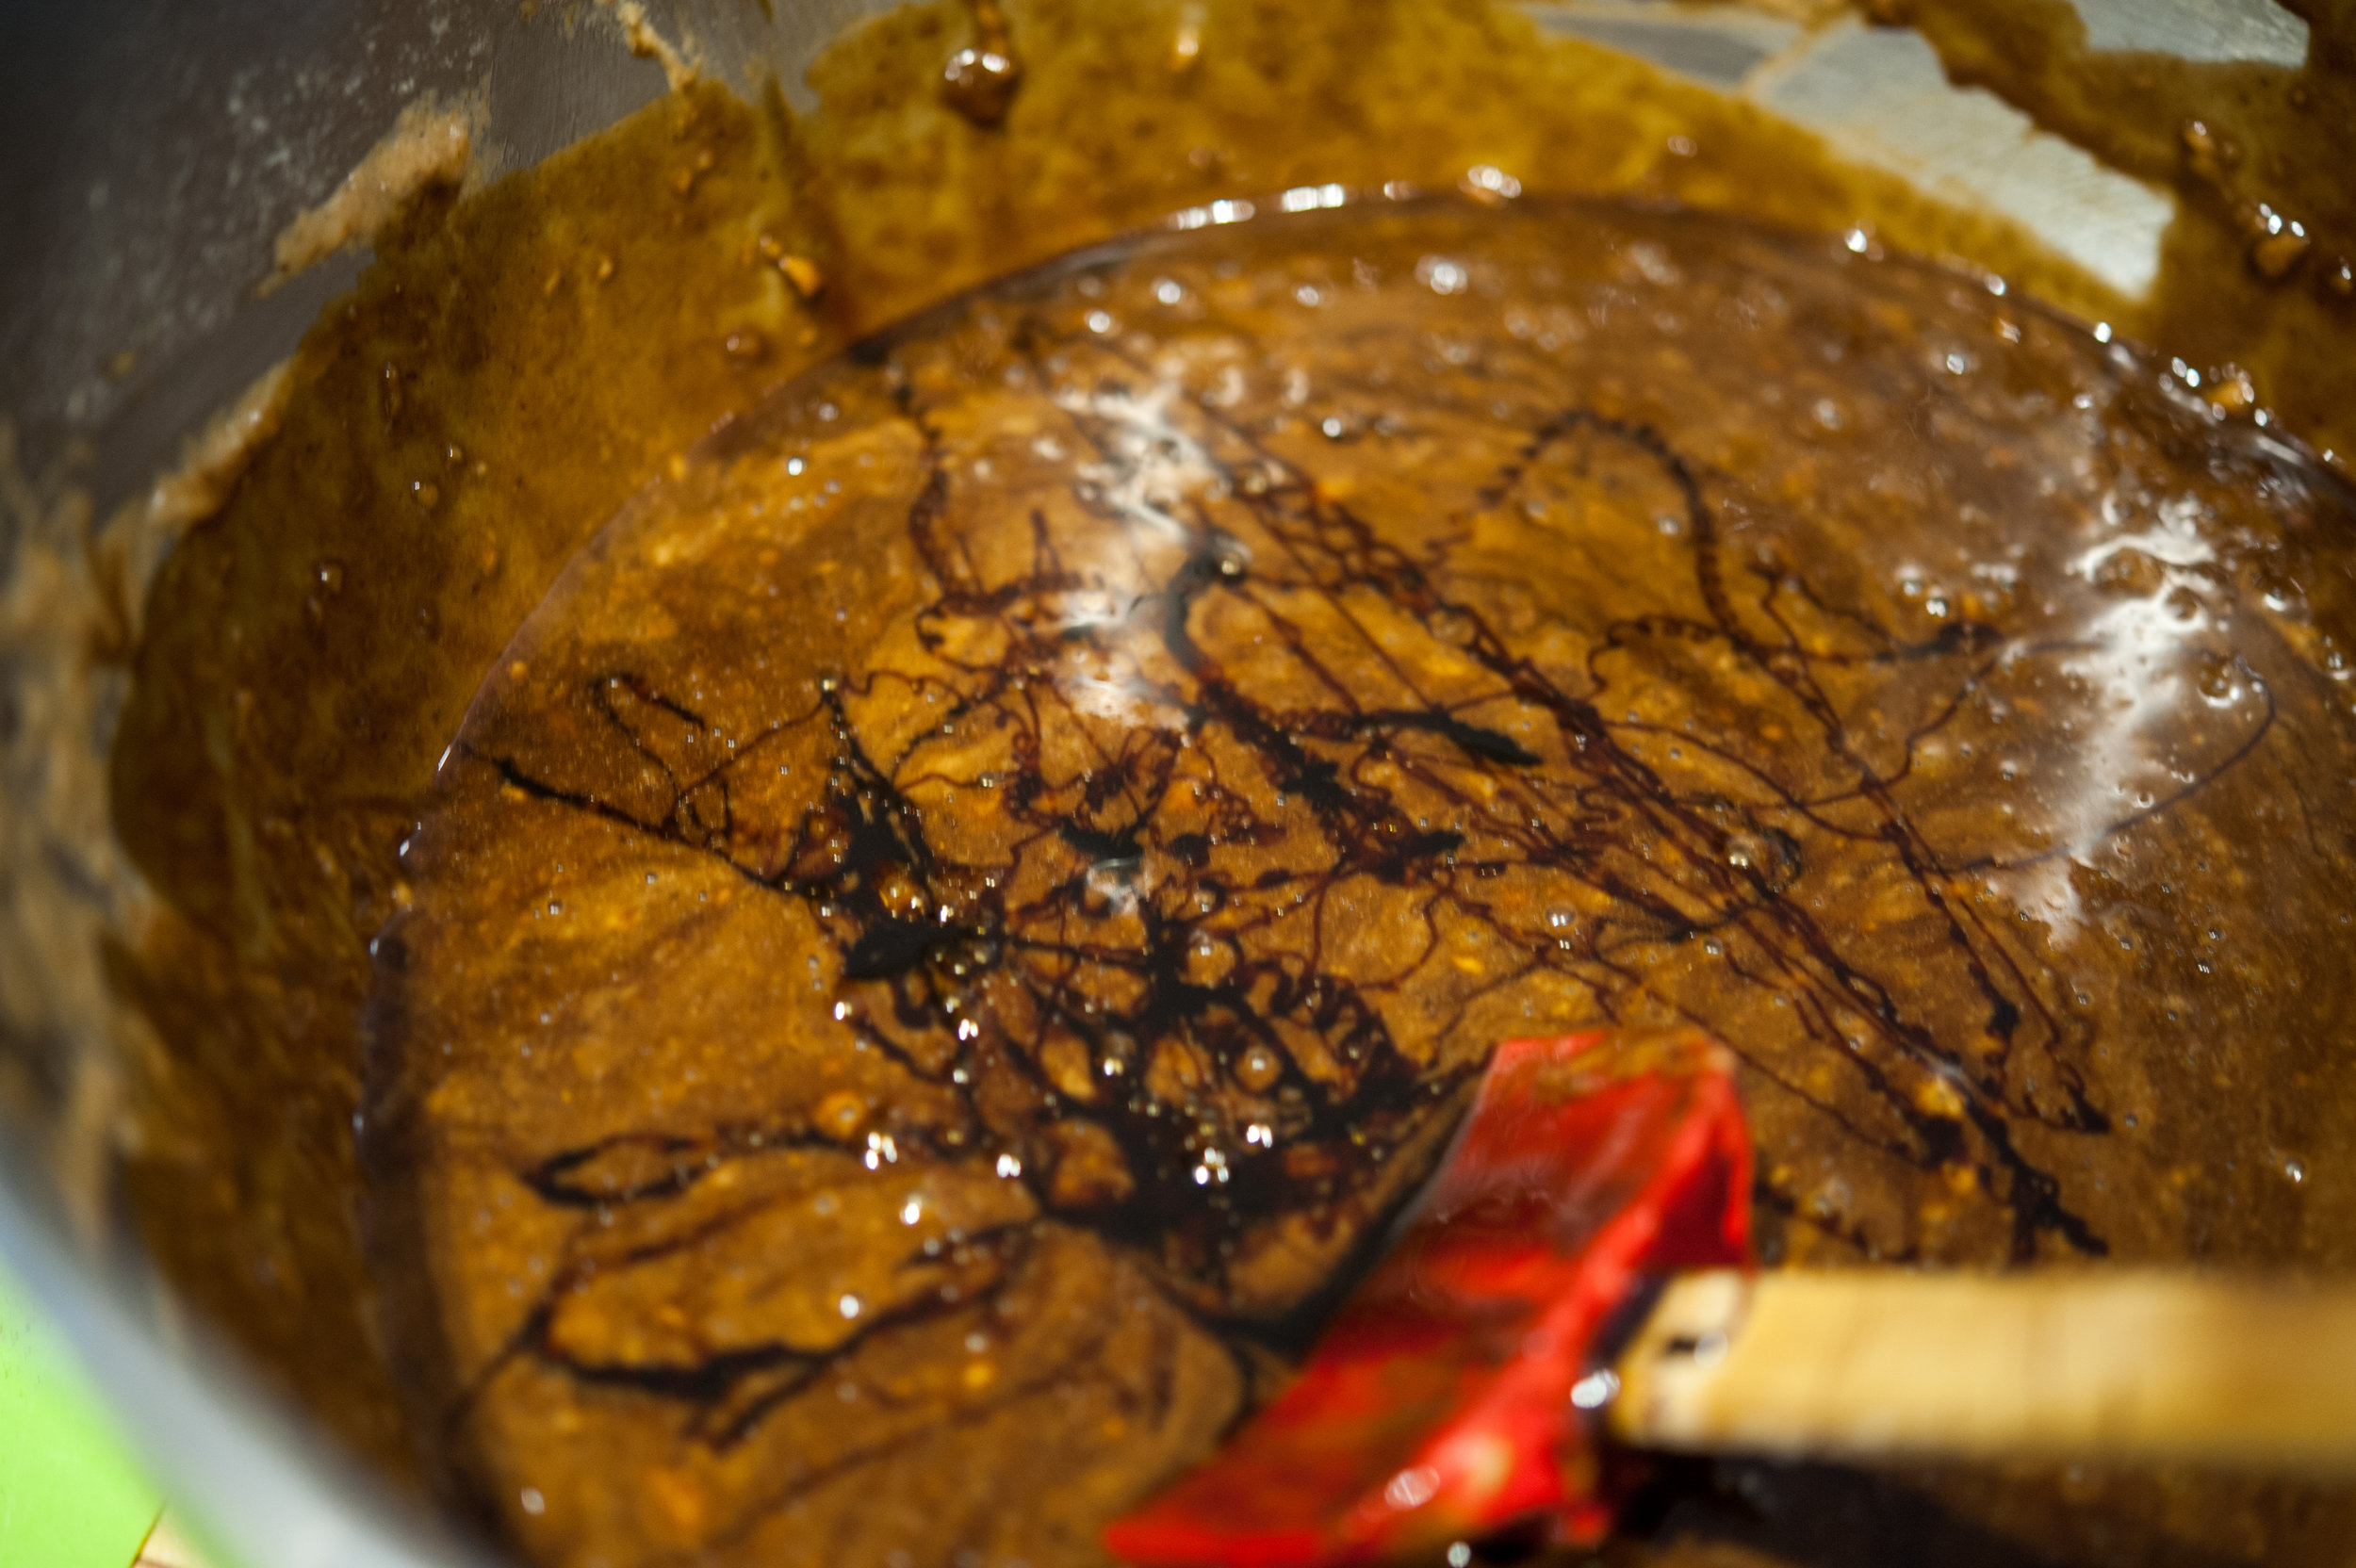
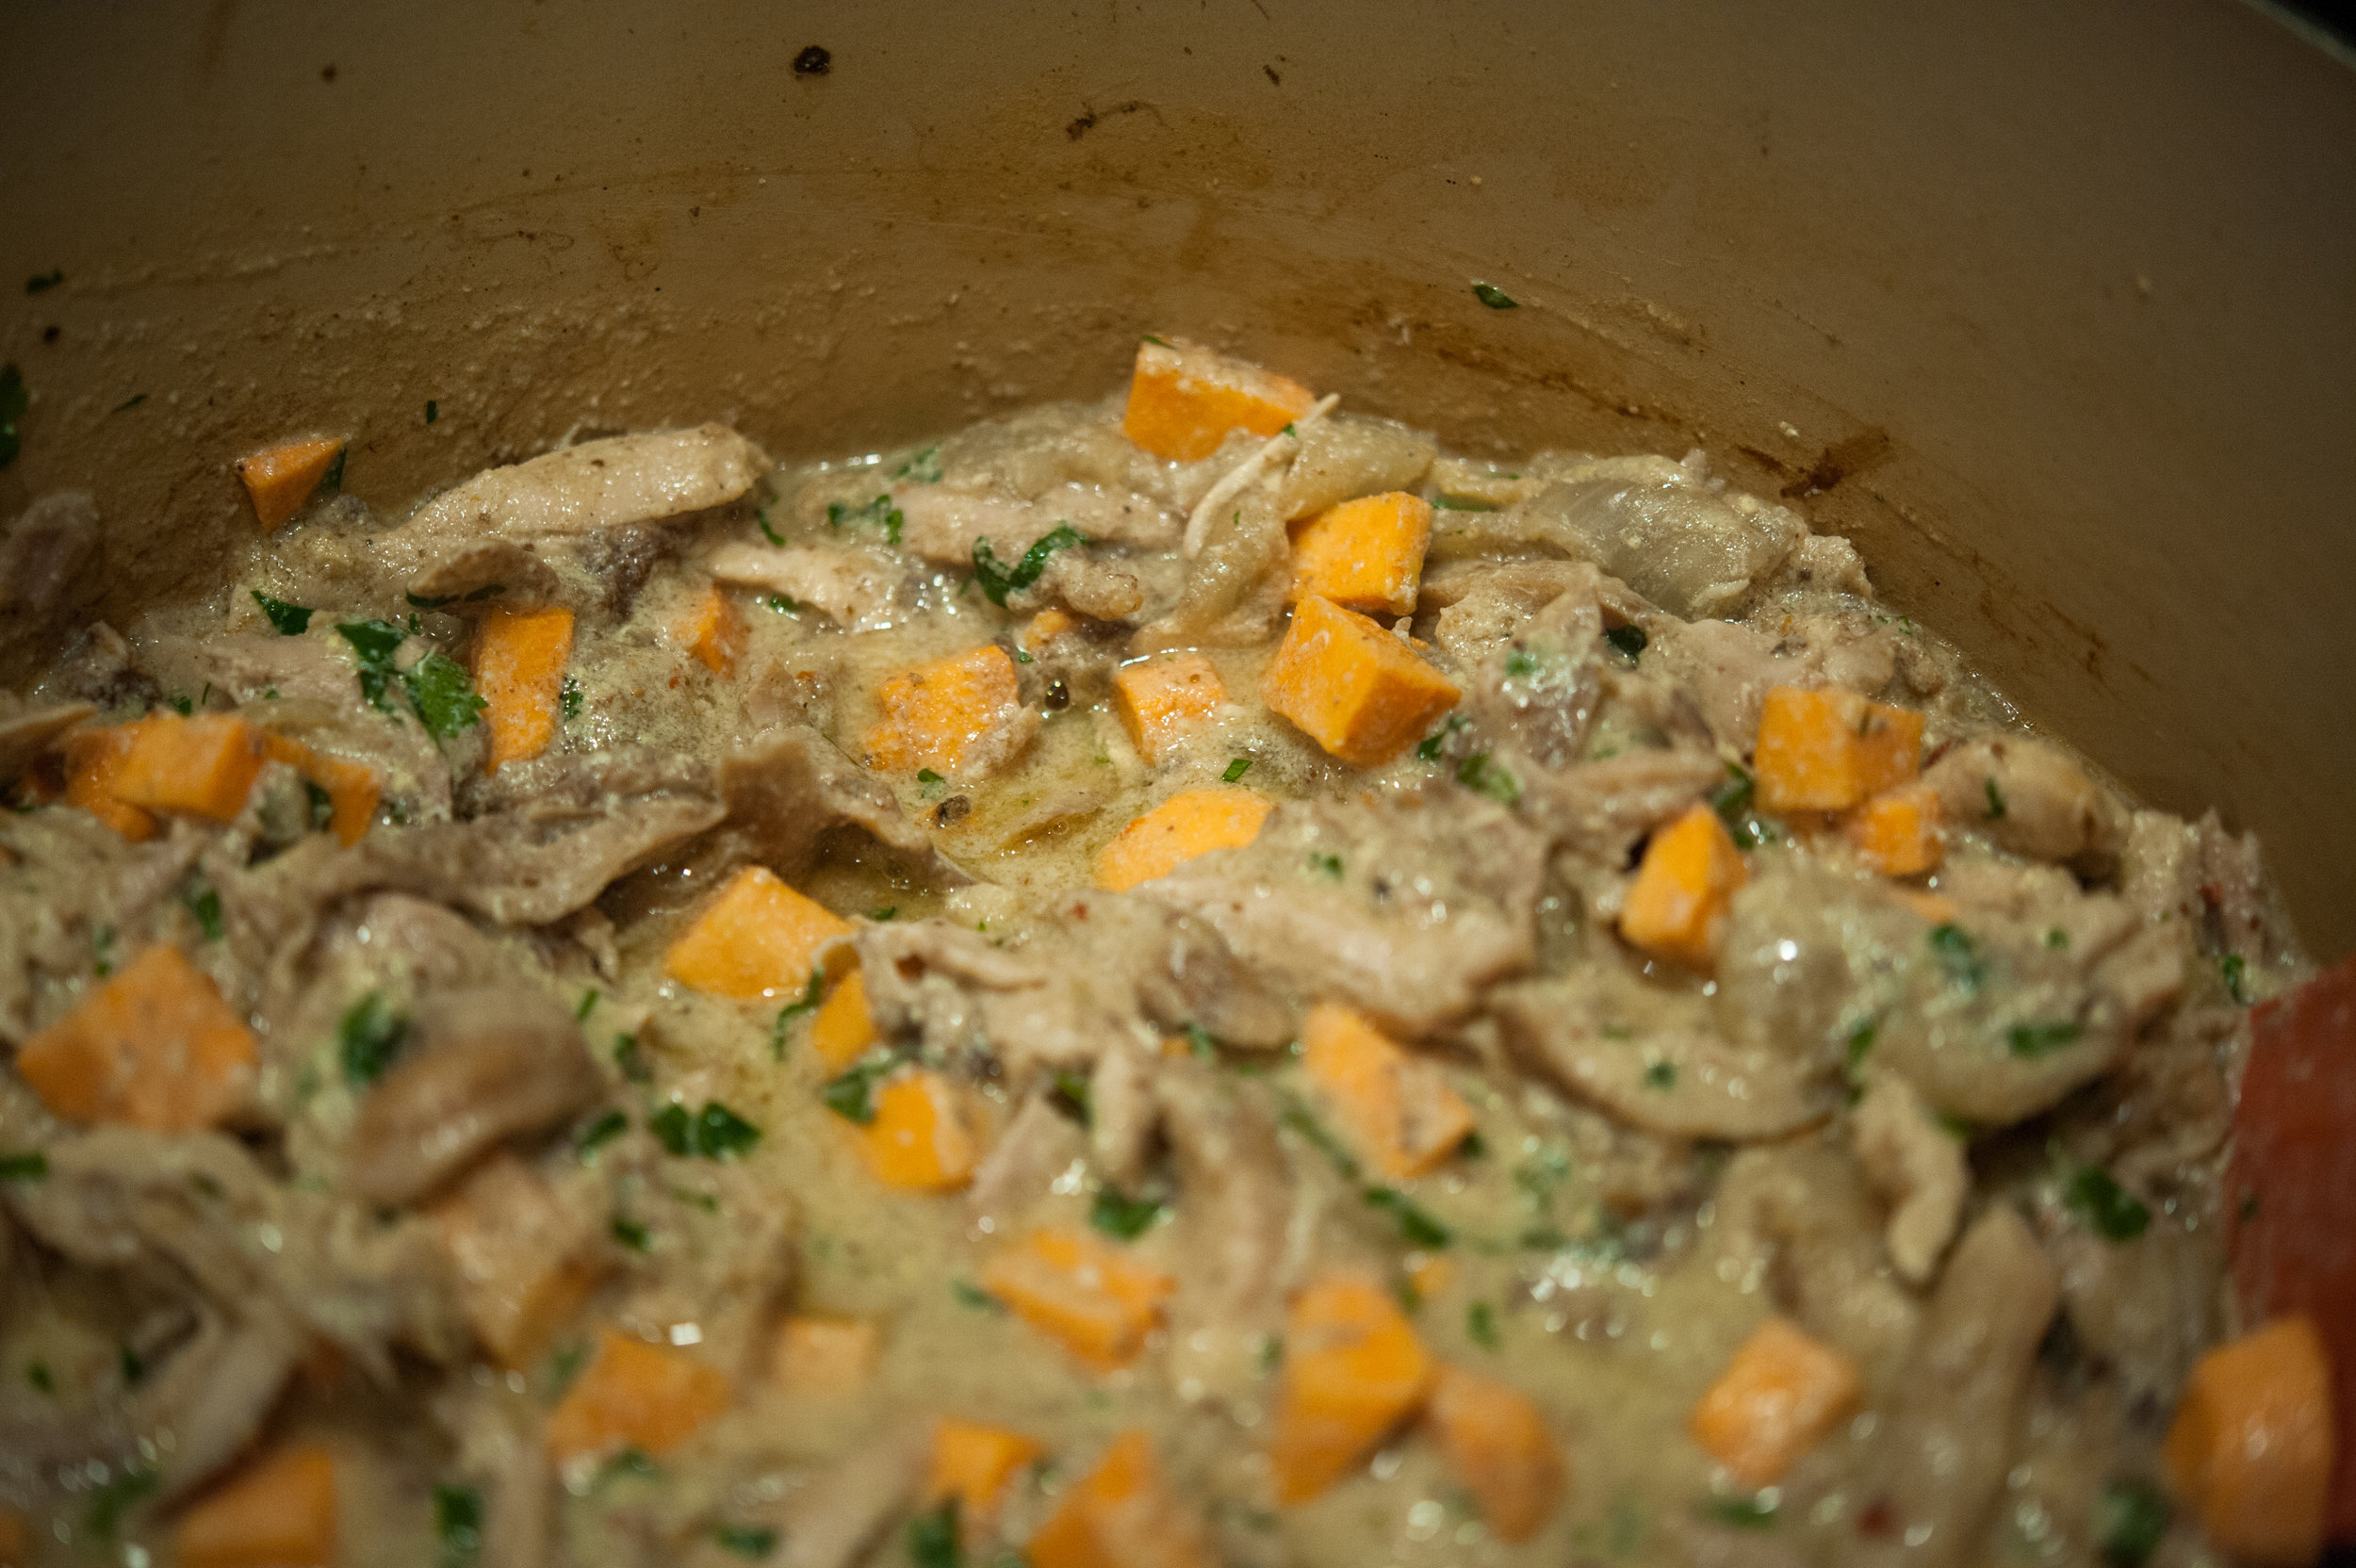
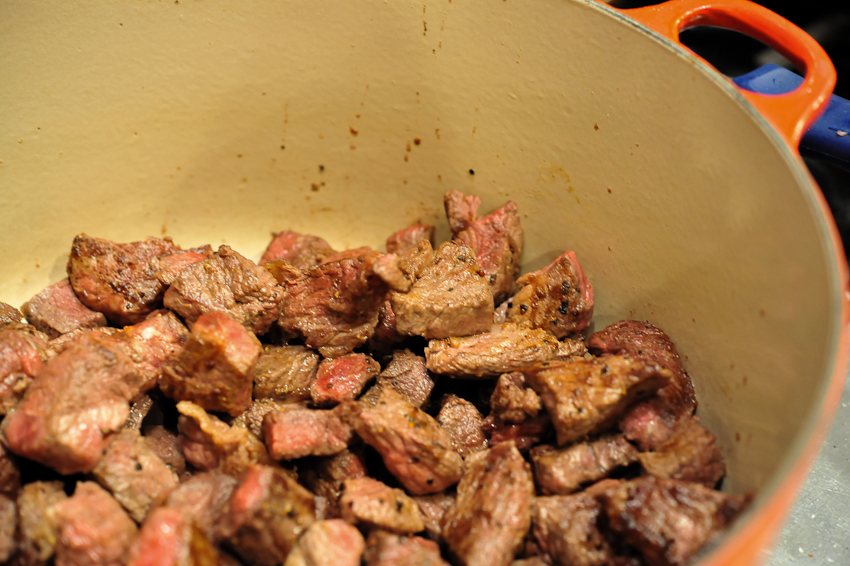
Season the beef with salt and pepper and brown in a heavy bottomed skillet. Set aside. Pour off all but 2 tbsp of the fat in the pan. Add the Ras el Hanout, onion, carrots, sweet potatoes, jalapeno, ginger and garlic and cook, stirring often, until the onion begins to brown, 3 to 5 minutes. Add the wine, stirring to scrape up the browned bits from the pan bottom. Add the tomatoes, beef stock, fennel seeds, cardamom pods, bay leaves and star anise and simmer for 5 minutes. Add the beef and vegetable/broth mixture to a covered dutch oven and place in oven.
After about 1 1/2 hours, add the preserved lemon, fresh herbs, chickpeas, raisins, currants and honey to the dutch oven, stir to combine and put back into the oven for another 30 -- 45 minutes (leave the cover of the dutch oven slightly open). The stew is ready to serve when the beef is fork tender.

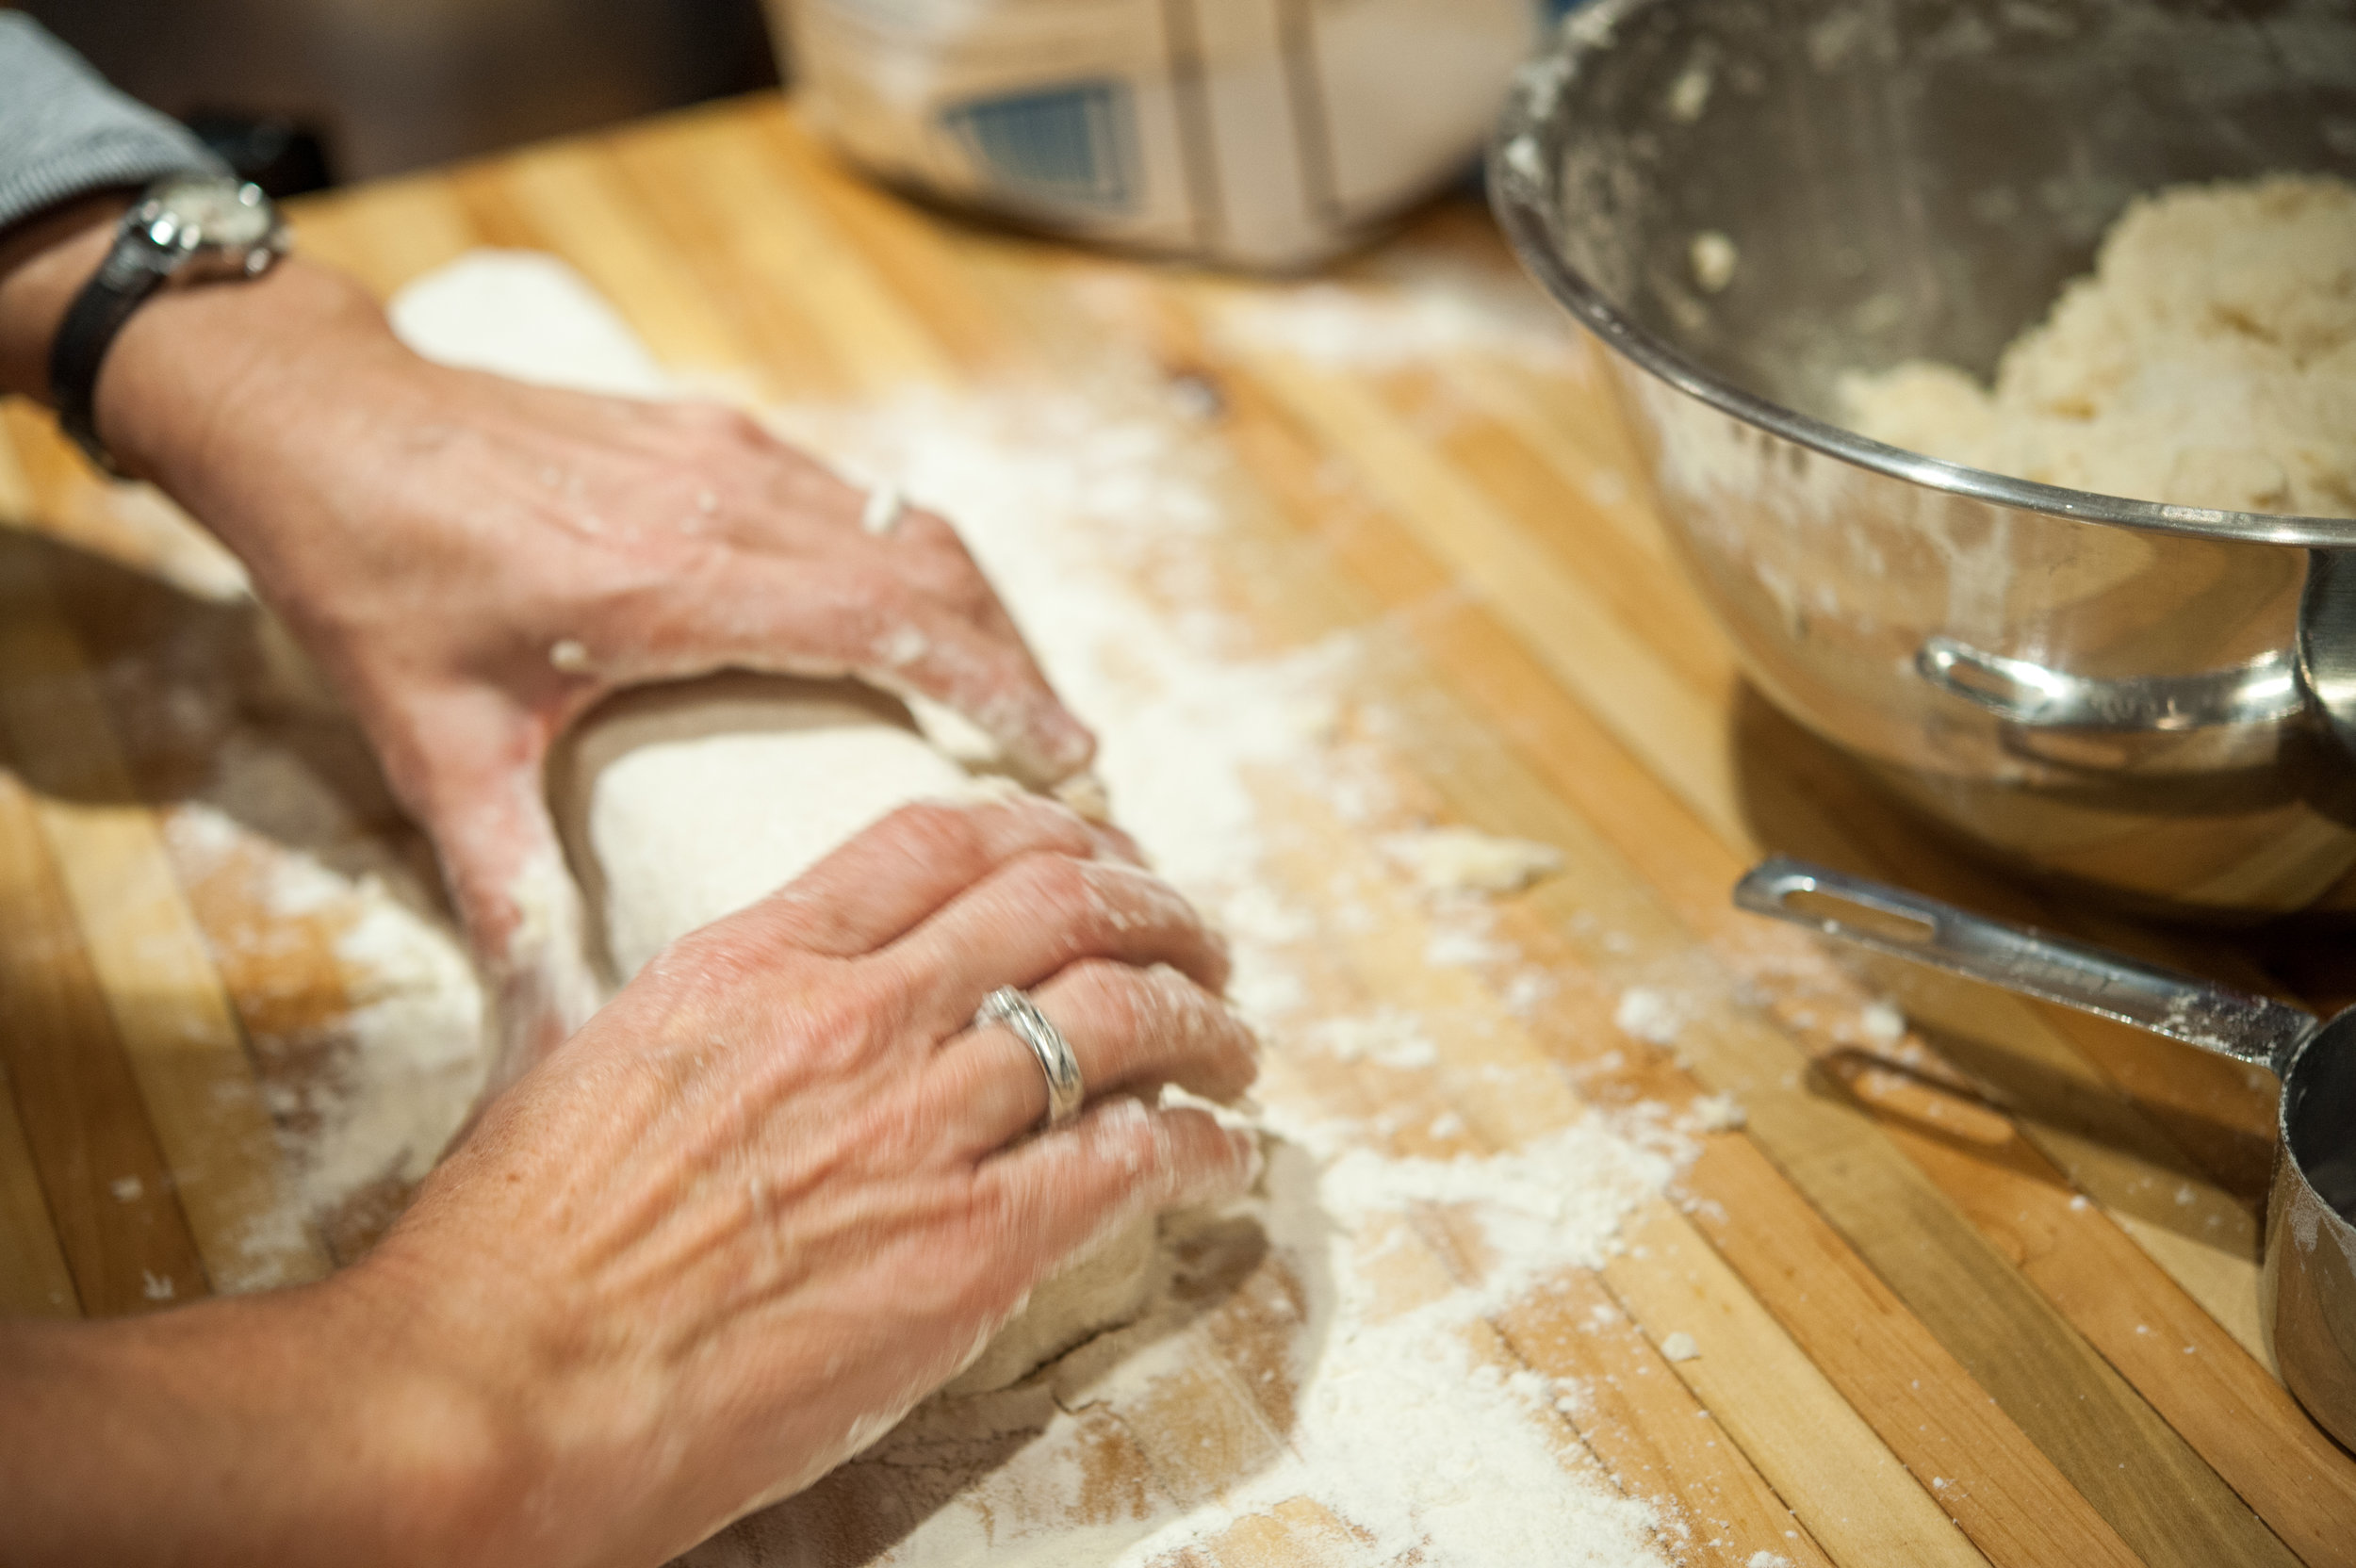
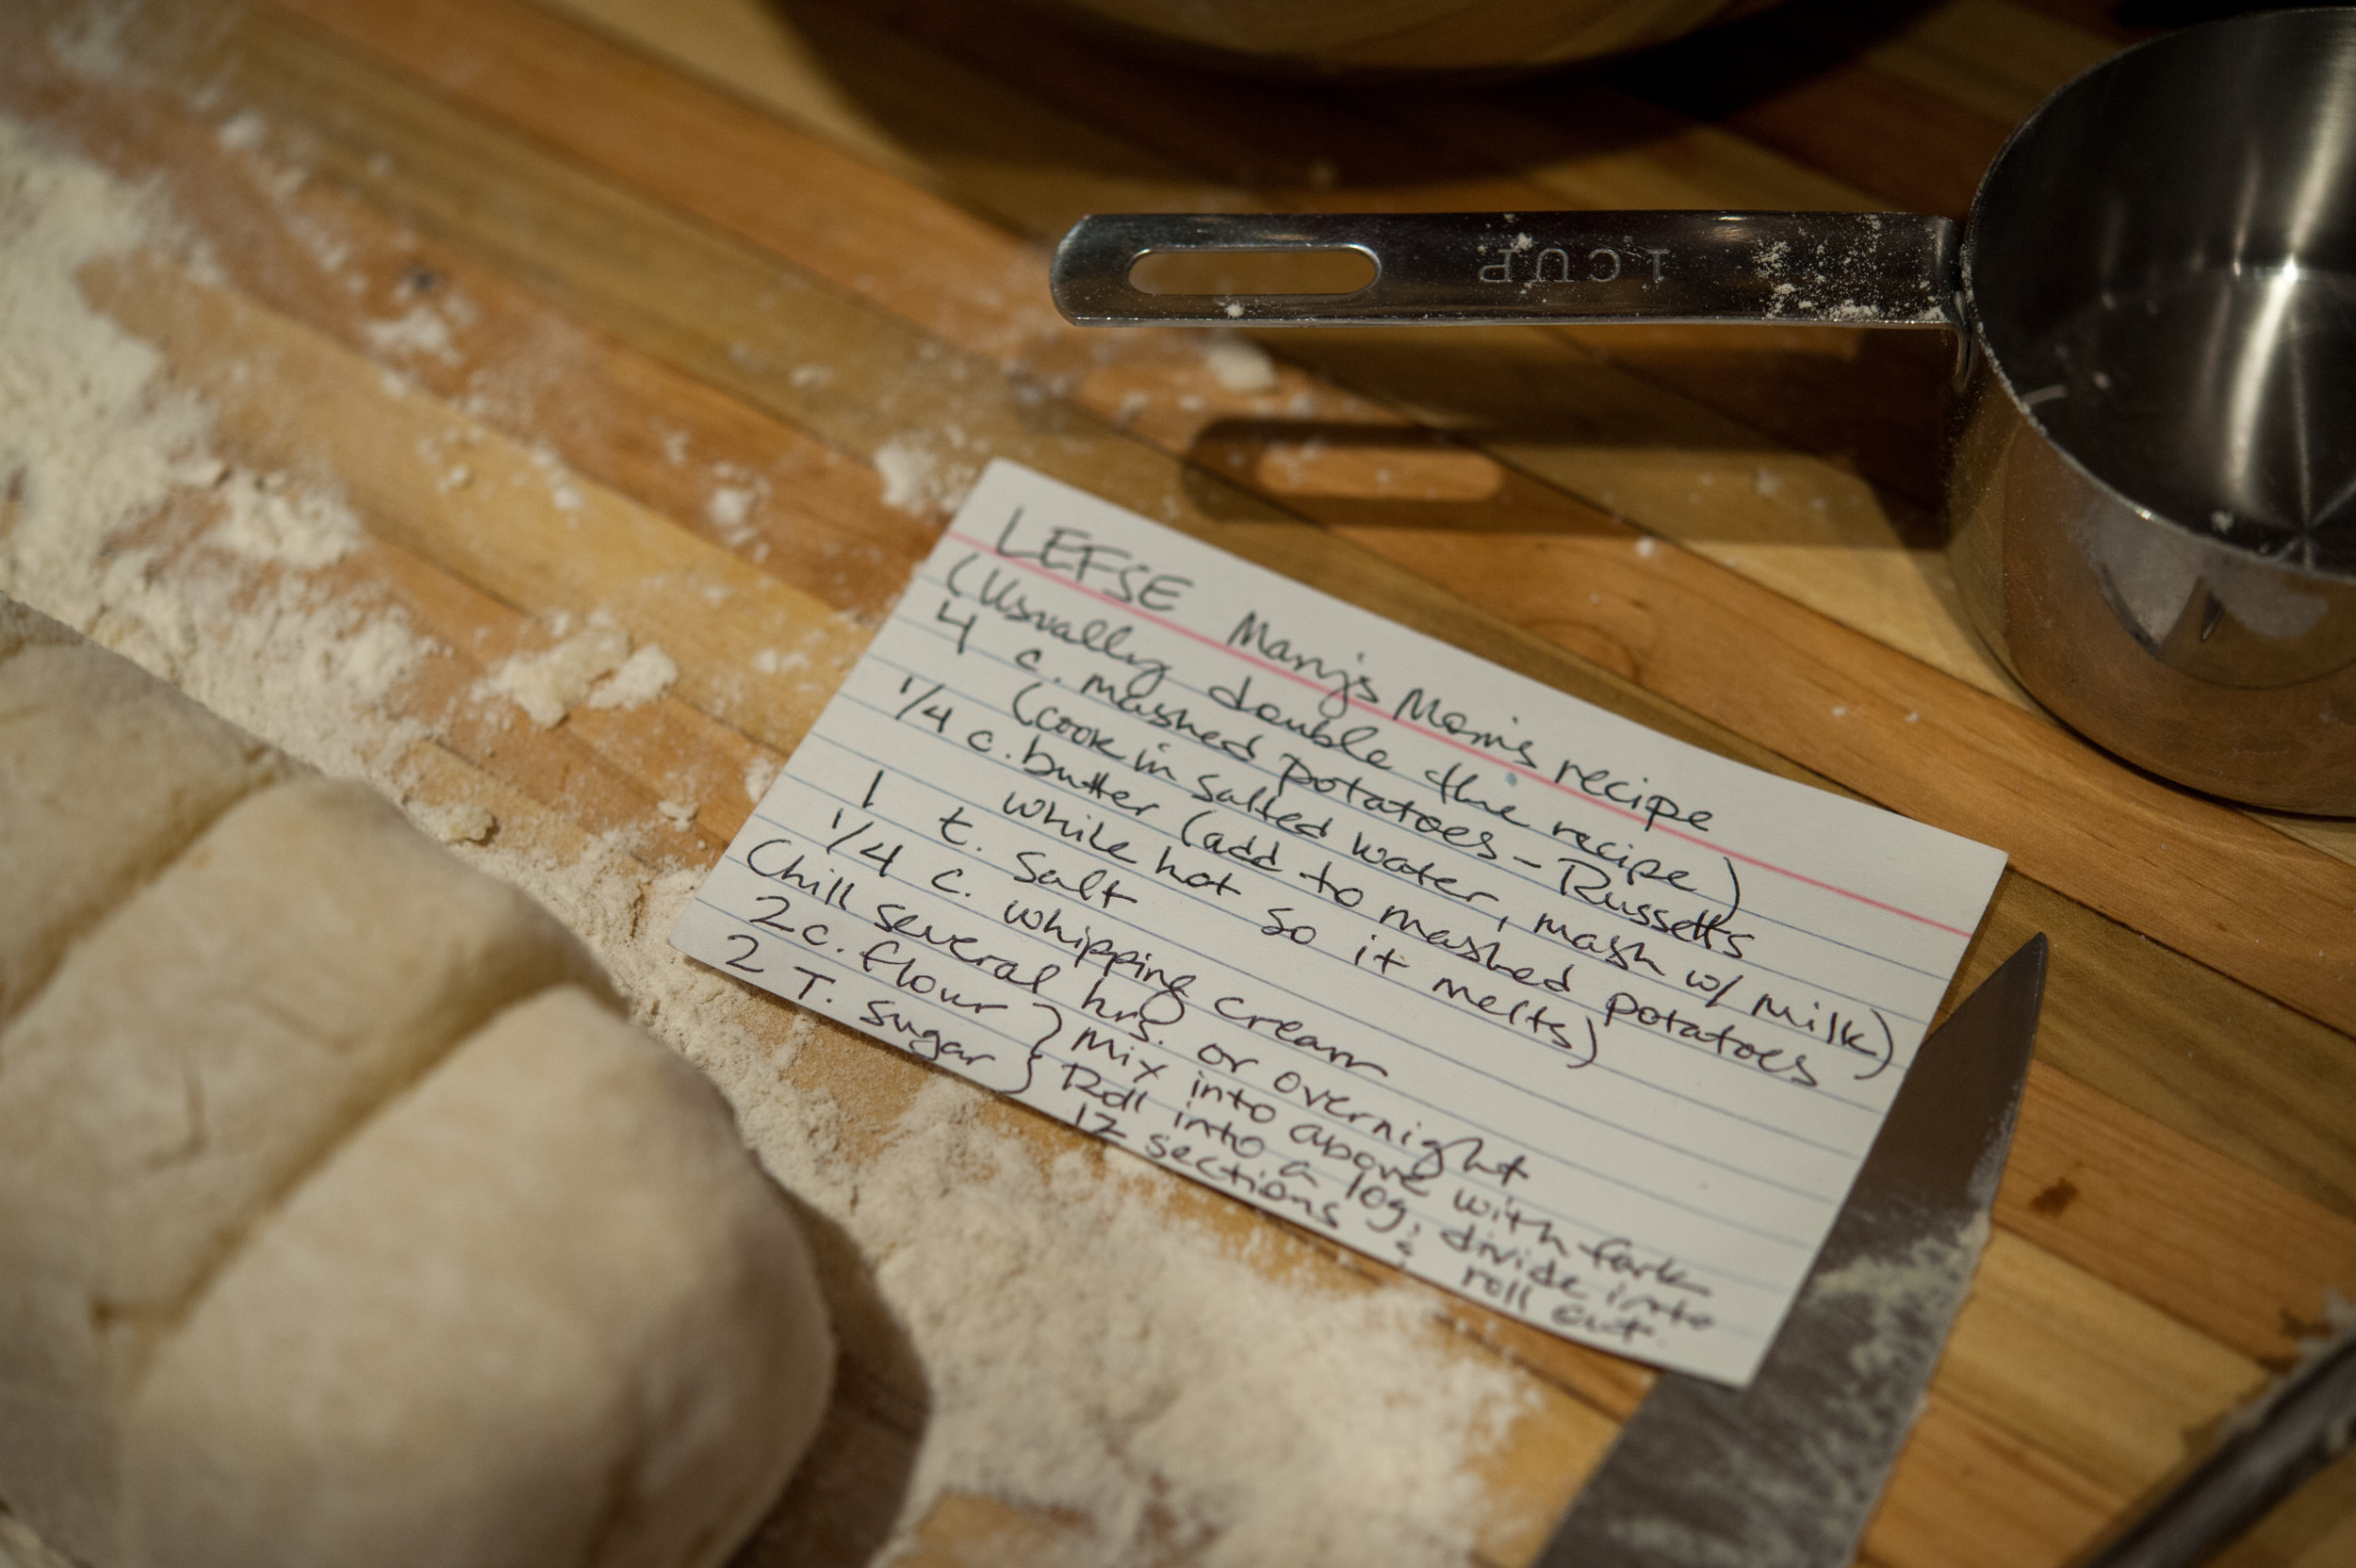
DSC_9856