Cookery Maven Blog

A Taste Of Summer- Crab & Corn Chowder

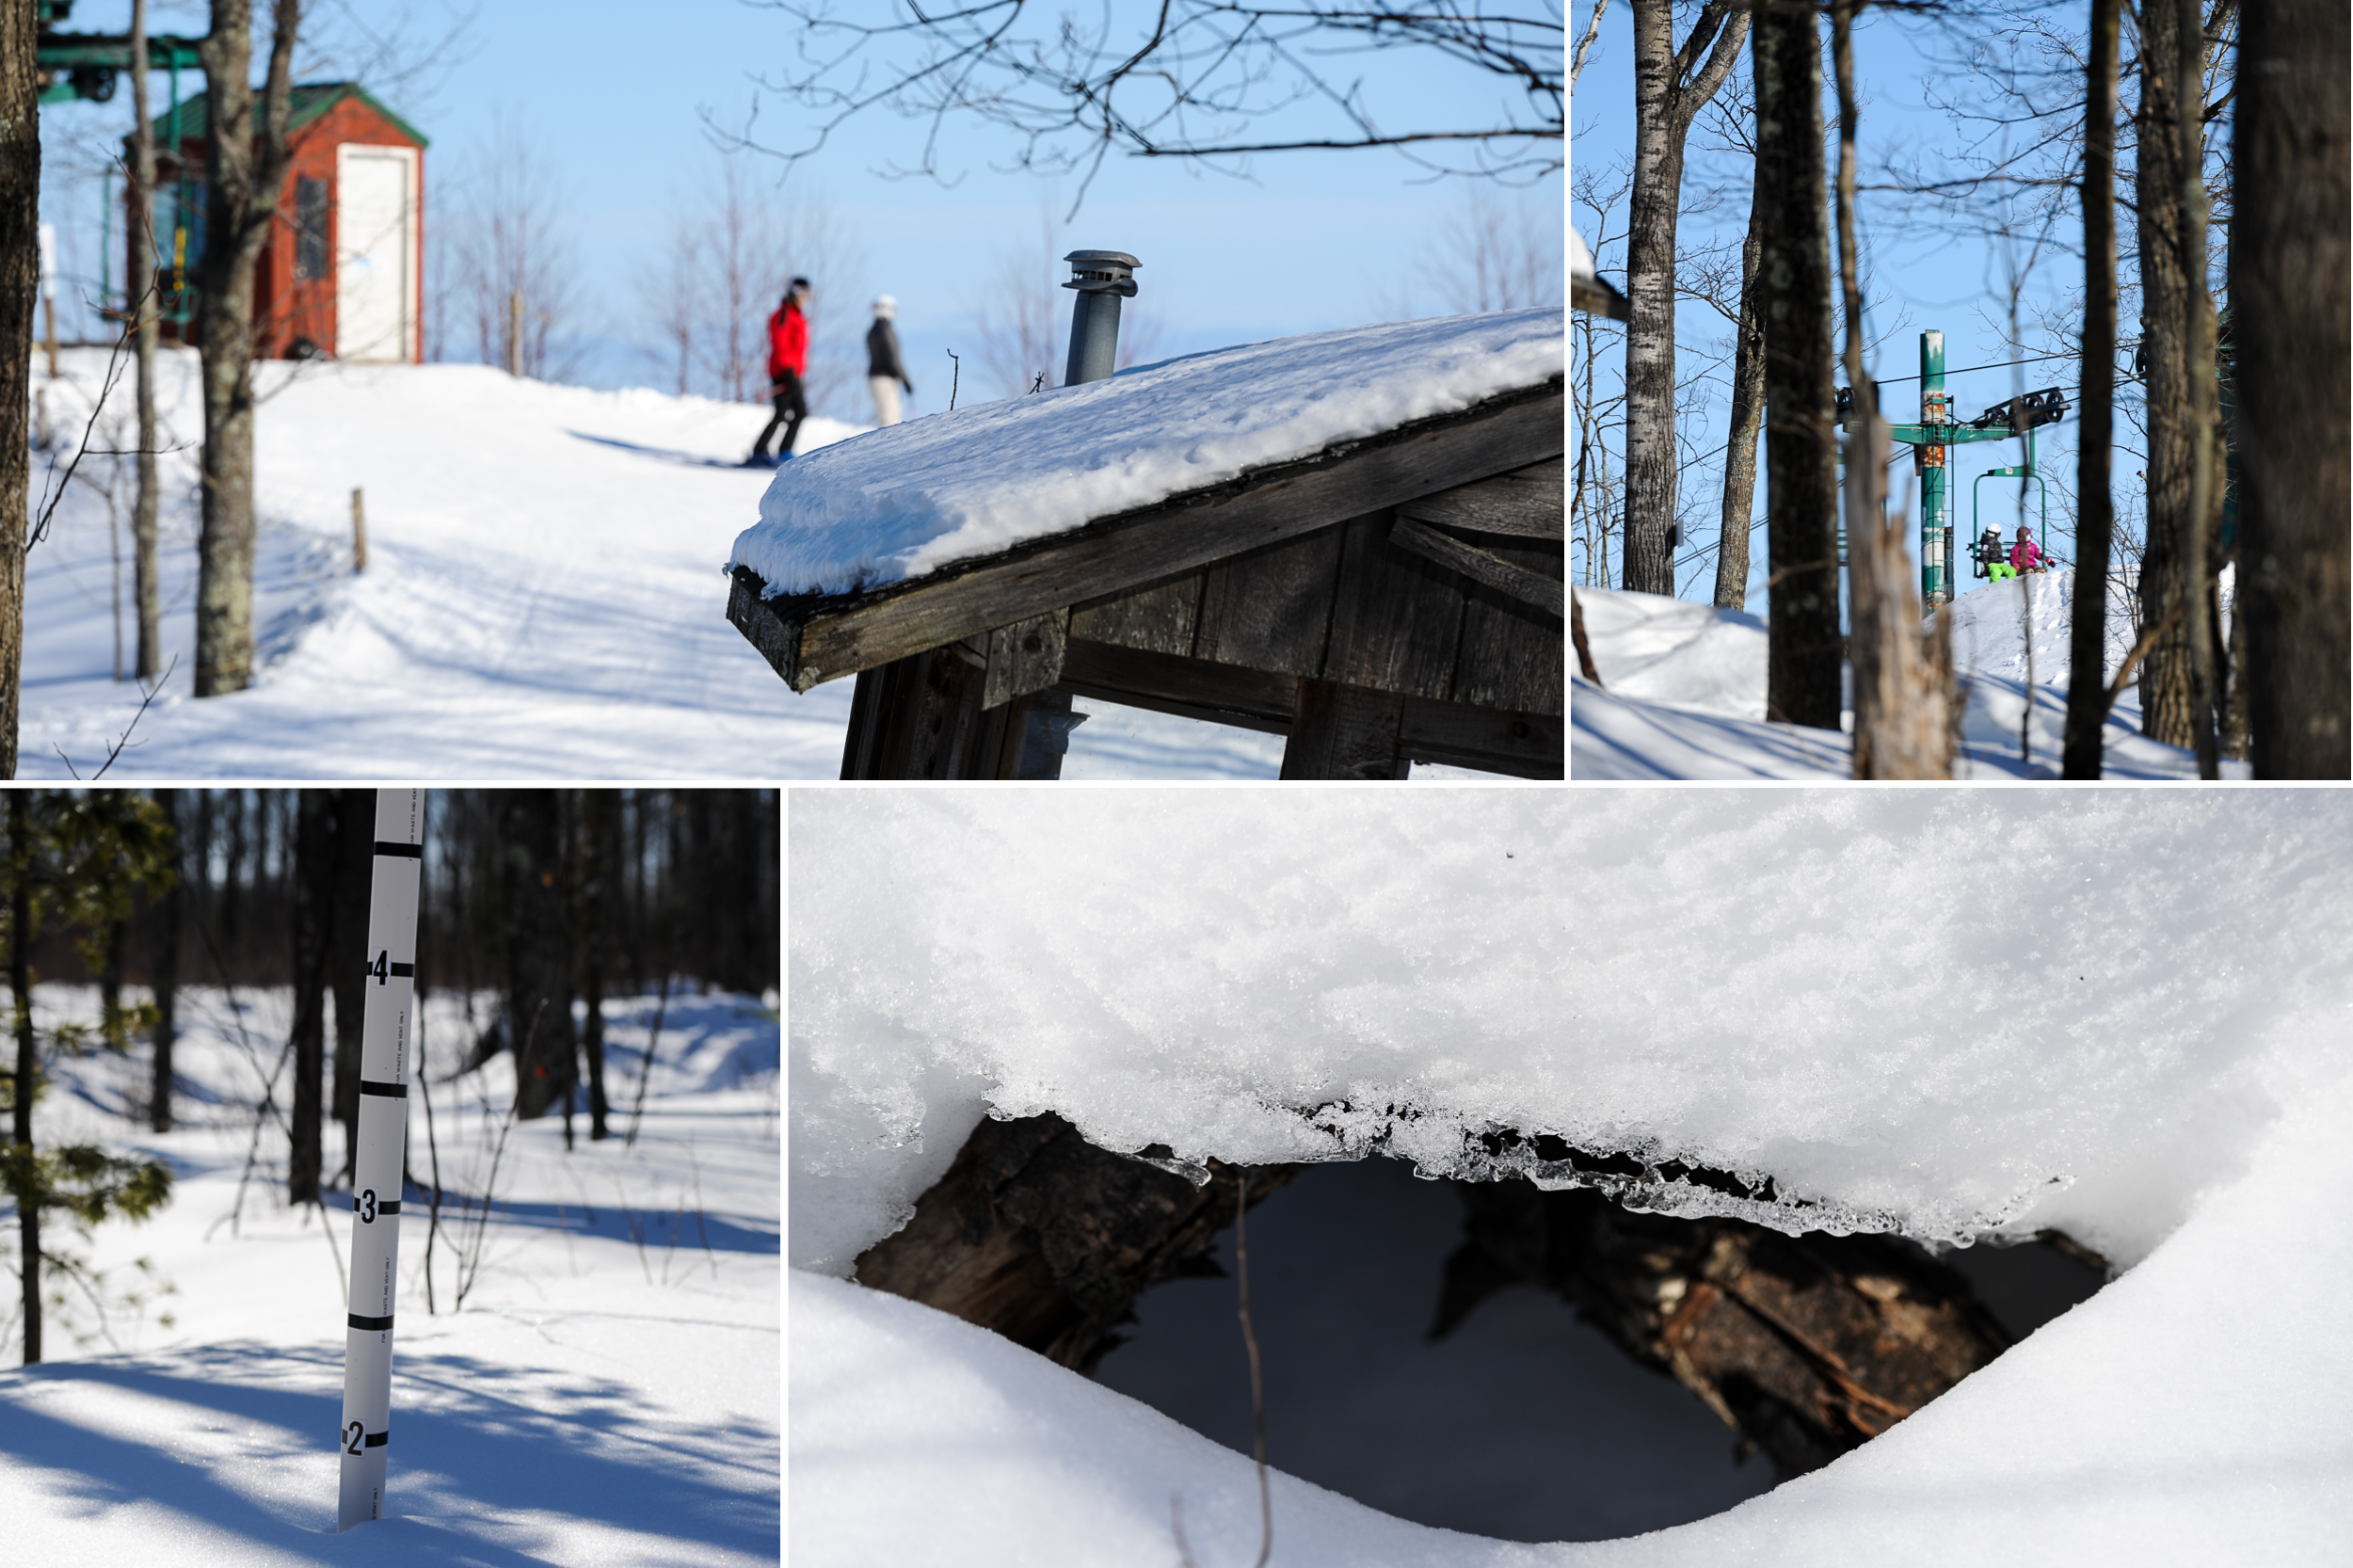
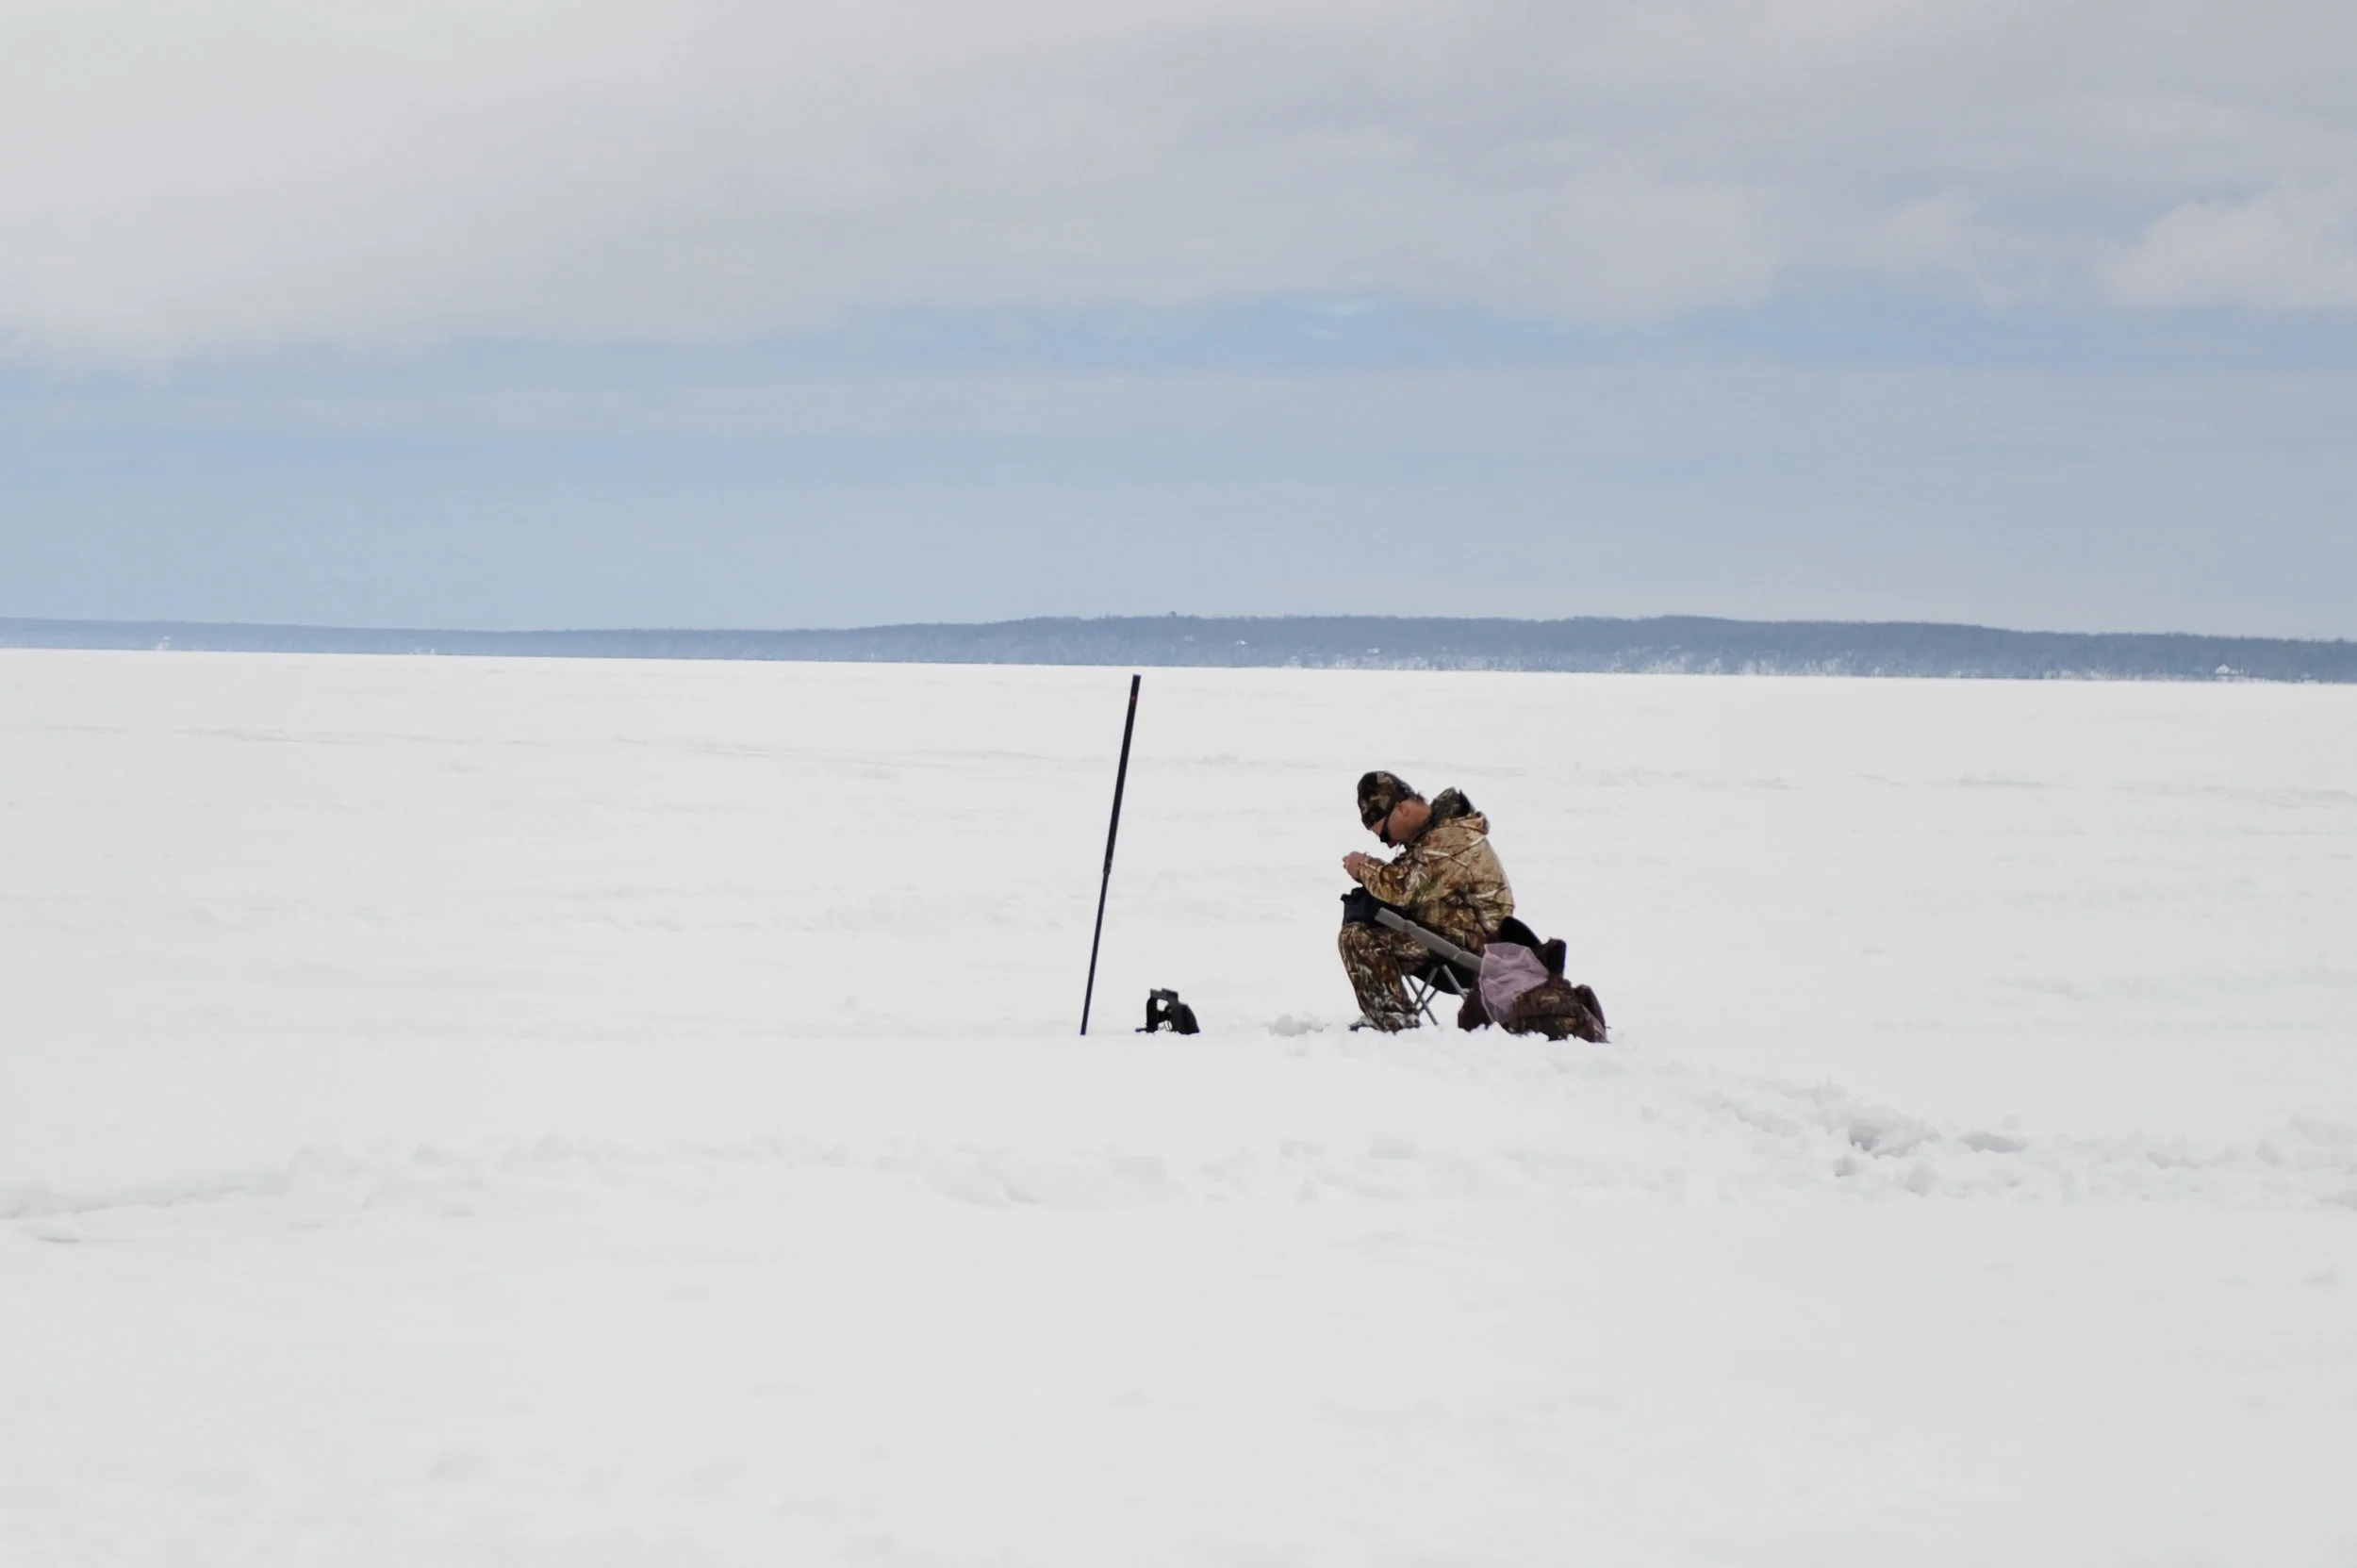
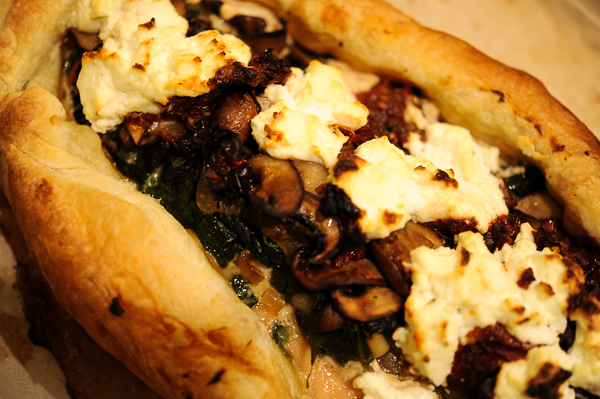
Corn, crab and chowder— a trio of words that make me happy. Given the snow, clouds and wind that have taken hold in Bayfield, corn chowder was a little taste of warm summer days that are sure to make an appearance, sometime before August. This batch passed the 'Meghan' test— she's a bit of a chowder connoisseur and gave this chowder two thumbs up. It's lighter than my favorite chowder (recipe here), a nice change as the snow melts and mud season enters the picture.

Corn and Crab Chowder

4 slices of bacon, diced
2 tbsp. butter
3/4 cup onion, chopped
1 cup red or orange pepper, chopped
1 cup carrots, sliced
1/2 cup celery, chopped
1/4 cup garlic, minced
1/4 cup flour
4 cups chicken stock, preferably homemade or low sodium
1 1/2 cup red or Yukon potatoes, diced
4 corn on the cob, corn kernels removed and cobs reserved
2 cups frozen corn
1/4 tsp. cayenne
1 tsp. kosher salt
1 tsp. Old Bay seasoning
2 1/2 cups whole milk
1 pound of fresh crab, picked over for shells

Preparation
Place the corn cobs and the milk in a saucepan and simmer over low heat for 20 minutes. After 20 minutes, remove the cobs and set the milk aside. Place the bacon in a sauté pan and sauté until cooked but not crisp. Remove cooked bacon from the pan and set aside. Add the butter, onion, pepper, carrots, celery and garlic to the bacon pan and cook until softened, about 5 minutes. Stir in the flour and cook, stirring occasionally, for 5 minutes. Stir in the broth a little at a time and combine until the mixture is smooth. Add the potatoes, increase the heat and bring to a boil, reduce the heat and simmer for 10 minutes, or until the potatoes are tender. Stir in the corn (frozen and fresh from the cob), seasonings and reserved milk, bring back to a boil and then reduce to a simmer and fold in the crab. Simmer for an additional 5 - 10 minutes, taste for seasoning and serve immediately.

Since It's Still Snowing- A Look Back At WinterFest 2013

Bayfield is in far northern Wisconsin and it snows, a lot, here. This year has been particularly snowy and as I sit here, on April 18th, it's still snowing. I was going through my pictures this week and realized I completely missed all these great shots from WinterFest in the beginning of March. It's a weekend full of running, scrambling and plunging outside, in the cold. Since we are expecting another 10 or so inches in the next couple of days, I thought a look back at when winter was still young and impish might be fun.

Will and Sadie polar plunged this year— Will with the ski team and Sadie with the volleyball team.

After the plunge, we headed up to Ashwabay for the WinterDash, a 5K obstacle course. I participated in the inaugural Dash but after having my hind-end handed to me on a platter, I volunteered this year (and make pumpkin bread for the hearty souls who stopped by my obstacle). Julie has a great blog post about 2012 festivities, read all about it here.

Gnomes were a theme (not too sure of the significance, ask Pete) and Will made a new friend.

I rode the chair lift to the top without incidence, I forgot how beautiful it is looking down from a chair suspended on a cable without seat belts.

Meg and her friends spent the day skiing while the Dashers were dashing. What's better than a gang of smiling girls on skis?

Pure joy.

The Drop was the obstacle that brought me to my knees last year— you walk straight up a very steep hill in deep snow. At least it's a killer view when you get to the top (assuming you're not flat on your back and still standing).

One of the many reasons I love Mt Ashwabay, little kids skiing by themselves. I know the term 'family friendly' is tired but it's true at the hill. It's a great place to learn a lifelong skill and memories of a sweet little ski hill with breath taking views of Lake Superior will stay with all those little ones who learned to ski at Ashwabay forever.

The view from the top.

Julie and Will were my companions for the Winter Dash adventure.

Some shots of the Dashing action and Dasher attire (and wigs).

And there was pumpkin bread, a little snack for the Dashers as they came by for some water.

Pumpkin and Chocolate Chip Pumpkin Bread

4 tablespoons unsalted butter, softened, plus more for the pan
1 ¾  cups all-purpose flour
½ tsp fine salt
1 tsp baking soda
½ tsp baking powder
1 tsp ground cinnamon
½ tsp freshly grated nutmeg
¼ tsp ground allspice
¼ tsp ground cloves
½ cup semi-sweet chocolate chips
1 ½ cups sugar
1 ¼ cup vegetable oil
Scant 1 cup canned pumpkin purée
2 large eggs

Preparation
Preheat the oven to 350°F. Butter a 9-inch loaf pan. Whisk together the flour, salt, baking soda, baking powder, cinnamon, nutmeg, allspice, and cloves in a small bowl. Beat the butter, sugar, and oil on high-speed in the bowl of a stand mixer fitted with the paddle attachment, scraping down the sides and bottom of the bowl a few times, until light and fluffy, about 1 minute. Add the pumpkin purée and mix until combined. Add the eggs, one at a time, and mix until just incorporated. Mixing on low-speed, slowly add the flour mixture and 2/3 cup water and mix until just combined. Spread the batter into the prepared pan and bake until a toothpick inserted into the center comes out clean, 1 hour to 1 hour 15 minutes. Let cool in the pan on a wire rack for 10 minutes. Remove from the pan and let cool completely

A Monochromatic Dinner For Another Snowy Night

Instead of 'space, the final frontier' from Star Trek, it was 'pasta, the final frontier' in my kitchen last week. My final frontier list has been greatly reduced in the past year (I've been busy in the kitchen). I've checked off naan, mu shu pork, pie crust, Italian sausage and now, homemade pasta. Since the dough is relatively easy to work with (nothing like pie crust dough or as I call it, a crumbly mess) and I had the attachments for my mixer— I was ready to take off into one more culinary final frontier. My pasta Captain Kirk was David Lebovitz, a blogger I follow in Paris. His recipes are thoroughly tested and haven't failed me yet (pasta recipe here). I added about 3 or 4 tbsp. of water because the dough seemed dry. I used large eggs, like the recipe stated, but I think the addition of the water was necessary or it would have been impossible to roll out. The resting period is very important, give the dough the full one hour resting time— it will be easier to work with.

Another 6 - 12 inches of snow is on it's way tomorrow night and Thursday. I can't believe the sheer volume of snow we've received this winter but it's melting fast (there's nothing like a warm April sun, except maybe a hot July sun) and the mud is already making appearances here and there. But it's still 50 million shades of white outside and this pasta dish is an homage to the monochromatic world of winter and spring in Northern Wisconsin. I had two heads of roasted garlic, a head of cauliflower, Sassy Nanny chevre and some oil cured olives waiting for a flash of inspiration to propel them to dinner greatness. My flash came from another blogger I follow in Italy, Rachel Eats. She had a post about making pasta with a recipe for a simple cauliflower and olive oil 'sauce'. I cooked the cauliflower, gathered my other ingredients, boiled the pasta and a monochromatic dinner was born.

Homemade Pasta with Cauliflower, Chevre and Roasted Garlic (Adapted from Rachel Eats)

Ingredients
Homemade pasta (David Lebovitz)
1 head of cauliflower
1/2 to 3/4 cup extra virgin olive oil (depending on how creamy you want the sauce)
3/4 cup Sassy Nanny chevre
2 heads of roasted garlic, cloves removed
2 tbsp fresh thyme, chopped
1 tbsp fresh rosemary, chopped
/2 cup olive cured olives, pits removed and chopped
1 -2 tbsp good balsamic vinegar
Kosher salt and pepper

Preparation
Break the cauliflower into large florets. Bring a large pan of well salted water to boil and cook the florets for about 1o minutes or until they are soft and very tender.

Use a slotted spoon to lift the cauliflower out of the pan and into a colander to drain. In a sauté pan warm the oil and then sauté the garlic until it's fragrant. Do not let it burn. Remove the garlic and then add the cauliflower, olives and herbs. Stir well so both are coated with oil and gently mash the cauliflower with the back of the wooden spoon until you have a soft, creamy mixture. Add more oil if necessary. Add the chevre and stir to combine. Taste for salt and pepper and remove from the heat.

Cook the pasta in the cauliflower water until al dente which will only take a few minutes. Drain the pasta – reserving some cooking water – and add it to the pan. Stir. Add a little cooking water to loosen and emulsify the dish if necessary. Drizzle with balsamic vinegar and serve immediately.

Timpano- It's A Really Big Calazone In A Pot

DSC_6522.jpg

What do you make for dinner when a group of Pagans are coming over the day before St Patrick's Day, your last name is Dougherty and your husband is half Italian? That's the question I pondered in the first few days in March. It had to be a big deal— something with lots of steps, complicated ingredients and the ability to shock and amaze a bunch of Pagans. Turducken? No, all that de-boning would be exhausting. Boiled dinner? No, too obvious a choice. Timpano? Yes, yes, yes— there were lots of ingredients, it involved making homemade pasta dough and I was in uncharted territory— always fun when 10 people are coming over for dinner. I had a secret weapon— my friend, Gina. She had no fear of pasta dough, makes a mean red sauce and was game for a kitchen adventure.

Renee introduced me to 'The Big Night', a movie about two Italian brothers who host an extravagant dinner to save their restaurant from closing, right after we met in 2007 and it's now one of my favorites. The last course in the movie is a timpano and, while Louis Prima never showed up, it was a grand moment when they rolled that timpano into the dining room. It's a great movie— funny, poignant and has a killer soundtrack. It's hard to go wrong with Tony Shalhoub, Stanley Tucci, Minnie Driver and Isabella Rossellini in the same cast.

Since Gina and I had both seen the movie, had a solid prep list and knew our way around the kitchen— I figured we were on our way to timpano success. There was one catch, I was nervous about the pasta dough— Gina assured me it was no big deal and whipped up a batch in about 5 minutes. Pasta dough is very resilient, much more than I expected, and that dough opened up a whole new world for me— homemade pasta. Meghan and I have one batch under our belts— I never would have attempted that without watching Gina make our timpano pasta. Pagans, pasta dough, Meghan and The Big Night will be forever entwined in my food memory bank and seriously, once you make your own pasta, the dried stuff loses it's luster.

I poached a pheasant in red wine and duck fat— it was as close as the timpano was going to get to a boiled dinner.

I shredded the pheasant (add about a half of a cup of the poaching liquid to the shredded pheasant), made meatballs (recipe here) and cooked rigatoni and ricotta mushroom panzerotti (available here) al dente. The key to a successful timpano is prepping all the ingredients in advance and assembling the pasta masterpiece right before you plan to cook it.

Pancetta started the party and was the first layer in the timpano. Gina's sauce was like the United Nations— it brought the whole pie together and unified many different flavors and textures.

Ricotta panzerotti, hard-boiled eggs and meatballs— the second layer of the timpano.

Rigatoni, more hard-boiled eggs and shredded pheasant— the third layer of the timpano.

Ricotta, mozzarella and red sauce— the fourth and final layer of our pasta pie.

We had a small moment of panic when I tried to unearth the timpano from the pot. The pot weighed about 10 pounds (I'm not exaggerating) and I was worried it would fall apart on the way out. Ted, the proud owner of miles and miles of army green webbing, concocted a cutting board/webbing solution that worked perfectly and the timpano left the pot unscathed.

Cutting into that 10 pound masterpiece was a little scary. What if the best laid plans of Mary and Gina went awry and all the Pagans had to go home hungry? We didn't have a back-up plan and it turns out we didn't need one. The timpano held up nicely and tasted great but it really did remind me of a huge calazone with a lot of stuff in it. It's a meal I'm glad we tackled but it's not one I plan on making any time soon. Maybe it will become my Italian St. Patrick's Day dinner and I'll save the corned beef for hash the morning after.

A Pagan's Timpano(Adapted From Stanley Tucci's Cucina & Famiglia Cookbook)

The Dough
4 cups all-purpose flour
4 large eggs
1 tsp kosher salt
3 tbsp olive oil 1
/2 cup water
Butter, olive oil and bread crumbs to prepare the pan

The Filling
10 pieces of pancetta, thinly sliced
2 cups ricotta
12 hard-boiled eggs, shelled, halved
1 pheasant, simmered in 375 ml red wine, 12 oz rendered duck fat & 1/2 cup olive oil for 3 hours 14 - 18 meatballs, depending on the size of your pan
8 cups marinara sauce (homemade or good quality store-bought)
3 pounds rigatoni, cooked very al dente (about half the time recommended on the package) and drained
2 pounds ricotta panzerotti (you can substitute any filled pasta), cooked very al dente and drained
8 cups mozzarella, shredded
1 cup Parmesan, shredded
4 large eggs, beaten

Dough Preparation Using Stand Mixer

Place all ingredients in the bowl except for the water. Turn the mixer on slowly and add 3 tablespoons of the water. Add more water, 1 tablespoon at a time, until the mixture comes together and forms a ball. Knead the dough on a lightly floured board to make sure it is well mixed. Set aside to rest for5-10 minutes, or refrigerate overnight. Bring to room temperature before rolling.

Flatten out the dough on a lightly floured surface. Roll the dough to 1/16″ thickness, dusting with flour and turning from time to time, to prevent sticking. Generously grease the pan with butter, olive oil and bread crumbs. Fold the dough in half and then in half again, to form a triangle, and place it in the pan. Open the dough and gently press it into the pan against the bottom and sides.  Allow the extra dough to drape over the sides.

Cooking the Pasta Cook the pasta in a very large pot of salted water until it is half done (it will finish cooking in the oven). place in a large bowl and toss with a few tablespoons of olive oil and set aside.

Assemble the Timpano Preheat the oven to 350 degrees. Cover the bottom of the pasta dough lined pan with the pancetta slices, half of the rigatoni, 2 cups of mozzarella, 1/4 cup Parmesan and marinara. Second layer: panzerotti, meatballs, half of the eggs, 2 cups of mozzarella, 1/4 cup Parmesan and marinara. Third layer: remaining rigatoni, poached pheasant, remaining eggs, 2 cups mozzarella, 1/4 cup Parmesan and marinara. Fourth layer: ricotta, 2 cups mozzarella, 1/4 cup Parmesan, beaten eggs and remaining marinara sauce. Fold the pasta dough over the filling to seal completely.  Trim away and discard any double layers of dough.

Bake the timpano until lightly browned, about 1 hour, then cover loosely with aluminum foil and continue baking until the timpano is cooked through and the dough is golden brown, about 30 minutes.  The internal temperature should reach 120 degrees. Remove from oven and allow to rest about 45 - 60 minutes.  The timpano should not stick to the pan.  If it does, carefully run a knife around the edges to loosen. Placing a serving platter or cutting board on top of the pan and invert the timpano onto a serving platter. Remove the pan and allow timpano to cool for at least an hour. Using a long, sharp knife, slice the timpano as you would a pie into individual portions. Serves 16.

Snow Storms & Roasted Chickens

It's snowing again, the second snow storm this week. I think it's changing to sleet because I hear a tap, tap, tap on the windows and about an hour ago, there was a green flash outside and our lights flickered— thunder snow. April has a bag of tricks up her sleeve and I can only hope sunshine and something green is on the itinerary. While it seems this is the winter without end, I still get excited (even in April) when I hear the term 'winter weather advisory' or better yet, 'winter storm warning'. It feels like Christmas Eve— checking for the first snowflakes, listening to the wind whistle through the pines, checking the radar online and discussing the chances of a snow day with Charlie and Meghan. I plan on enjoying every bit of this last (hopefully) snowstorm. It never snows in June, right?

Like most things in my life, everything eventually ends up in the kitchen and once the snow starts falling, I start planning what to make for dinner. A snow storm meal needs to meet a few criteria: butter or duck fat is crucial, preferably roasted in the oven and must make the house smell divine. When I was in Minneapolis, I went grocery shopping at Byerly's— I love a good grocery store like Carrie Bradshaw loved Manolo Blahniks. Walking into Byerly's (or Lund's or Kowalski's) makes me so happy. It feels a little like a treasure hunt— I never know what I'm looking for but I know it's going to be just what I need to find. I wander around aimlessly (driving every sane person with a list, a plan and a restless two-year old strapped in the cart completely nuts) until BAM, inspiration strikes and I know what I'm making for dinner.

When I saw the Smart Chicken roasters in the cooler, I almost did a little dance. It was my favorite chicken when we lived in Woodbury and I'm telling you, air chilled chicken really does taste better than chicken chilled with water. It is the juiciest, most tender chicken available commercially. I've been on a preserved lemon kick lately (I'm craving something yellow and sunny looking since the sun is on hiatus) and I'd just been to Bill's Imports so I had capers, lemon thyme and Moroccan olives in the fridge, waiting for a chance to be useful. I mixed up a batch of Moroccan compound butter, put the chickens in the oven and met all three criteria of my snowstorm dinner criteria in one fell swoop. It was perfect.

Moroccan Roasted Chicken

1 whole chicken, preferably organic
1/2 cup butter, at room temperature
1/4 cup preserved lemons, rinsed and chopped
1/4 cup Moroccan olives, pits removed and chopped
1/8 cup salted capers. rinsed and chopped
2 tbsp harissa 1 tbsp fresh rosemary, chopped
2 tbsp lemon thyme, chopped
Kosher salt and pepper

Preparation
Preheat oven to 450 degrees. Combine the butter, lemon, olives, capers, rosemary, thyme and harissa and set aside. Loosen the skin around the breasts, legs and thighs and spread the compound butter under the skin. Spread any remaining butter on the outside of the skin, season with salt and pepper and place in a roasting pan. Put the chicken in the oven and roast at 450 degrees for 15 minutes, reduce the temperature to 350 degrees and continue to roast until the breast reaches 165 degrees (about 45 - 60 minutes). Let the chicken rest, uncovered, for 10 minutes then carve and serve.

Three Days In April

You wouldn't know it if you looked out the window but it's April 14th today. We had a good, old-fashioned winter storm this week (10 inches of snow and howling wind) and I took these pictures over the course of three days to document our crazy April weather. We have another winter weather advisory posted for 3 - 5 additional inches of snow tonight— I can't believe the 4th of July is less than 3 months away!

April 9th and the storm is coming.

April 10th and the storm is here.

April 11th and the ice is gone and open water (and Canadian Geese) are back.

More Good Wines To Seek Out

2010 Bordeaux Supérieur Château Belrose Portraits Cuvée Maucaillou

I've recently signed up for email alerts from WTSO.com and it's really expanded my wine drinking horizons. Not everything is worth buying but now and then, they offer a good wine at a really good price. This one is a great example— it's a good, drinkable Bordeaux that isn't going to break the bank ($9.99) and make you sad when you open it on a Tuesday night for no good reason. It's a traditional Bordeaux blend of Merlot, Cabernet Sauvignon and Cabernet Franc. According to Wine Spectator, 'it's a chunky mix of plum, prune and mulled cherry fruit flavors, with a coating of dark toast on the finish'. I'd add it's an easy drinking, not terribly complicated Bordeaux and for $10.00 a bottle, a really good value.

2009 Monte Del Frà Tenuta Lena Di Mezzo Ripasso Valpolicella Classico Superiore

Another WTSO purchase ($12.99) and a really, really good Valpolicella Ripasso (I'm picky about Valpolicellas, they can be too light bodied for my taste). Ripasso means to 're-pass' and Valpolicella Ripasso is fermented twice— once with the Valipolicella grapes (a blend of Corvina, Rondinella, Molinara) and then fermented again with the partially dried grape skins that have been left over from fermentation of Amarone. It's a fruit forward wine with a nice balance between lively acidity and raisin-y sweetness. Wine Spectator gave it 90 points and described it as, 'an elegant red, showing hints of black raspberry, plum and strawberry fruit bolstered by a spicy undertow of ground pepper, dried mint and thyme, anise and vanilla bean, with a mineral-tinged finish'. I'm hoping WTSO isn't really sold out of this vintage because if it comes around again, I'm buying a case!

2007 Clos LaChance Merlot Hummingbird Series Violet Crowned

Yet another WTSO purchase— this time it made its way to my house because it a great deal, $8.99 a bottle, and a great Bordeaux blend, 76% Merlot, 22% Cabernet Franc, 1.5% Cabernet Sauvignon, 0.5% Malbec. If I had to sum up this wine in one word, it would be smooth. Aromas of red plums, mint and cranberries are followed by dried cherry, plum, vanilla and toasty oak flavors with subtle herbal notes. It's a medium bodied wine that's almost chewy and dense in the mouth. It's a solid wine for under $10.00. This is another wine I hope WTSO isn't really sold out of, I'd love to get me hands on a few more bottles.

2007 Ciabot Berton Roggeri Barolo

Barolo is a big wine and this bottle is no exception. It's definitely a bottle that a) needs a couple more years to grow up or b) needs lots of air to be the best version of itself in your glass. I bought 3 bottles from WTSO ($34.99) and I'm letting the two bottles I have left spend a few years downstairs, gathering themselves. I did enjoy the bottle I opened— cherry fruit flavors, earthy aromas, good structure, full-bodied and a long soft textured finish but it was a bit too rustic now. Wine Spectator gave this vintage 93 points and described it as, ' a warm red, exuding tar, tobacco, cherry, floral and sun-baked earth aromas and flavors, with a long, spicy finish. This still has the chewy texture courtesy of the tannins, but is developing nicely. Best from 2014 through 2026'. I'm going to give it another try in 2016— I think it's going to blow my socks off.

2007 Domaine Catherine le Goeuil Cotes du Rhone Villages Cairanne

Kermit Lynch know what he's doing when it comes to wine and as I've mentioned before, I've yet to meet a Kermit wine I don't like. This is a lovely bottle of wine, one of my favorites. It's a blend of Grenache, Syrah, Mourvedre, Carignan, Cinsault and Counoise — a similar blend to those you'd find in wines from the Chateauneuf-du-Pape region. Kermit Lynch described it as— 'nose ripe and decadent; wild thyme, stones, and loads of Grenache fruit; chewy, concentrated, great tannins, palate-staining  sensations, and just a whole lot of rock ’n’ roll going on. There is also a rare quality that I’d like to see in more wines, something luxurious in the feel of  it on the palate.' Plus, it's organic— this is a wine definitely worth seeking out.

Au Revoir Ice Road, You Were Fun While You Lasted

Ice road conversations have a particular cadence— a) is there going to be an ice road this year? and b) is the ice road still open? In between those conversational poles, there are cars traveling back and forth and enjoying free and easy access to Madeline or the mainland. While the appearance of an ice road isn't a given, the death of the ice road is assured. On April 3rd, the United States Coast Guard Cutter ALDER came through and delivered the fatal blow and we said au revoir to the 2013 ice road.

The ALDER is a big boat— 225 feet long, 46 feet wide and way, way bigger than any ATV, wind sled or human on the ice that morning.

The ALDER and I have something in common— she gained her 'Great Lakes Cutter' status on my birthday, October 12th. A Libra ice cutter, who knew? I always thought ice cutters were Aries or Sagittarius, it's amazing what you learn on an April morning at an ice road funeral.

The ALDER stopped in front of the entry to the Apostle Islands Marina, turned around and headed back towards the big lake. I guess it had done all it could to unlock the ferry and fishing boats from their winter irons and was headed back to Duluth. It was hard to believe just six weeks ago, Will and I were on the ice road, headed to Madeline for our Sunday photo safari (read about it here).

She made quick work of the road, breaking up sheets of ice that had carried Islanders and Mainlanders back and forth for six weeks in the spring of 2013. It was a good road while it lasted but I wasn't sorry to see it go. Summer is coming and that means beach days, Long Island Cocktail Club, gardening, farmer's markets and bonfires. Plus, there's always the 2014 ice road to look forward to, right?

Madeline Island Ice Road

Every year, once the bay has frozen, there's a row of Christmas trees between Bayfield and Madeline Island. That's the sign that maybe, with the weather gods blessing, there will be a two-mile ice road connecting Madeline with the mainland. It's taken seven years but on February 24th I did it— I drove over the ice road to Madeline all by myself (and Will). We wanted to go to Big Bay Town Park if the ice road re-opened for business for our Sunday photo safari. Since Ted went skiing with Jack and Charlie at Whitecap, it was up to me to get the car (with all the windows down and seatbelts off) across the ice in one piece. I called Madelaine to inquire about tips and pointers for our voyage— she said drive slow and go between the orange cones (the road had cracked earlier in the week and the road had been re-routed prior to opening). I followed her directions to a 'T' and we made it across in one piece.

About half-way across we saw this guy fishing on the side of the ice road (officially Wisconsin County Highway H)—adds another dimension to the term 'road kill'.

The windsleds were parked at the Madeline Island approach, waiting for another chance to ferry people across in the window between hard ice and flowing water.

Of course, we brought George along for the ride. Will and I have decided he is the official dog of the Dougherty Photo Safaris. He brings elements of joy, vigilance and snowman manicuring skills to the adventure.

Big Bay Town Park didn't disappoint, it was definitely worth the ride.

The reflection of the shoreline in the water was framed by ice and snow. Everything seemed to be differing shades of grey, white and dark green but glimpses of the water outside the bay gave me hope for the eventual return of summer.

Since it was a monochromatic day, I decided to capture the delicate, crystalline structure of the ice and icicles.

The orange moss seemed eye-poppingly bright after spending ten minutes kneeling in the snow photographing icicles.

We decided to head back and my first thought was, 'what time does the ferry leave'? Then I remembered, we drove across the ice road and could leave when we wanted— a pretty unusual feeling on Madeline Island. We rolled down our windows, unbuckled our seatbelts and pointed the car towards Bayfield and home. It was another beautiful afternoon with Will and George, I'm a lucky, lucky girl.

Sassy Salmon En Croute

There are a few things I always have in the freezer: meatballs, Tetzner's ice cream, chicken stock and puff pastry dough. Puff pastry dough is my idea of a secret weapon— you wrap anything in a buttery, flaky dough and voilà, you've elevated the ordinary to the extraordinary (the power of butter is endless). Ted made salmon en croute for our very first Christmas Eve dinner with my family twelve years ago. We wanted to come up with a show-stopping meal and since I've never been a particularly big fan of understatement, wrapping a hunk of salmon in puff pastry seemed like the ticket to Christmas Eve perfection. Ted took charge of the dinner and I remember poking my head in the kitchen and watching him, with his tie tucked in between the buttons on his shirt, cutting the dough into the shape of a fish— he's kind of a fancy guy. When he walked out of the kitchen with an enormous smile on his face and a perfectly cooked and puffed salmon en croute, I knew we had started a cherished family tradition.

Twelve years later, I've wrapped all sorts of things in puff pastry (brie en croute recipe here) and we have ribs for Christmas Eve dinner now, but nothing beats salmon en croute for a good meal and a trip down memory lane. This time I ran into a snag and tried to roll out the dough when it was too cold. It kept cracking and I wasn't able to get it large enough to wrap up the entire fish. I decided to morph my 'en croute' to 'en galette' and wrapped the salmon about halfway up. It turned out to be a fortuitous detour— the filling (now the topping) was caramelized and the puff wasn't soggy because the moisture from the spinach and mushrooms evaporated in the oven. I guess impatience can pay off (sometimes).

Sassy Salmon En Croute

1/4 cup butter
1 1/2 pounds fresh mushrooms,sliced
3 large shallots, chopped
2 cloves garlic, minced
2 (10-ounce) packages frozen spinach, thawed and squeezed dry
1/2 cup sun-dried tomatoes in olive oil, chopped
8 ounces goat cheese (I used Sassy Nanny Lake Effect)
2 tbsp fresh thyme, chopped
1 package puff pastry ( I used Pepperidge Farms), thawed in the refrigerator overnight
1 (2-to 2 1/2-pound) salmon fillet, skinned
1 large egg
2 teaspoons water
Salt and freshly ground black pepper

Preparation
Melt the butter over medium-high heat in a large skillet. Add the mushrooms and shallots and sauté until well cooked and all the liquid has evaporated, about 10 minutes. Add the spinach, garlic, sun-dried tomatoes and thyme and sauté until all liquid is evaporated, about another 5 minutes. Season to taste with salt and pepper. Transfer to a covered container and refrigerate until thoroughly cooled, up to one day in advance.

Lightly flour a clean work surface and set out the chilled puff pastry. Let the pastry sit just long enough to become pliable, so it won't break or crack when you unfold it and try to roll it out. Roll the puff pastry dough out to fit your salmon fillet when it's placed on the dough on the diagonal. Place the puff dough on a sheet tray lined with parchment paper. In a small bowl, combine the egg and water for the egg wash and beat with a fork until foamy.

Season the salmon fillet with salt and pepper. Place the spinach/mushroom/sun-dried tomato mixture and goat cheese on top of the salmon fillet and wrap the puff dough up around the salmon. Brush the sides of the dough with the egg wash, being careful not to let too much egg drip down the edges of the pastry, and cover loosely with plastic wrap. Place in the refrigerator and chill for at least 1 hour and up to overnight before baking.

Preheat the oven to 450 degrees. Remove the plastic wrap, place the baking sheet on the center rack of the oven, and bake for 15 minutes.  Decrease the temperature to 350 degrees and bake an additional 15 to 20 minutes, until the pastry is golden brown and puffed.  Remove from the oven and let rest, uncovered, for at least 30 minutes before cutting.

Pickled & Deviled...Eggs That Is

Every time I opened the fridge, there they were— two Mason jars full of pickled eggs (recipe here). To be honest, I've never eaten a pickled egg in my life and I had no intention of just popping one in my mouth and chewing. I needed a little something to ease my passage into "I've eaten a pickled egg and liked it' land. I settled on deviling my pickled eggs and it more than eased my passage to pickled egg land— they were seriously good. Although next time, I'll only pickle the eggs for five days or so— they were a little too rubbery for my taste.

I'll say one thing about those pickled eggs I made two weeks ago, they were pretty and didn't look anything like the eggs I've seen behind some Wisconsin bars. The herbs made beautiful patterns on the whites that weren't in direct contact with the brine, kind of like Easter eggs without the shells. I liked the balsamic brine— it had a nice bite but wasn't too strong and dyed the eggs a beautiful shade of mahogany. Pretty pickled and deviled eggs— not too shabby for my first time.

Pickled & Deviled Eggs

14 pickled eggs
1/3 cup mayonnaise
1/4 cup sour cream
2 tbsp salted capers, rinsed and chopped
2 tbsp cornichons, chopped
Salt and pepper, to taste
Lemon thyme, minced

Preparation
Rinse the pickled eggs and pat dry. Cut the eggs in half, scoop out the yolks and place in a bowl. Add the mayonnaise, sour cream, capers, and cornichons to the bowl and combine with egg yolks. Taste for salt and pepper and then fill the egg whites with the yolk mixture. Garnish with lemon thyme and serve immediately or store, covered, in the refrigerator.

St. Peter's Dome On Easter Sunday

DSC_7345
DSC_7345

When Easter and photo safari day coincided this year, I knew exactly where to go— St Peter's Dome in the Penokee Hills. The 1600 foot red granite dome is the highest point in the Chequamegon National Forest and trust me, it's a challenging hike on snowy/icy paths. We kept reminding each other to think like mountain goats when we encountered a particularly slippery patch. I think it worked because we all walked off the trail in one piece.

What a change from Easter five or six years ago— the bunny has been unmasked, the kids sleep in until a civilized hour and they are game for a 4 mile hike instead of sorting their candy and blowing bubbles. While I enjoyed those early mornings looking for the Easter baskets, today was about as close to a perfect Easter Sunday as I could have imagined.

While it was not all wine and roses on our hike and there were plenty of comments about the cold, wind, ice and a slow-moving Mother with a camera, we all experienced moments of wonder. Wonder at the wind howling at the top of St. Peter's Dome, at lush green moss on a tree trunk, at the feeling of walking under very, very old trees or at the perfection that is the heart of any untouched forest.

St Peter's Dome 1
St Peter's Dome 1
St Peter's Dome 2
St Peter's Dome 2

Of course, I had to include a couple of pictures of George— he is just so terribly handsome.

DSC_7442
DSC_7442

The water was beginning to flow, it's a sight and sound I never tire of. I can only imagine the roar of rushing water during the spring thaw— there's a lot of snow on the ground.

DSC_7453
DSC_7453
DSC_7440
DSC_7440

Even under the deepest blanket of snow, green things are awakening. The early risers are such a contrast to the whites, browns and evergreens I've been surrounded by all winter.

As I was walking along, I wished I had the right words to describe what I was seeing and feeling. We got to the top and I saw Jack looking a piece of paper attached to a tree. There they were, the words I was searching for, in a poem by Marvin Bell. Places like St. Peter's Dome, the Apostle Islands or the Penokee Hills are lifelines in a noisy and too human world.

Around Us Marvin Bell

We need some pines to assuage the darkness when it blankets the mind, we need a silvery stream that banks as smoothly as a plane’s wing, and a worn bed of needles to pad the rumble that fills the mind, and a blur or two of a wild thing that sees and is not seen. We need these things between appointments, after work, and, if we keep them, then someone someday, lying down after a walk and supper, with the fire hole wet down, the whole night sky set at a particular time, without numbers or hours, will cause a little sound of thanks–a zipper or a snap– to close round the moment and the thought of whatever good we did.

Your Mother and My Mother


Your Mother and My Mother

Fear is the cheapest room in the house
I would like to see you living
in better conditions,
for your mother and my mother
were friends.

I know the Innkeeper
in this part of the universe.
Get some rest tonight,
come to my verse tomorrow.
We’ll go speak to the Friend together.

I should not make any promises right now,
but I know if you
pray
somewhere in this world-
something good will happen.

God wants to see
more love and playfulness in your eyes
for that is your greatest witness to Him.

Your soul and my soul
once sat together in the Beloved’s womb
playing footsie.
Your heart and my heart
are very, very old
friends.

– Hafiz

A Sassy Roasted Vegetable Salad

Two really great things happened to me in the past month— my homemade red wine vinegar is finally healthy and Kathy introduced me to roasted vegetables in a green salad. I'm not sure what event was more impactful but when they came together on my plate, I had joy in my little heart. My path to homemade vinegar was full of pot-holes, really big and unmarked pot-holes. I bought my vinegar mother, put her in the crock with decent red wine, put the cap on the crock and went on my merry way for 2 months. Big mistake. I opened the crock and it smelled exactly like nail polish remover, not exactly what I was shooting for.

I searched the internet but it seemed nearly everyone had great success in their vinegar production and I couldn't find much information on what to do when the vinegar smells horrid (except throw it out and start over). I was not about to throw it out, I had two months invested and it was too cold to have another mother shipped— evidently, they need to stay warm in order to turn wine into vinegar. So, I decided to do it my way and disregard the instructions. I added some water, sugar, more wine and stirred it vigorously every third day. I waited and waited and stirred and stirred. Finally, six weeks later, I took a whiff and the most beautiful acidic aroma wafted into my nose. Homemade red wine vinegar is everything I hoped it would be— lightly acidic and fresh tasting, and not a hint of acetone to be found.

Back to the roasted vegetable revelation. I knew a salad with roasted carrots, sweet potatoes, fennel and onion combined with Sassy Nanny goat cheese and my red wine vinaigrette would be just the ticket for a spring dinner. Soon, I will have lots of fresh vegetables from the garden to dress up in a salad but for now, roasted vegetables were a nod to the passing of winter.

Sassy Roasted Vegetable Salad

Red Wine Vinaigrette
1/4 cup red-wine vinegar
1 tablespoon Dijon mustard
1 teaspoon sugar
Salt and black pepper, to taste
1/2 cup extra-virgin olive oil

Salad
4 carrots, peeled and cut into 2 inch pieces
1 sweet potato, peeled and cut into 1 inch pieces
1 red onion, peeled and sliced
1 fennel bulb, fronds removed and sliced
1/4 cup olive oil
1 tbsp fresh thyme, minced
1 tbsp fresh rosemary, minced
salt and pepper, to taste
1 pear, sliced
4 cups spring mix or spinach (or a combination of both)
1/2 cup Sassy Nanny Lake Effect goat cheese

Preparation
Preheat oven to 400 degrees.

Place all the vinaigrette ingredients in a bowl and whisk until fully incorporated and slightly thickened.

Place vegetables, herbs, salt, pepper and olive oil in a sheet tray lined with parchment. Roast for 30 minutes or until softened and caramelized. Set aside to cool. Assemble the salad with roasted vegetables and pear slices and then toss with the vinaigrette. Place the goat cheese on top of the salad, taste for salt and pepper and serve immediately.

Scotch Eggs

There are moments in my life I'll always remember— meeting Ted on the 52B bus, seeing my babies for the first time, driving to Iowa in a snowstorm to pick up Guinness (our first Newfie), surprising Ted with an adorable yellow Lab puppy after a swim meet and my first Scotch egg at Brit's Pub on Nicollet Mall. It really was that big of deal, I even remember where we sat (at a two top next to the door). I've always liked hard-boiled eggs but when I found out there were people in the world who wrapped hard-boiled eggs in sausage and then deep-fried those sausage wrapped bundles of goodness, I knew I was at the right restaurant. I've been a fan ever since.

We ate at Brit's many, many times and we always started (and sometimes ended) with a plate of Scotch eggs. After Jack was born, it was a little tougher to find a few hours to sit at a table and enjoy a pint of Guinness and some sausage wrapped eggs. Necessity, being the Mother of invention, helped me on my path to Scotch eggs from my kitchen and to finding a good babysitter (sometimes, it's just more fun to eat at a restaurant— even if it's at a two top near the door). Since I figured eggs and sausage were enough of an artery clogging duo, I looked for an oven baked variation and they turned out perfectly. Admittedly, they look a little more anemic than their deep-fried kin but they taste as good and are a wee bit healthier. That's always a good thing.

One last thing, I like my Scotch eggs with a dipping sauce (nothing like a little mayonaisse with your eggs and sausage). I take about 1/2 cup of Hellman's mayo, 1 1/2 tbsp stoneground mustard, 1 1/2 tbsp Dijon mustard, salt and pepper, mix it up and serve it alongside the eggs. Talk about gilding the lily but the sauce really adds a little something special (or over the top, take your pick).

Oven Baked Scotch Eggs

7 large eggs (preferably free-range and organic)
3/4 cup flour
1/2 cup dried breadcrumbs (preferably fresh)
1/2 cup saltines, finely crumbled
1 lb pork sausage

Preparation
Preheat the oven to 400 degrees. Line a baking tray with parchment paper.

Place eggs in a saucepan large enough to hold them in a single layer and add cold water to cover eggs by one inch. Heat over high heat until the water starts to boil. Remove from the heat and cover the pan. Let the eggs stand in the hot water for about 12 minutes (for large eggs), drain and place in an ice bath to cool completely. Peel the eggs and set aside.

Meanwhile, place the flour and saltines in a shallow bowl or plate and season with some salt and pepper. Break the remaining egg into a second bowl and beat lightly. Place the breadcrumbs in a third bowl or plate and line up all the bowls in a row (flour, then egg, then breadcrumbs).

Scoop out a large ball of sausage meat and flatten it into an oval shape in your hand. If the sausage is sticky, try wetting your hand with cold water. Wrap the sausage meat around the egg, pinching it together at the seam, then smoothing the meat around the eggs, making sure there are no gaps where the egg is peeking through. Dredge the sausage-covered egg in the flour, tapping off any excess. At this stage, set aside the wrapped and floured egg on the lined baking sheet and repeat this process with the remaining eggs.

Once all the eggs have their sausage blanket and their dusting of flour, dip each one in the beaten egg, making sure it all gets coated, then roll it in the breadcrumbs/saltine mixture, making sure it’s fully covered in crumbs. Place the finished egg on the lined baking sheet, then repeat with the remaining eggs.

Place the eggs in the oven and cook for 25 to 30 minutes, until the breadcrumbs are crispy and the sausage is cooked through. Scotch eggs can be eaten warm, cold or at room temperature.

Regalia & Drums At Northland College

Jack and I went to Northland College for the 39th Annual Spring Powwow on Saturday— it was a glorious display of sound and color. The drums, jingle dresses, feathers and ornate regalia were mesmerizing; the two hours we spent in the bleachers flew by.

DSC_7073
DSC_7073

The intricate bead work was mind-blowing and the colorful regalia was a relief from the monochromatic winter world outside the gym.

Jingle dresses were everywhere and their tinkling sound was a beautiful counterpoint to the deep resonance of the drum.  According to the program at the Pow-Wow, 'The dress itself is said to have been conceived as a means of healing a medicine man's granddaughter. This elder was told in a dream to construct this Jingle Dress and have his sick granddaughter dance in it and she was healed'.

DSC_7120
DSC_7120

There were quite a few kids dancing, getting ready and observing the action. As I watched the parents get their kids dressed in their regalia, I was reminded of the countless times my Mom helped me get dressed for Easter or Christmas Mass. At the end of the day, it's all about passing on traditions and legacy to our children— whether it's in a church or around a sacred drum.

A Snowy Walk To The Sugarbush

Spring officially starts on Wednesday but you wouldn't know it by looking outside, there is a lot of snow on the ground (and more on the way tomorrow).  Last year, the kids were at the beach in their swimsuits (check it out here). What a difference a year makes.

The Bayfield Regional Conservancy hosted a Full Moon Luminary cross-country ski out the Nourse Sugarbush at the end of January and the kids and I signed up for a little night skiing adventure. We skied the Sugarbush Trail, lit with luminaries, in a light snowfall— I remember thinking I needed to imprint that night in my brain, it was absolutely magical. When Will, Sadie and I were looking for a photo safari destination, I knew just the spot. A hike out to the sugarbush while there was still snow on the ground was just as magical in the daylight.

According to the Bayfield Regional Conservancy website, 'For hundreds of years, the sugarbush was a spring destination for Ojibwe people, who were the first to tap those maple trees for producing maple syrup. Slash marks from those days are still evident on the oldest trees.  The Nourse family has continued the tradition since the 1920’s.  A small cabin (c. 1920) and tin storage shed used for maple syrup production still exist on the property and are used for annual sugaring operations by the Nourse Family who retained lifetime rights to harvest syrup'. Walking among the old growth maples, before they were tapped, was the perfect way to recognize the passing of winter into spring. Although, I bet we have a couple more snowfalls in our future before 'real' spring settles in for good— this is Northern Wisconsin, after all.

Pickled Eggs, It's An Irish Thing

The realities of life after 40 are numerous: reading is impossible without either 4 foot long arms (which I don't have) or glasses (which I do have), a newly acquired relationship between anything chocolate and heartburn, 3 inch heels are a fond memory and now I can add hearing loss to the list. Joanne called earlier this week and left a message, 'hey, call me back, I have a question about fecal bags'. I consider myself an expert in a number of areas— wine, free thinking dogs, the right kind of salt and dinner parties but I'm a fish out of water when it comes to fecal bags.

So, when Joanne stopped over this morning, I had to ask her what on earth she was talking about— was it code for something, did she call me by accident, was she trying to be funny? She looked at me like I was the crazy one and said, 'pickled eggs, I have a question about pickled eggs'. Well, thank God— I know what to do with pickled eggs (kind of). You'd think with names like Duffy, Meroney, Hubbard and Kennedy in my family tree, I 'd be familiar with pickled eggs— a consummate Irish pub snack but until this week, I was among the uninitiated. No longer, pickling eggs is yet another culinary adventure I can check off my bucket list.

Joanne is having an Irish Whiskey tasting at her shop, Bayfield Wine and Spirits, tomorrow from 3:30 until 5:00. If you're around, stop in for a taste of my idea of a proper pickled egg and a quaff of Irish whiskey on a Saturday afternoon in March. Good Irish whiskey and pickled eggs— what a brilliant way to celebrate (a wee bit early) St. Patrick, the man who drove all the snakes out of Ireland.

Pickled Eggs(Adapted From saltandfat.com)

2 dozen eggs, washed
10 ounces apple cider vinegar
10 ounces balsamic vinegar
20 ounces water
6 ounces sherry
1 onion, quartered and sliced
8 garlic cloves, halved
1 tbsp brown mustard seeds
1 tbsp yellow mustard seeds
4 tbsp brown sugar
1 1/2 tbsp mixed peppercorns
1 tbsp salt
4 branches of rosemary  
Bunch of fresh thyme

Preparation
Place eggs in a saucepan large enough to hold them in a single layer and add cold water to cover eggs by one inch. Heat over high heat until the water starts to boil. Remove from the heat and cover the pan. Let the eggs stand in the hot water for about 12 minutes (for large eggs), drain and place in an ice bath to cool completely.

In a large saucepan, heat the vinegars, sherry, water, salt and sugar to boiling and then reduce to a simmer. Divide the eggs, garlic, onions, herbs, mustard seeds and peppercorns among the canning jars, pour the brine into the jars, seal and place in the refrigerator. They are ready to eat a day after pickling if you like a lighter flavor or about a week if you like a stronger pickled flavor.

The Best Italian Meatball, So Far

I don't need to go any further, my search for the perfect Italian meatball is over. My meatball adventure isn't over yet— there are still ham, reuben and Moroccan meatballs to discover but the Italian part of my trip is over. Like any good traveler planning a trip, I spent an afternoon researching different meatball techniques and found this one on the Minnesota Monthly website. The triple ground beef and ricotta piqued my interest, it sounded like a smooth meatball was in my immediate future. I ground the beef, pork and lamb in my food processor and it worked like a charm, but if you have access to butcher, ask them to triple grind it for you and save yourself a few dishes to wash.

I have a meatball theory— if you are going to go to the trouble to mix and mold 15 meatballs, you should double or triple the recipe, mix and mold 65 meatballs and freeze them for a rainy day (or a day when you don't want to be handling ground meat). I freeze them, covered, on a sheet tray and put them in freezer bags after they are thoroughly frozen. This particular recipe is a little wetter than most meatball recipes and you will end up with meatloaf if you tried to put them in a freezer bag unfrozen. One last tip before you start your own Italian meatball journey— do not over-manage the meatball mix, gingerly form it into solid balls and then leave it alone. If you mold it, squeeze it or smash it too much, the meatballs will be a much tougher consistency. The goal is a little, pillowy soft meatball, not a doorstop.

Italian Meatballs (Adapted From Minnesota Monthly and Marco Canora)

2 1/2 cups whole milk ricotta
3 eggs, lightly beaten
1 cup whole milk
1 1/2 pounds ground pork
3/4 pound ground lamb
2 pounds ground beef, 80% lean
2 cups fresh bread crumbs
1/4 cup parsley, finely chopped
2 tbsp kosher salt
1 tbsp freshly ground pepper
1 tbsp fennel seeds
1 tbsp red pepper flakes
1/2 onion, minced
3 garlic cloves, minced
1 cup Parmesan, shredded
Vegetable oil for frying

Preparation
Wrap ricotta in cheesecloth a day before serving and place in a sieve set over a bowl.  Weight cheese, cover, and refrigerate overnight.

Mix the lamb, pork and beef in bowl. Working in batches, grind it in a food processor for about 45 seconds or until the texture looks smooth and you can't tell the difference between the different meats. Place all the ground meats back in the bowl (after you've ground them in your food processor).

In a small bowl, add the breadcrumbs and milk, stir to combine and let sit for 5 minutes, or until the milk is absorbed. Add the milk soaked breadcrumbs, ricotta, eggs, fennel seeds, red pepper flakes, parsley, onion, garlic, Parmesan, salt and pepper to the meat mixture. Roll the mixture into balls and set aside.

Heat the vegetable oil (enough to cover the bottom of the pan) in a skillet over medium-high heat. Working in batches, place meatballs in the pan and cook until browned all over and cooked thoroughly, about 8 – 10 minutes per batch. Serve with white rice and spoon a little sauce over each meatball. Serve immediately.

Eagles On The Madeline Island Road

Last week, Ted and I went over to Madeline Island on the ice road for an afternoon excursion. Midway across, we saw two eagles waiting for a snack from the fishermen pulling their nets up. They are beautiful birds and I've never been lucky enough to capture a decent picture (before our Madeline ice road adventure). Talk about a happy dance, I was finally in the right place at the right time with the right lens on my camera. Life is good.