Cookery Maven Blog

Photo Safari With Gen's Horses

I think I could turn and live with the animals,  they are so placid and self contained; I stand and look at them long and long. They do not sweat and whine about their condition; They do not lie awake in the dark and weep for their sins; They do not make me sick discussing their duty to God; Not one is dissatisfied, not one is demented with the mania of owning things; Not one kneels to another, nor his kind that lived thousands of years ago; Not one is responsible or unhappy over the whole earth.

Walt Whitman, Leaves of Grass

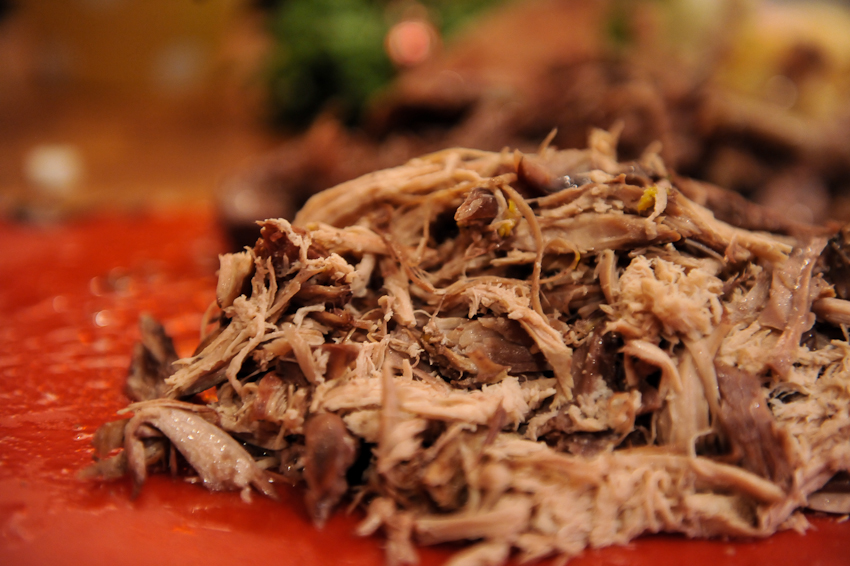
Poblano & Tomatillo Shredded Pork With Cheddar Grits

Ellen sent an email asking if I would like some poblanos from her garden. I immediately thought of chile rellenos  and answered with an enthusiastic yes, please. Don't ask me why chile rellenos were the first thing I thought of, I've never eaten or made them. But, what isn't to love about deep-fried cheese stuffed peppers? All I needed was a couple of hours to get them together.

Dinner has been anything but leisurely around here lately. I remember when the kids were little, 5 pm to 7 pm was nightmarish with crabby kids rioting while I was trying to prepare dinner. Fast forward 12 years and 5 to 7 is still the witching hour. No crabby kids this time, just various drop off/pick up assignments for four kids in three different sports. Dinner needs to be quick and ready when they get home or they may revert to their younger, riotous selves. So, I'm still a chile relleno virgin but the poblanos found another incarnation in the crock pot.

I became a relatively proficient crock pot cooker when we were renovating our kitchen in 2010. I didn't have a stove for 2 months but still had 5 kids who wanted to eat— necessity is also the mother of crock pot cookery. I learned a couple of things— always brown the meat, saute the aromatics (like onions, garlic, peppers) and don't add too much liquid (like wine, broth, tomatoes).  Boston butt pork roast is my favorite for braising— full of piggy flavor and incredibly tender. Since the poblanos were driving the bus for this meal, I grabbed the tomatillos from the fridge and set out to make a south of the border braise.

Poblano & Tomatillo Pork with Cheddar Grits

Pork Braise 4 - 5 pound boston butt pork shoulder 3 tbsp olive or canola oil 3 medium onions, chopped 4 garlic cloves, minced 2 pounds fresh tomatillos or two 11 ounce cans of tomatillos 6 poblanos, chopped with seeds 3 tbsp cumin 1 1/2 tbsp Tajin Classico Seasoning 2 tbsp chipotle powder 2 tbsp ancho chile powder 1/2 tsp salt 3/4 cup cilantro, chopped

Cheddar Grits 2 1/2 tbsp butter 1/2 onion, chopped 1 1/4 cup grits (I used Quaker Quick Grits) 2 cup whole milk 2 3/4 cup water 1 1/2 cup shredded sharp white cheddar Salt and pepper to taste

Pork Season the pork shoulder with salt and pepper and brown all sides in 1 tbsp of oil over medium high heat. Place in crock pot. Add additional 2 tbsp of oil to sauté pan, add onions, garlic and poblanos and sauté for 7 - 10 minutes or until soft and onions are golden. Add tomatillos, cumin, Tajin, chipotle powder, ancho powder and salt and saute for another two or three minutes. Very carefully, add the tomatillo/pepper/onion mixture to a blender or food processor and purée until smooth. Pour over the pork in the crock pot and cook on high for 6 hours. Before serving, shred the pork, add the cilantro and serve over cheddar grits.

Cheddar Grits Saute onion in 2 tbsp of butter over medium heat in a large saucepan until softened and golden. Add the water and milk and bring to a boil. Reduce heat to medium low and slowly add the grits, stirring to combine. Cover and cook 12 - 14 minutes or until thickened. Add the shredded cheese and continue cooking until the cheese is melted, about another 2 to 3 minutes. Taste for seasoning and serve immediately.

Morning In The Garden

It's been a marvelously rainy and foggy day. As I was walking outside, I noticed the colors were muted and much more monochromatic— winter is coming with her shades of white and gray. The garden still has a few stalwart and vibrant holdouts but it won't be long before I cut everything down and put the garden to bed.

I took these pictures in the beginning of October at sunrise. Between the kids and dogs, I've honed my 'early bird gets the worm' skills and catch my fair share of glorious sunrises (a decent consolation prize for leaving my warm bed). The garden looked so lovely on that October morning, lush and colorful in spite of the fact that in a few short weeks it would be a pale imitation of its summer splendor.

'Everyone must leave something behind when he dies, my grandfather said. A child or a book or a painting or a wall built or a pair of shoes made. Or a garden planted. Something your hand touched some way so your soul has somewhere to go when you die, and when people look at that tree or that flower you planted, you're there.' Ray Bradbury, Fahrenheit 451

Everything Is Better With Butter, Right??

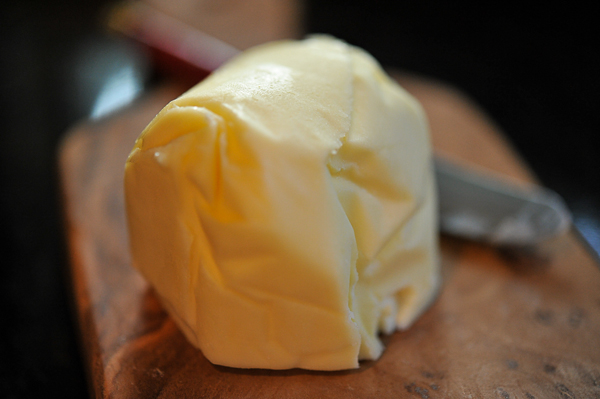
I had a moment when I was in Cable at the Ideal Market last Thursday and it involved a pound of pale yellow goodness. I have a deep and abiding love of good butter— especially La Baratte des Gourmets (French butter with sea salt flakes) and Delitia Burro di Parma (butter made with the left overs of Parmigiano Reggiano production). It's not that your average, run of the mill grocery store butter isn't good, it's just that high fat cultured butter is so much better.

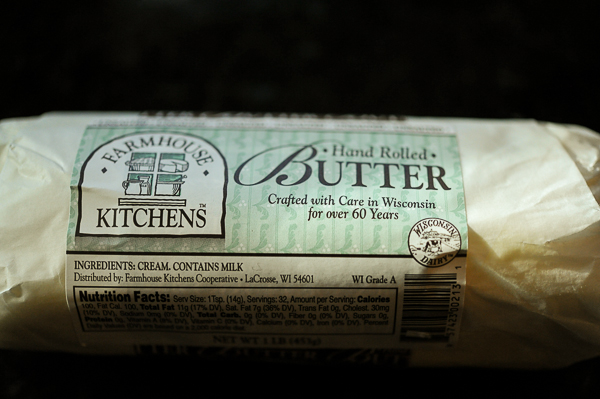
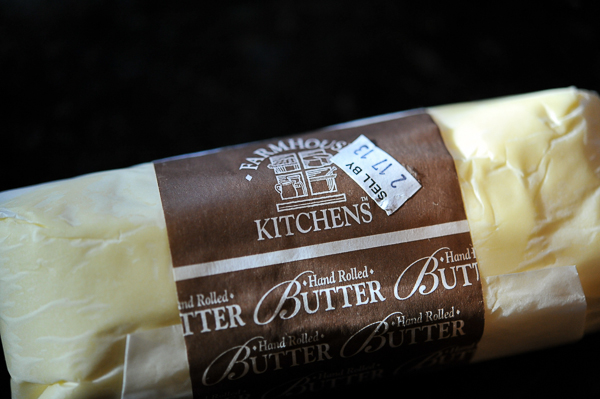
The girls and I drove to Cable to have dinner at the River Eatery with Will's cross-country team. As we were leaving, I peeked in the refrigerated case and there it was— handrolled butter from Farmhouse Kitchens in Lacrosse. It's light and creamy texture as well as a tangy, cultured flavor adds up to pure butter love. I bought 3 pounds and headed north with a smile on my face.

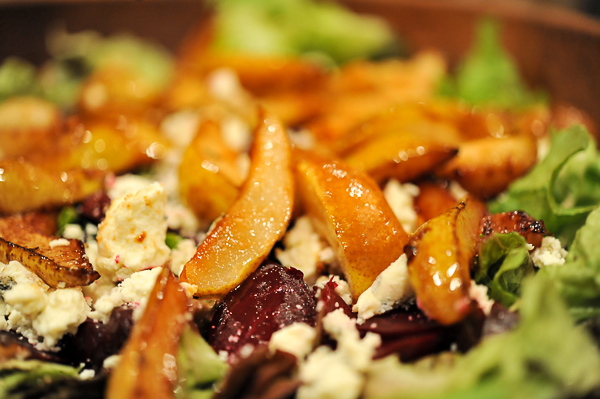
Roasted Beet & Caramelized Pear Salad

I need a few things to make my life run smoothly: ample toilet paper reserves, Maldon sea salt, good butter, clean dogs and a really good salad dressing in the fridge. Salad dressing is always an after thought for me. I will spend hours planning and preparing the meal but when it comes time to dress the salad, I've got nothing. While a good red wine vinegar and Dijon dressing is quick and easy, it's been five years and I needed a change.

I have two 'signature' perfumes— Tom Ford's White Patchouli for summer and Black Orchid for winter. Doesn't it make sense to have two 'signature' seasonal salad dressings?? Summer with her fresh vegetables and bright flavors is a whole different kind of critter than the caramelized fruit and roasted vegetable salads of old man winter. I pulled a bunch of cookbooks off the shelf and started my search for a Dougherty house dressing. I hit pay dirt with Cooking with Shelburne Farm— a beautiful cookbook from an Inn and working farm in Vermont. The maple ginger vinaigrette is perfect for all my winter salads and is always waiting in the refrigerator to dress any salad I can dream up.

Roasted Beet and Caramelized Pear Salad Maple-Ginger Vinaigrette Salad Dressing (From Cooking with Shelburne Farms)

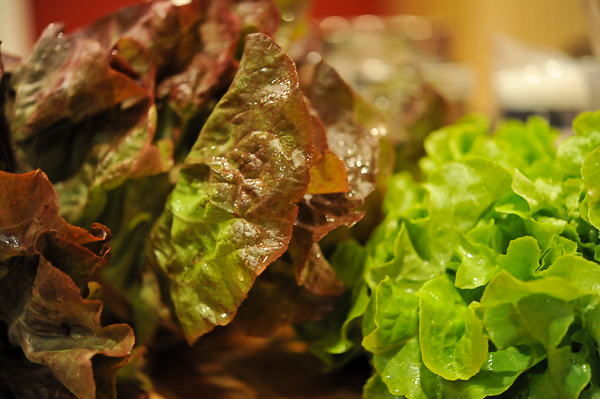
Salad 2 heads of lettuce, washed and torn into bite size pieces 4 sliced pears, caramelized in 4 tbsp butter and 2 tbsp brown sugar 6 roasted beets, sliced 1/2 cup gorgonzola, crumbled

Salad Dressing 1 medium garlic clove 1 medium shallot 1 inch ginger root, peeled and coarsely chopped 2 tbsp Dijon mustard 2 tbsp soy sauce 2 tbsp pure maple syrup 3 tbsp balsamic vinegar 1/2 cup olive oil 1/2 cup canola oil kosher salt and freshly ground pepper to taste

Prepare Salad Dressing In a blender or food processor, combine the garlic, shallot, ginger, mustard, soy sauce, maple syrup and balsamic vinegar until well blended. With the motor running on low, pour the olive and canola oils gradually and blend until emulsified. Can be refrigerated for up to a week.

Prepare Salad Preheat oven to 400 degrees. Remove the greens from the top of the beets, wash, drizzle with olive oil and tightly cover your pan with foil. Roast until soft— about 30 minutes for small beets and up to an hour for large ones. Peel the skin off, slice and set aside.

Melt 4 tbsp of butter in a large saute pan over medium heat. Once the butter starts to foam, add sugar, stir until sugar is melted. Add sliced pears and saute for  5 - 7 minutes, flipping over one or twice to achieve uniform caramelization.

Add sliced beets, pears, gorgonzola to the bowl with the lettuce, add dressing, taste for salt and pepper and serve.

Springs Of The Sioux

Julie, Charly and an assortment of children joined us for our photo safari a few weeks ago. They showed us the way to the springs of the Sioux River and now I have another place to add my 'favorite places on Earth' list.

Standing at the springs, I felt a deep sense of gratitude and said a prayer of thanksgiving. Thanks for being near water flowing from deep in the earth, seeing the kids develop their own relationship with the natural world, dear friends to share these special places with and the generous spirit of the trees watching over us.

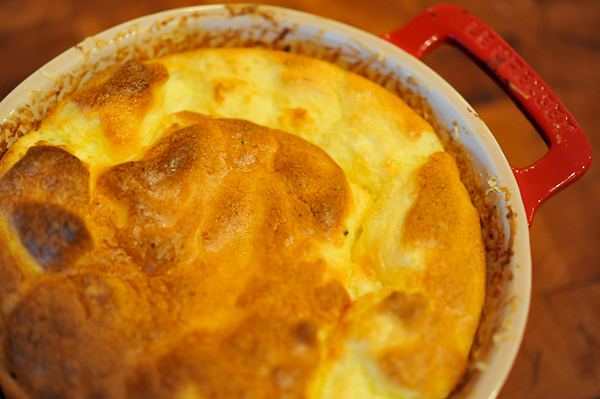
Alice's Goat Cheese Souffle

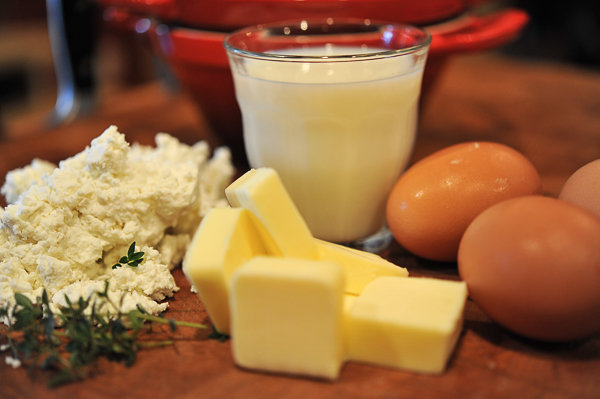
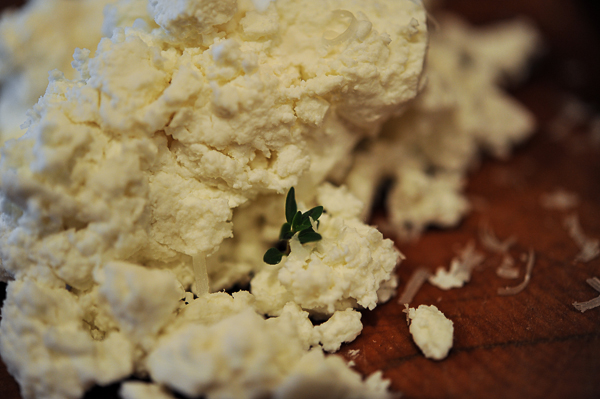
Every other Friday I stop by Pinehurst, look for the cooler by the side door and pick up a couple of containers of fresh Sassy Nanny goat cheese from Michael. It even has my name on the tasty little packages. Yet another reason I love living in Bayfield— bespoke cheese. When I went to visit Michael last March (link here), I was in awe of the sheer amount of work that goes into a pound of cheese. It's truly a labor of love (or some other kind of madness) and the cheese that is waiting for me in the cooler is some of the best goat cheese I've eaten. Michael's goat cheese and Jennifer's eggs— a perfect match and a perfect Sunday brunch.

Goat Cheese Souffle (From Alice Water's The Art Of Simple Food)

6 tbsp butter (5 tbsp for souffle & 1 tbsp to butter souffle dish) 3 tbsp flour 1 cup milk salt & freshly ground pepper pinch of cayenne 1 thyme sprig, leaves only 4 eggs, separated 4 ounces goat cheese 1/4 cup parmesan, grated

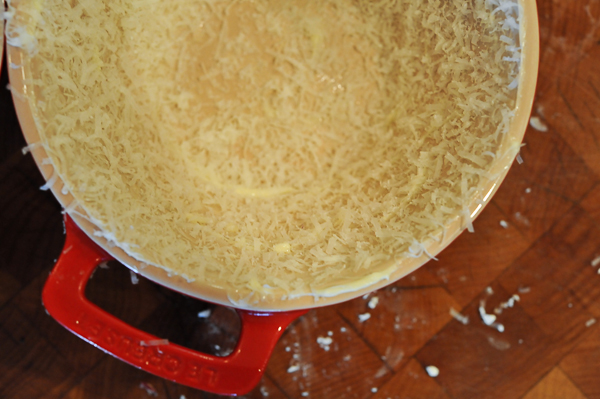
Preheat the oven to 375 degrees. Butter a 1 quart souffle dish and then coat the sides with the parmesan cheese.

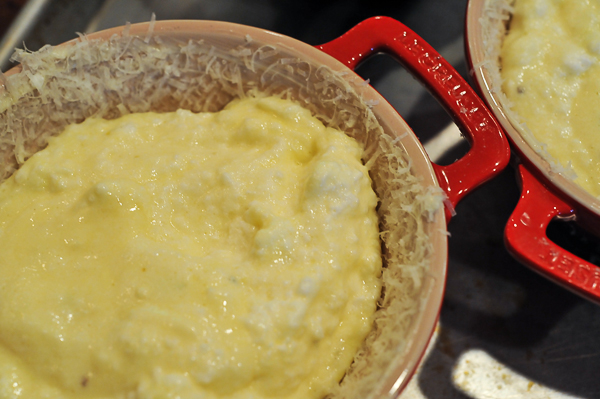
Melt 5 tbsp of butter in a heavy saucepan over medium heat. Stir in flour and cook for 2 minutes. Whisk in, little by little, the milk making sure to whisk thoroughly between each addition. Season the bechamel with salt, pepper, cayenne and thyme and cook over low heat for 10 minutes. Remove from heat and cool slightly. Stir the yolks into the bechamel and then add the goat cheese, stir to combine.

Whip the egg whites into moist firm peaks. Stir one-third of the whites into the souffle base. Then gently fold the base into the rest of the egg whites, taking care not to deflate them. Pour the mixture into the buttered dish and bake for 35 - 40 minutes, or until puffed and golden, but still soft in the center and jiggly when shaken gently. Serve immediately.

In Blackwater Woods

In Blackwater Woods Mary Oliver

Look, the trees are turning their own bodies into pillars

of light, are giving off the rich fragrance of cinnamon and fulfillment,

the long tapers of cattails are bursting and floating away over the blue shoulders

of the ponds, and every pond, no matter what its name is, is

nameless now. Every year everything I have ever learned

in my lifetime leads back to this: the fires and the black river of loss whose other side

is salvation, whose meaning none of us will ever know. To live in this world

you must be able to do three things: to love what is mortal; to hold it

against your bones knowing your own life depends on it; and, when the time comes to let it go, to let it go.

Little Sioux Redux

The last photo safari of September was a mixed bag. We went back to the Little Sioux and walked the other way (I think it was upstream but orienteering  is not my strong suit so who knows which way we went). Anyways, it was not the best adventure we have ever had— Sadie fell and filled her boots with cold stream water, George did not have his listening ears on and after the first 100 feet, we were bushwhacking our way along the stream bed. The good news is we made it back to the car without too much trauma and Meg found some wet, slimy clay to bring back to the house. Not too shabby for an afternoon in the woods.

A Tale Of Three Cavaliers & One Carcass

Thought I would post a couple of pictures of the clean and shiny Cavaliers. Yesterday we had a little incident— Gus decided it would be a good idea to roll around in the yard with a dead mouse. Since I wasn't sure if Seamus or Henry were participants in the carcass fun, everyone had a little spa day. Goodbye smelly, feral dogs and welcome back my little Lord Fauntleroys.

When The Moon Hits Your Eye Like A Big Pasta Pie....

Pasta, in any shape or form, typically generates rave reviews from my in-house food critics. When I saw this recipe from Noble Pig, I suspected I was headed for a standing ovation at the dinner table. I wasn't the kind of Mom who made my kids eat what was served; I have a pathological fear of hungry, sad children (food is love, right??) There were many meals where Ted and I ate something fantastic and the kids ate buttered noodles or spicy chicken (chicken breasts sautéed with Montreal Steak seasoning). Fast forward ten years and we all eat something fantastic or at least more interesting than buttered noodles. This pasta pie was a nod to those days of short order cooking for my little ones and wondering if they would ever eat anything other than pasta and chicken.

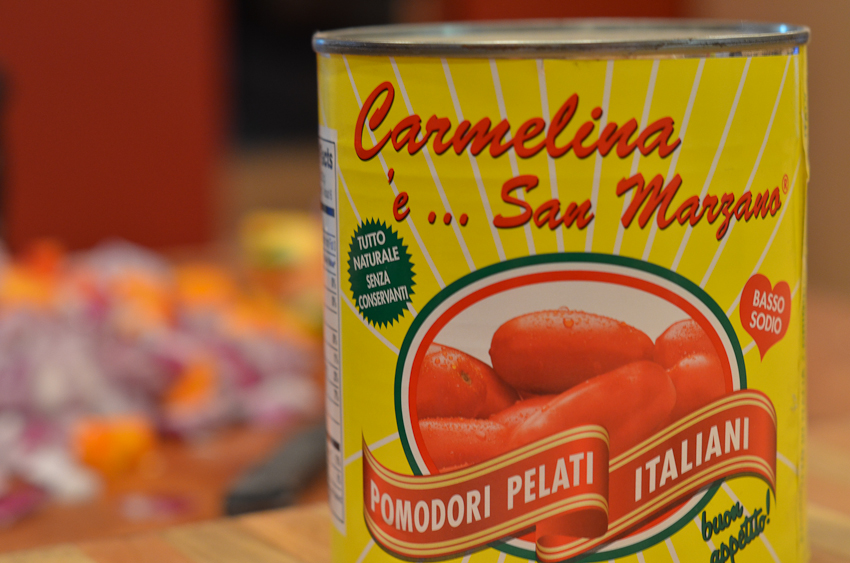
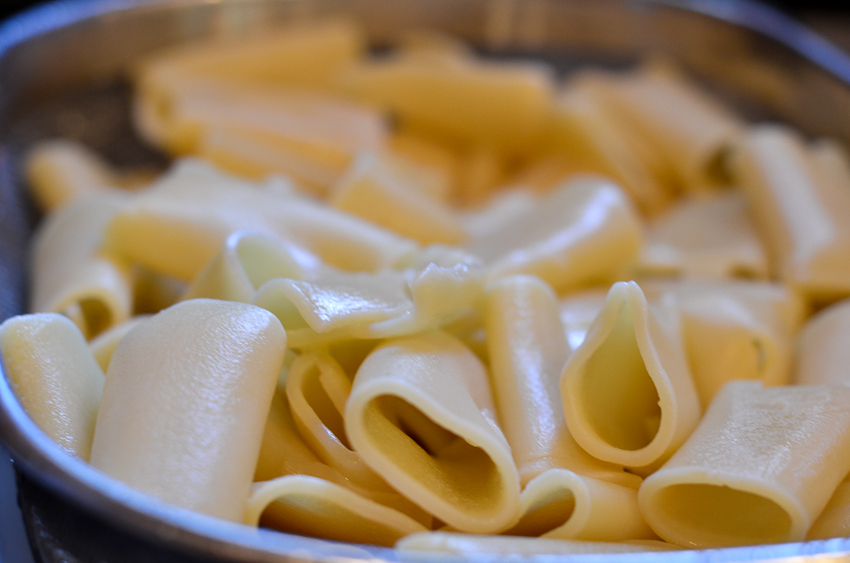
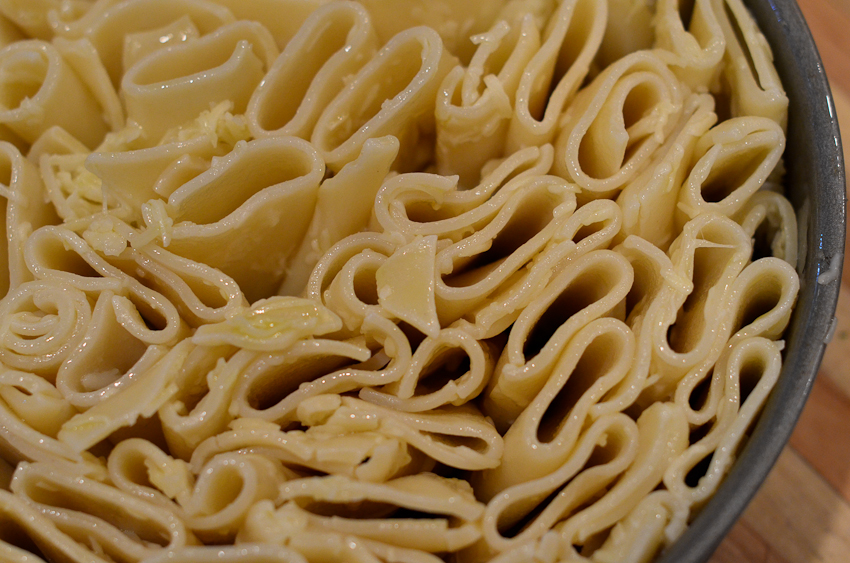
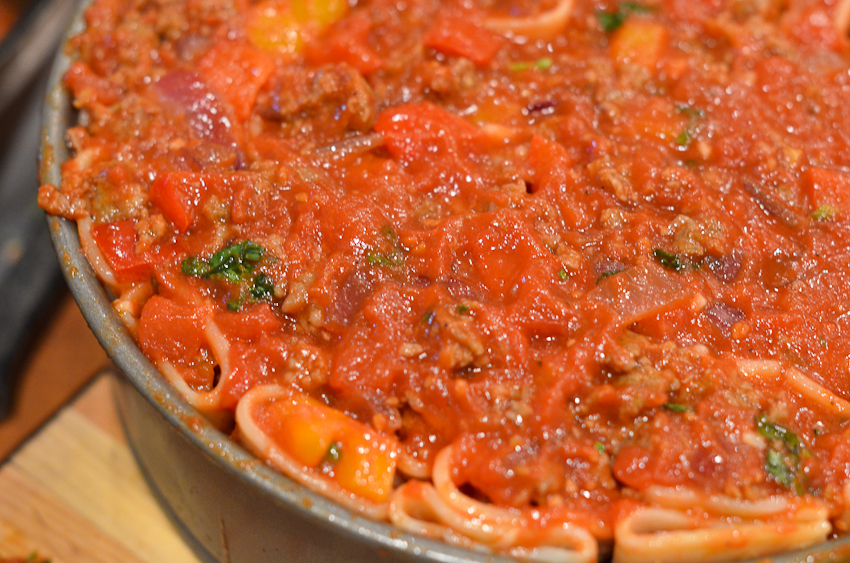
I bought a tubular pasta called paccheri and figured I could substitute it for the rigatoni. Not the best idea, paccheri is floppy and did not want to stand up and be stuffed without quite a bit of management on my part. Next time, I am using rigatoni. Carmelina tomatoes are the way to go for marinara—they have a beautiful thick purée and make the best sauce. I'm a firm believer in homemade marinara— it tastes better, is easy to throw together and it is less expensive.

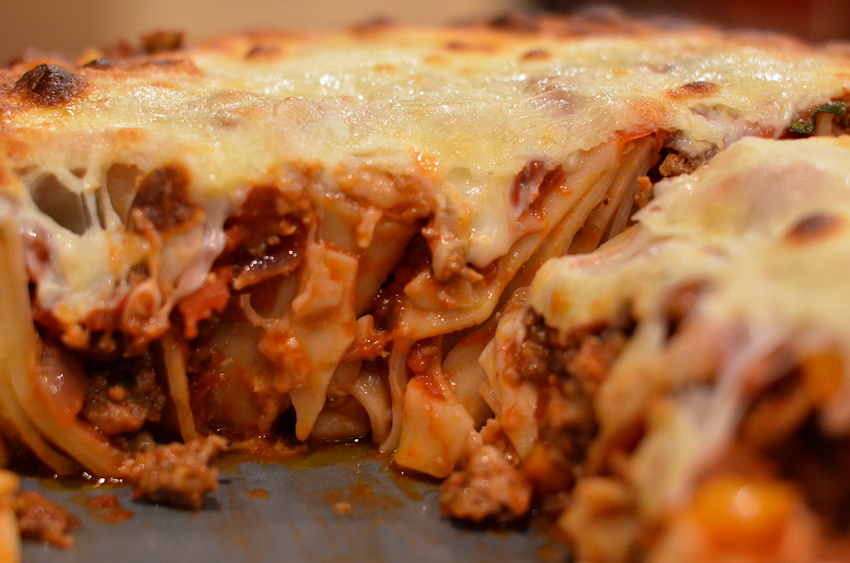
I had a few doubts after I assembled the pie, those floppy paccheri pasta noodles bore a striking resemblance to the Leaning Tower of Pisa. My fears weren't completely unfounded, it held its shape (kind of) but definitely was leaning and spilling out of the spring form after I unmolded it. It tasted great, is easy to put together, aside from the fussiness factor of assembling the noodles in the pan, and definitely will have a place in our dinner rotation.

Marinara Sauce

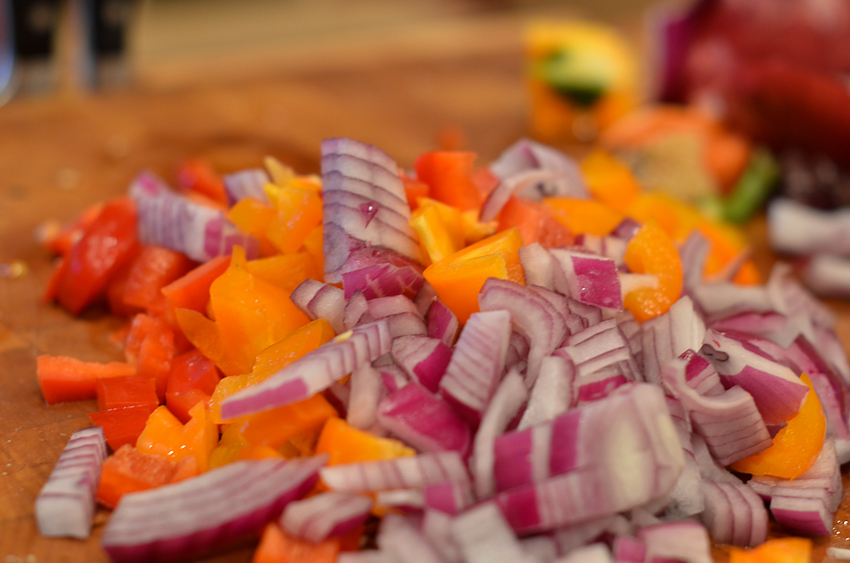
2 28 ounce cans of chopped tomatoes 1 red onion, chopped 2 red or yellow peppers, chopped 4 cloves of garlic, chopped 8 - 10 leaves of fresh basil, chopped 8 - 10 leaves of fresh oregano, chopped 1 tsp kosher salt 1/2 tsp coarse pepper 1 tsp sugar 3 tbsp olive oil

Heat oil in heavy large skillet over medium heat. Add onion; sauté until tender,  about 10 minutes. Add garlic; sauté 1 minute. Add peppers; sauté until peppers just begins to soften, about 5 minutes. Add tomatoes and their juices. Cover and simmer 15 minutes. Add sugar, basil and oregano. Cover and cook 15 minutes. Uncover and simmer until  slightly thickened, about 5 minutes. Season with salt and pepper.

Olive & Tomato Focaccia

The smell of a freshly baked loaf of bread makes me happy. In fact, the entire process of bread making gives me joy— the smell of yeast, the sound of the mixer kneading the bread and watching the texture change as it begins to rise. It's magical— a pile of wet, sticky flour morphs into a loaf of focaccia, boule or baguette. Who couldn't use a little magic in their lives?

I used the olive oil dough recipe from Jeff Hertzberg's and Zoe Francois' cookbook Artisan Bread in Five Minutes a Day for my focaccia. It's a solid recipe and never, ever fails me. If I want to have a couple of loaves of focaccia for dinner, I start the dough at noon and it's ready to hit the oven at 6 pm. I know you are probably thinking, dinner at 6 at Mary's, yeah right. It's true (most of the time), I make a very earnest effort to eat before 8 pm during the school week— figure it will help with my mother of the year application. I settled on Nancy Silverton's baking method for the focaccia, it produces an amazing crust— crispy and golden brown.

Olive & Sun-dried Tomato Olive Oil Dough (Adapted from Artisan Bread in Five Minutes a Day)

2 3/4 cups lukewarm water 1 1/2 tbsp granulated yeast (I use SAF red instant yeast) 1 1/2 tbsp kosher salt 1 tbsp raw sugar 3/4 cup extra virgin olive oil (1/4 cup for the dough & 1/2 cup for the pans) 1/2 cup kalamata or oil cured olives, chopped 1/2 cup sun-dried tomatoes in olive oil, chopped 6 3/4 cup bread flour (I use Honeyville Alta Artisan Unbleached Flour) Coarse sea salt and chopped fresh herbs (I used rosemary, thyme and oregano)

Mix the yeast, salt, sugar, olive oil with the water in a large bowl or the bowl of a stand mixer. Add the flour and mix until it comes together(about 3 minutes) using the dough hook (if using a stand mixer) or a spoon. Cover (not airtight) and allow to rest at room temperature until the dough doubles in volume (about 2 hours).

Dust the work surface lightly with flour and turn the dough out onto the floured surface. Add the chopped olives and sun-dried tomatoes to the dough— knead them in the dough as best you can.  Acting as if the round has four sides, fold the edges of the dough toward the center. Turn the dough over and return it, folded side down, to the bowl. Cover the bowl again and set it aside at room temperature until it has doubled in volume, 50 minutes to 1 hour. (The dough will be puffy and will feel alive, springy and resistant. It will not collapse under the touch of your fingertips.)

Preheat the oven to 400 degrees. Pour ¼ cup olive oil into each of the cake pans, and tilt the pans so the oil coats the bottom evenly. Dust the work surface again lightly with flour and carefully turn the dough out onto the floured surface, taking care not to deflate the dough in the process. Divide the dough into two equal segments. Place the dough segments in the prepared cake pans and very gently pull the edges just to obtain a roughly round shape. Cover the pans with a clean dishcloth and set aside at room temperature until relaxed and spread to cover about half of the surface of the pans, about 30 minutes.

Brush the top of the focaccia with olive oil, sprinkle with the sea salt, chopped fresh herbs and bake it on the center rake of the oven for 30 to 40 minutes until it is crisp and golden brown.

Move the pan to the bottom rack of the oven and bake 5 more minutes to make sure the bottom crust of the focaccia is nice and crispy. Remove the focaccia from the pan being careful not to burn yourself from oil remaining at the bottom of the pan. Set them on a cookie rack.

Blueberry Chutney

Chutney, chutney, chutney— that was the theme in my kitchen this summer. Chutney has more razzle dazzle than a simple jam or jelly and I am terribly fond of both razzle and dazzle. When Renee and I used to sell our Fig & Fromage tortas at Kowalksi's— coming up with chutney and cheese combinations was one of my favorite parts of the job— right up there with being the demo girl and obsessing about what ampersand and font to use for the labels. Chutney and cheese belong together, like Sonny and Cher, caramel and apples or George and tennis balls.

This chutney would be good with a sharp white cheddar, gorgonzola, an aged gouda or stuffed in a chicken breast with goat cheese. The good news is I have a lot of this chutney on the shelf and I'm going to have to get creative if we're going to use them before next year's blueberry crop. You'll know I've run out of ideas if you get a jar of chutney for your birthday, Christmas or National Taco Day.

Blueberry Chutney

6 cups blueberries 1/4 cup dried cherries 1/4 cup dried cranberries 1/2 cup dried currents 3/4 cup dry white wine 3/4 cup cider vinegar 1 cup honey 1/2 cup raw sugar 2 cups red onion, chopped 2 tbsp garlic, minced 1 tsp red chile flakes 1 1/2 tsp fresh thyme 2 pieces crystallized ginger, minced

Add all ingredients to a large pot and bring to a boil. Remove the cinnamon stick after 15 minutes. Reduce the heat to low and simmer, stirring occasionally, for 30 - 45 minutes, until mixture is thick. At this point, you can cool completely and it will keep in the refrigerator, covered, for up to a week.

You can also ladle hot chutney into hot sterilized jars, leaving 1/4-inch head space. Wipe rims of the jars, cover with lids, and screw bands on until just barely tight. Place jars on rack in pot and cover completely with water. Cover pot and bring to a boil over high heat. Boil for 10 minutes. Turn off heat, uncover pot, and allow jars to rest in water for five minutes. Remove jars from pot and allow them to rest undisturbed on countertop for six hours or overnight.

Photo Safari On The Little Sioux

Last Sunday morning, Charlie came in my bedroom and said, 'it's photo safari day, where are we going?'. My heart was happy, it's no small feat to share a passion for the natural world and photography with your kids. Will found an old camera of Jack's in his bedroom that we gave to Charlie and now we are a gang of four for our Sunday safaris. We went to the Little Sioux River (when we were still a gang of three and one George) and hiked down the stream bed, it was another beautiful afternoon in what is turning into a lifetime of beautiful afternoons.

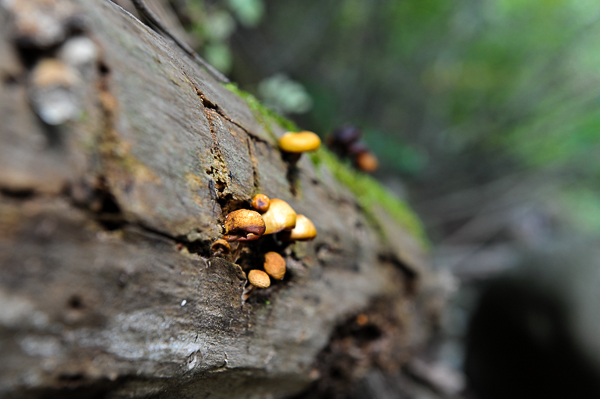
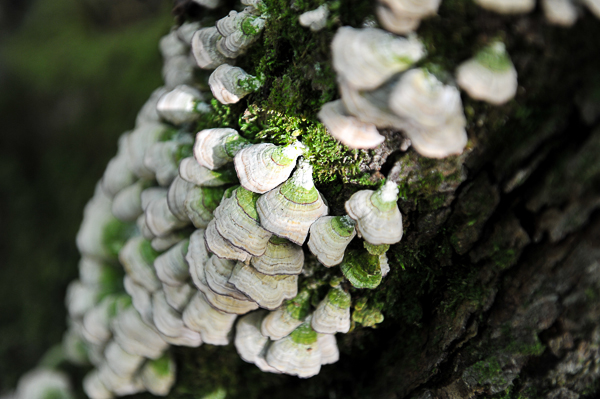
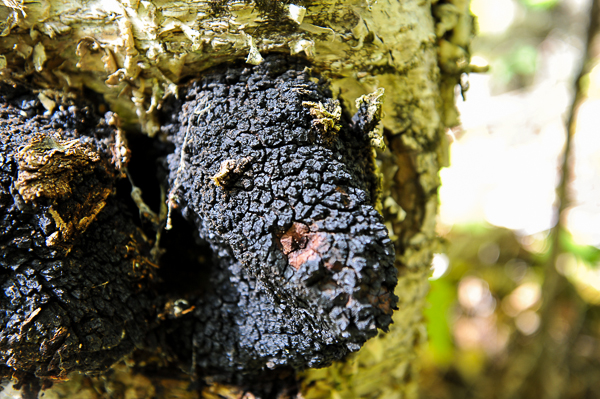
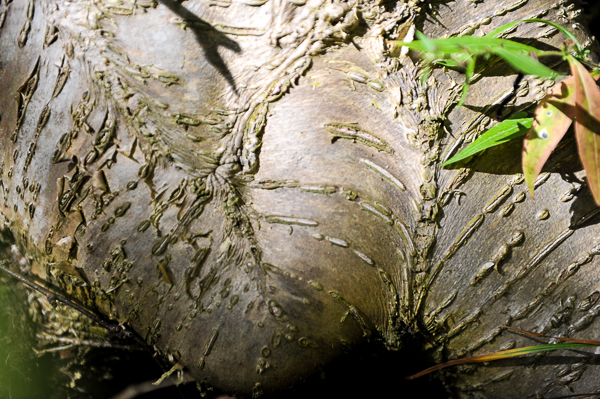
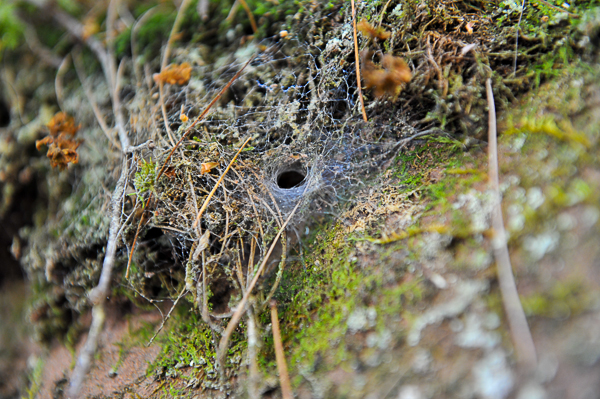
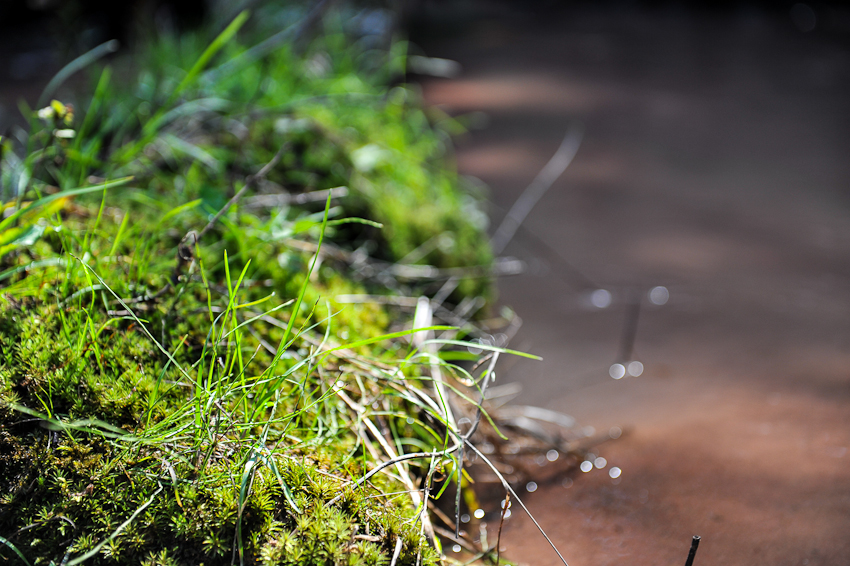
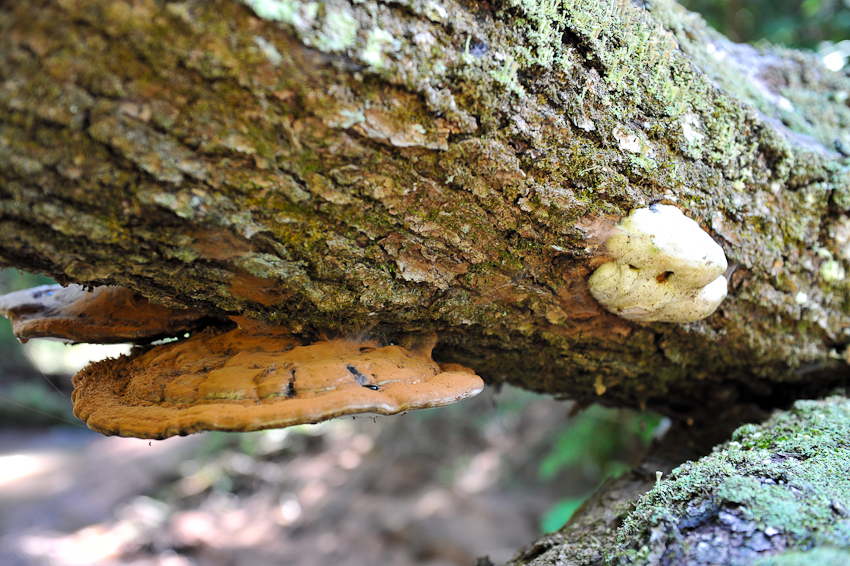
One of the things I enjoy most about our outings is watching the kids bent over a flower, fallen log or a patch of moss and realizing they get it. They understand we are blessed and it is the nuances and little details that tell the stories we carry with us. Finding a beautiful mushroom,  a perfectly curled piece of birch bark or a leaf hanging from a spider's web is proof positive that there is magic and divine benevolence in our midst.

Trees are amazing, they find a way to grow skyward and set down roots in just about any situation. I love to see their roots above ground weaving in and out of the river bank. I feel better being around them, they remind to build a strong foundation but remain flexible.

The Pheasant & The Pig: Pâté de Campagne

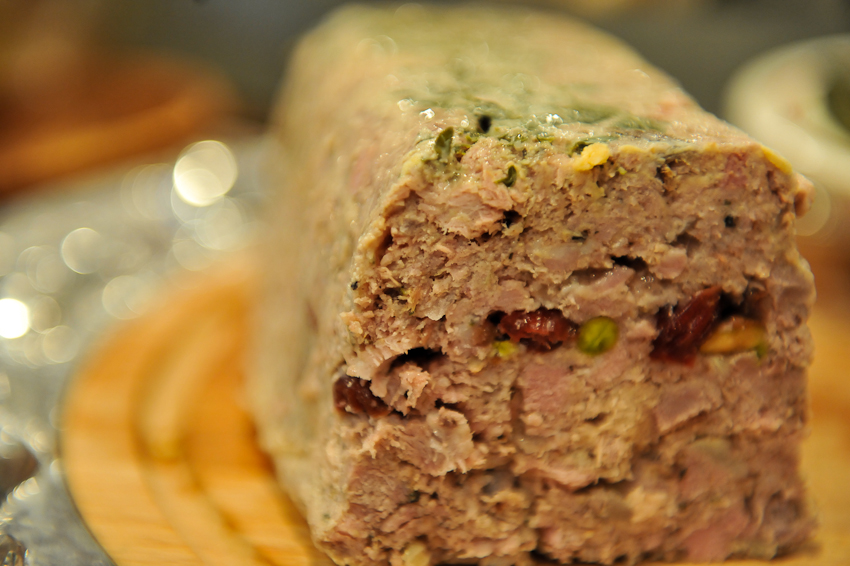
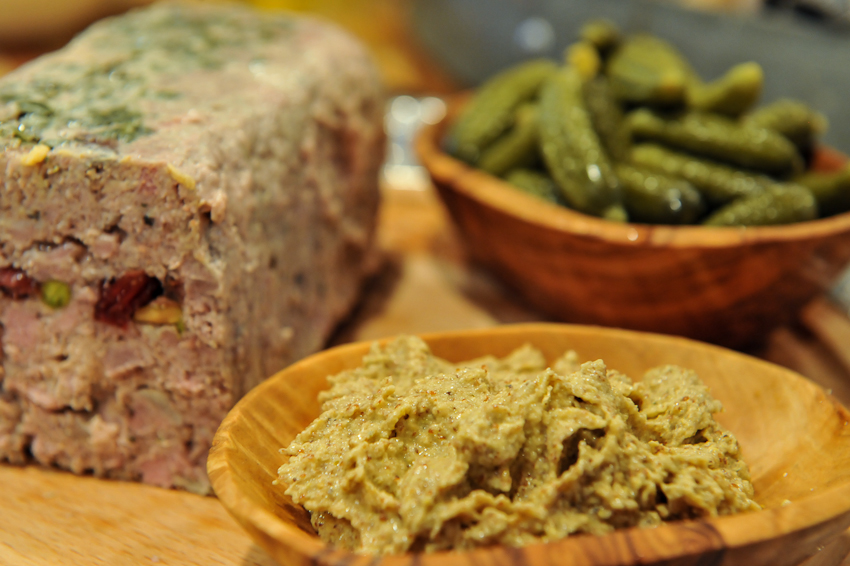
Did you know meatloaf has a fancy cousin from France— pâté de campagne? I'm a big fan and not just because of there is a circumflex and an acute accent in one word. The idea of combining chopped meat, spices, liquor, eggs and cream in a terrine always seemed like a good way to go. When we lived in Highland Park, one of our weekly rituals was a trip to Haskell's for slice of pâté and a bottle of wine from our friend Sheila.  Pâté seemed out of reach for a neophyte cook like myself and I never thought I could make my own meat masterpiece. Fast forward 20 years— I am no longer a neophyte (anywhere) and I make my own pâté.

One of the recipes I found called for wild boar, kind of hard to find in Northern Wisconsin. I had no idea what would be a decent substitute for a gnarly wild pig but I did know where to get some wild pheasants. I also knew where to get a half bottle of zinfandel (on the counter) and a container of duck fat (in the fridge). I simmered the pheasant for 3 hours in duck fat, wine and olive oil— a perfect storm for tender pheasant and a brilliant addition to my pâté.

Pâté de Campagne (adapted from Taste Food Blog)

1 pheasant, simmered in 375 ml red wine, 12 oz rendered duck fat & 1/2 cup olive oil for 3 hours 1 pound pork shoulder, coarsley ground 1 pound ham, coarsely chopped 3 garlic cloves, minced 2 shallots, minced 2 tsp salt 2 tsp black pepper, coarsely ground 3 tsp fresh thyme 2 tsp fresh rosemary, minced 1 teaspoon allspice 1 tsp ground coriander ½ tsp ground cloves 3/4 pound bacon, coarsely chopped 2 tbsp unsalted butter plus extra for greasing terrine 1 medium yellow onion, minced 2 eggs, lightly beaten 1/3 cup heavy cream 1/3 cup Calvados 1/3 cup shelled pistachios 1/3 cup dried cranberries

Remove all meat from the pheasant after it has cooled. If you are grinding your own meat, cut the pork in 3/4 inch cubes. Place the pork and pheasant in a large bowl. Add garlic, shallots, salt, pepper, thyme, rosemary, allspice, coriander and cloves. Mix to thoroughly coat the meat. Cover and refrigerate 6 hours or overnight. Grind with a meat grinder before proceeding.

Preheat oven to 300 F. (180 C.) Remove meat from refrigerator. Add bacon and return to refrigerator while you prepare the onions. Melt 2 tablespoons butter in a skillet over medium heat. Add onion and sauté until translucent but not brown, 6 minutes. Cool to room temperature. Stir into the meat. Combine eggs, cream and calvados in a small bowl. Add to meat and mix well.

Butter a loaf pan or terrine. Alternatively, you can line the inside of your terrine with plastic wrap. Press one-third of the meat into the terrine. Sprinkle evenly with half of the pistachios and cranberries. Press another third of the meat into the terrine. Top with remaining pistachios and cranberries. Cover with remaining meat. Cover terrine or if your terrine does not have a cover, use aluminum foil. Prick 2-3 holes in the foil.

Place terrine in a baking pan. Pour boiling water into the baking pan until halfway up the sides of the terrine. Bake in oven until meat thermometer inserted in the center reads 155 F. about 2 hours. Remove from oven and remove terrine from the water bath. Place a terrine press over the pâté (or a cutting board with cans on top) and cool completely. Transfer to refrigerator and let sit 1-2 days before serving. To serve, un-mold pâté. Scrape off any congealed fat. Cut in slices, ½ inch thick.

Gorgonzola Cheesecake & Dried Cranberry Flatbread

I've been thinking about savory cheesecake for a few years but never put thought into action. It seemed like a lot of really good ingredients to waste if it was a horrid disaster. Last month, I finally decided to quit dithering, research different recipes, grab some gorgonzola, a spring-form pan and get cooking. During my search for the perfect cheesecake, a recipe for dried pear and walnut flatbread from Christina's Cookbook caught my eye. Gorgonzola cheesecake and dried pear flatbread?? I don't know why I waited so long.

Dried Pear Flatbread (from Christina's Table by Christina Orchid)

1 tsp yeast 1 cup warm water 1 tsp salt 2 tbsp good quality olive oil 1/4 cup walnuts, chopped and toasted 1/2 cup dried pear, chopped 1/4 cup dried cranberries, chopped 1 1/2 cup unbleached white flour

In a medium bowl, add the yeast to the water and salt and let sit for a few minutes. Add the olive oil, walnuts, pear and cranberries and stir to blend. Stir in the flour and then knead for 1 minutes. Let rest for 30 minutes.

Preheat the oven to 450 degrees. Oil a baking sheet. Divide the dough into 4 pieces. Roll each piece 1/4 to 1/2 inch thick on the baking sheet and bake for 7 minutes. The flatbreads can be any shape that fits your pan.

Gorgonzola Cheesecake (from The New England Table by Lora Brody)

1/4 cup fine dried bread crumbs 1/2 cup freshly grated Parmesan cheese 3 tablespoons unsalted butter 2 shallots, peeled and finely diced 1/2 pound (8 ounces) gorgonzola or other blue-veined cheese, crumbled 1 3/4 pounds (28 ounces) regular cream cheese (not reduced fat), at room temperature 4 extra-large eggs 1/2 cup heavy cream A few drops of Frank's Hot Sauce or other hot-pepper sauce 1/2 pound thick-cut bacon, cut into small dice and cooked until very crisp 1/2 cup oven roasted tomatoes, chopped

Preheat the oven to 300°F with the rack in the center position. Generously butter the bottom and sides of an 8 inch springform pan with 3 inch sides. Line the bottom with a circle of parchment paper; butter the parchment. Mix the bread crumbs together with 1/4 cup of the Parmesan cheese. Dust the interior of the pan with the breadcrumb mixture, allowing the excess to stay evenly distributed on the bottom of the pan. This cheesecake cooks in a water bath; to prevent water from leaking into the pan while the cheesecake bakes, place it on a 16-inch length of heavy-duty aluminum foil, gather the edges up, and wrap them around the outside of the springform, securing if necessary with a length of kitchen string tied around the outside of the pan.

Have ready a roasting pan large enough to hold the prepared springform pan. Bring a large pot of water to a boil.

Melt the 3 tablespoons butter in a small skillet set over medium heat Add the shallots and cook, stirring frequently, for about 10 minutes, or until the shallots are wilted and translucent. Set aside.

Combine the Stilton cheese, cream cheese, eggs, heavy cream, and Frank's Hot Sauce to taste in the work bowl of a food processor fitted with the metal blade and process until the mixture is completely smooth, stopping to scrape down the sides of the work bowl once or twice. Add the cooked shallots, roasted tomatoes and bacon and pulse to blend, but avoid overprocessing, as you want the bacon to create some texture in the batter.

Pour and scrape the mixture into the prepared pan. Sprinkle the remaining 1/4 cup Parmesan cheese on top. Place the springform pan in the larger roasting pan and set both in the oven. Add enough boiling water to come halfway up the sides of the springform pan. Bake the cheesecake for 1 hour and 40 minutes, checking the water bath halfway through the cooking time; add more, if necessary. At the end of the cooking time, turn off the oven and leave the door closed with the cheesecake inside. After 1 hour remove both pans, remove the foil wrapping, dry the bottom of the springform pan, and place it on a wire rack to cool completely. Do not refrigerate the cheesecake to speed the cooling process.

When the cheesecake is cool, release the sides of the pan and slide a wide metal spatula under the cake to transfer it to a serving platter. (You may opt to serve it right on the springform pan bottom. If you do, don't use a metal knife to cut the cheesecake, or you'll ruin the pan bottom and the knife.) Cut the cheesecake by slicing it with a long, thin knife that has been run under hot water and dried before slicing. (The cheesecake is best served without refrigerating it. Refrigeration makes it dense and a bit heavy. You can make it up to 1 day ahead of time and keep it at room temperature, wrapped tightly in plastic wrap.)


Harvest Moon

Photographing the moon has been a super irritating adventure for me. See the above photo? I have 34 other ones exactly like it, a blindingly bright orb and not much else. Since the harvest moon is the full moon nearest the autumnal equinox, I desperately wanted to capture a decent picture of it. The main problem was Will (my in-house photographic expert) was at the homecoming football game and I had to rely on my google search of 'how to shoot the moon' to point me in the right direction. This guy (link here) had the magic formula— f/11 and 1/250. The picture of the bloody vampire initially turned me off but I'm glad I kept reading. It's amazing what following the directions will do for a girl.

Lowertown Photo Safari

The kids and I spent a couple hours in Lowertown, taking pictures and walking down memory lane. We wandered into the warehouse where we lived when Jack was born. Sawatdee and a school for deaf children used to be on the main floor and I remember walking in, smelling Thai food (which got really old after a while) and seeing little kids excitedly signing on their way to their classrooms. It hasn't changed much, maybe a little cleaner and they have a mailroom now but it still smells like dinner is cooking— Lenny Russo's restaurant, Heartland, has the entire main floor. I doubt the smell of Heartland's food would ever get old, it's a great restaurant.

When we lived at the Cosmopolitan, we owned a basset hound named Lucy who was resolutely opposed to housetraining. She ruined our carpet in the apartment so Ted, showing the first signs of his all around handy-ness, tore it up and refinished the hardwood. We had the only apartment (there were 250) with beautiful bird's-eye maple floors, thanks to Lucy. Like they say, when life gives you lemons, make lemonade (or tear up the carpet and start over). Ironically, Lucy hated walking on the hardwood and would jump from rug to rug with a long suffering look on her face. Our names are in the closet under 5 layers of varnish, I wonder if they're still there?

There was a piano in Mears Park, not sure what that was all about, maybe cultural enrichment?? I bought Guinness, my Newfie, when we lived in Lowertown and we spent many, many hours in the park. There were pigeons (Jack used to call them chickens), people sitting on the benches, buses roaring by trying to make the light on 5th and Wacouta and dogs on leashes in the park. Not much has changed and it felt good.

The Gopher Bar— cheap beer (at least it used to be) and coney dogs. We would walk up once a week, order a pitcher of beer and power down a couple coney dogs. If I tried that now, I would have heartburn for days and an extra 25 pounds on my backside. Ah, how I miss the rigorous digestive system and metabolism of my youth.

Cheddar & Parmesan Savory Shortbread

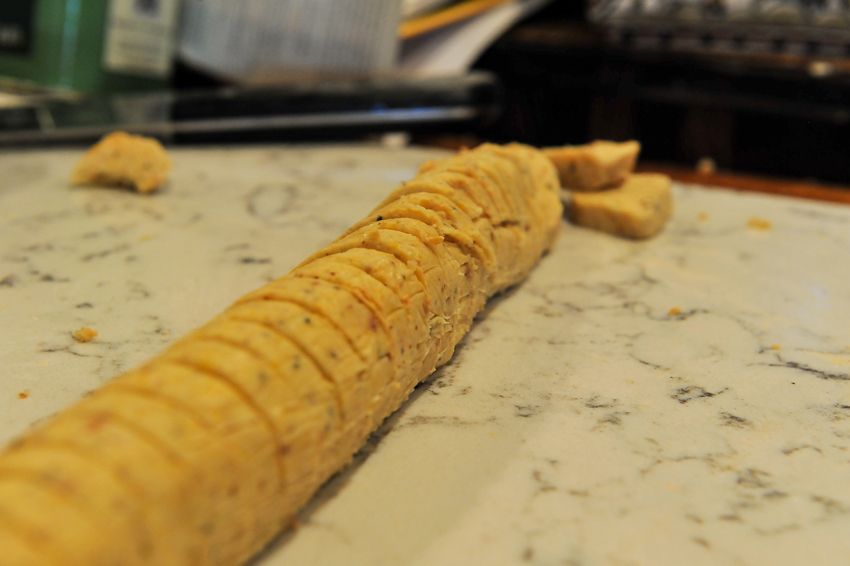
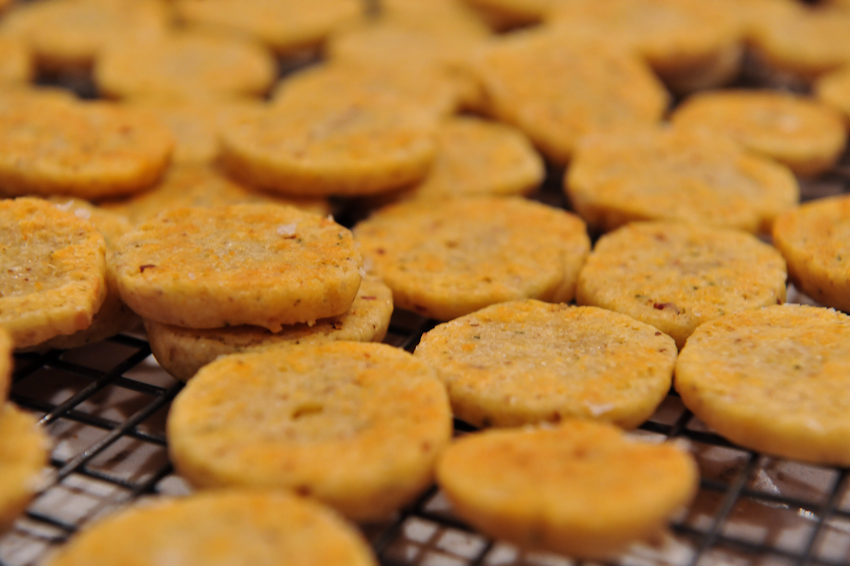
I can live without cookies, cake and chocolate but take cheese away and I just might expire on the spot. When I bought Laura Werlin's The All American Cheese and Wine Cookbook and found a recipe for cheese shortbread crackers, I knew I had just met my newest favorite recipe. This was a 'slice and bake' cookie I could get behind— butter, parmesan and cheddar with Maldon sea salt on top, what's not to love?

Cheddar Parmesan Shortbread Crackers (from Laura Werlin's The All American Cheese and Wine Cookbook)

4 ounces cheddar cheese, coarsely grated 2 ounces parmesan cheese, finely grated 3/4 cup flour 1/4 tsp dry mustard (I use Coleman's) 1/4 tsp kosher salt 1/8 tsp cayenne pepper 4 tbsp unsalted butter, softened and cut into small pieces 2 tbsp water, plus more if needed

In the bowl of a food processor, place all ingredients except the butter and water. Pulse 5 times. Add the butter and pulse again until the butter pieces are the size of BB's. Add the water, 1 tbsp at a time, and pulse just until the dough holds together. If the dough is still crumbly, add more water 1 teaspoon at a time until it reaches the right consistency.

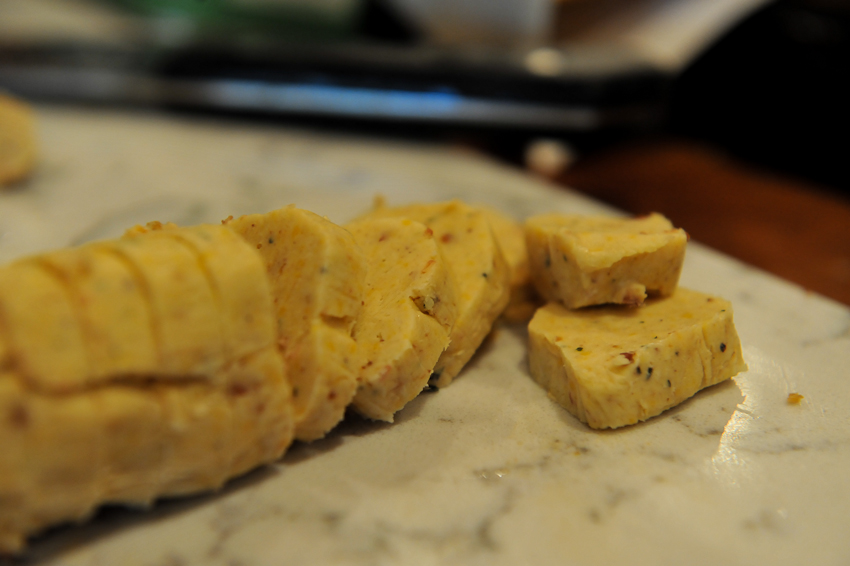
Turn the dough out onto a large piece of waxed paper. Roll the dough into a log, 9 to 10 inches long, and square off the ends. Refrigerate, well wrapped, for at least 2 hours and up to 2 days. Or freeze it for up to 1 month.

Preheat the oven to 375 degrees.

To make the crackers, cut the log into 1/4 inch slices. Arrange the slices on a baking sheet 1 inch apart. Bake for 8 to 10 minutes, or until the crackers are a light golden color. Flip the crackers, sprinkle Maldon sea salt on top and bake for an additional 3 to 5 minutes, or until they are golden around the edges. Cool on a rack and serve at room temperature.

Makes about 3 dozen crackers.

Thai Chicken Salad In A Jar

My last meal in a Mason jar was Thai chicken salad but this time we ate it at home, in front of the fire. We had planned to go out to Rocky Island for a last hurrah of summer. We got as far as Basswood. The skies opened up and it poured (hard and steady) until the afternoon. We did stop at Basswood, went for a rain-soaked hike through the woods and beat a hasty retreat for home and dry clothes. I guess we should have had our hurrahs on Sunday when it was warm and sunny.

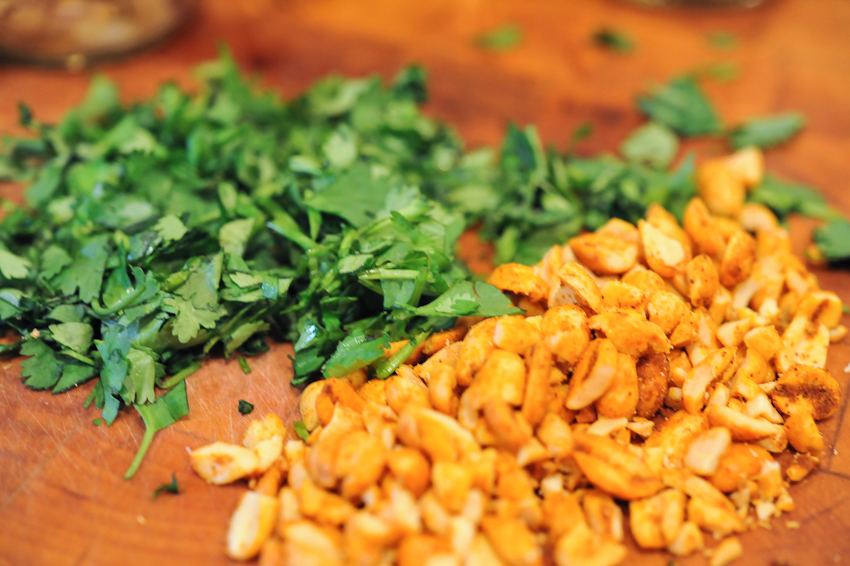
Thai chicken salad needs two things to shine: rice noodles and really, really good peanut sauce. I could, and sometimes do, eat peanut sauce by the spoonful and consider myself a peanut sauce connoisseur (if there is such a thing). It should have a good balance of sweet, sour and spicy flavors as well as a consistency similar to heavy whipping cream. You can put just about anything in this salad— I used roasted chicken, green onion, cucumbers, carrots, sliced purple cabbage, thick rice noodles and garnished with chopped cilantro and peanuts. Ultimately, it's a pasta salad and the variations are endless.

Thai Peanut Sauce

19 ounces full fat coconut milk
1 1/4 cups unsweetened and natural peanut butter
3 tbsp Thai red curry paste (Mae Ploy)
2 tbsp soy sauce (Healthy Boy Thin Soy Sauce)
2 tsp fish sauce (Squid)
2 tbsp chile garlic
4 tbsp sweet chili sauce (Mae Ploy)
Juice of one lime
2 tbsp apple cider vinegar
2 tbsp toasted sesame oil
2 tbsp chopped ginger
3 garlic cloves minced 1 cup water
Put everything into a medium heavy-bottomed pot and bring to a very gentle boil over medium heat, whisking constantly. Let the mixture simmer for 3-5 minutes over low heat; stirring occasionally.  Take the pot off the heat, let the sauce cool down to room temperature, serve immediately. The sauce can be served hot or cold and will keep for two weeks in the refrigerator.